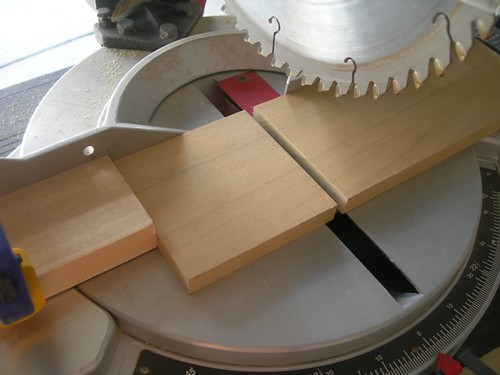
The first item of business was to nail down the booster cover template to the body pieces that I rough-cut yesterday, so that I could route them down to size using the flush-cut bit. First I trimmed the outer perimeter of the pieces.
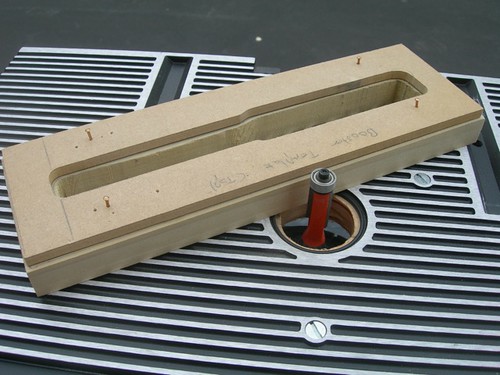

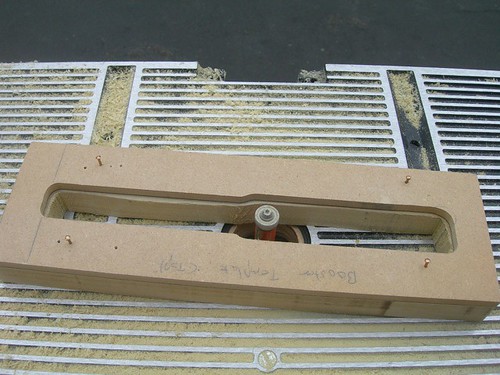
Then I trimmed the inner keyhole area. Recall that the legs of the booster cover are closed to provide stability while working on the piece. At the end, the bottom part will be chopped off.
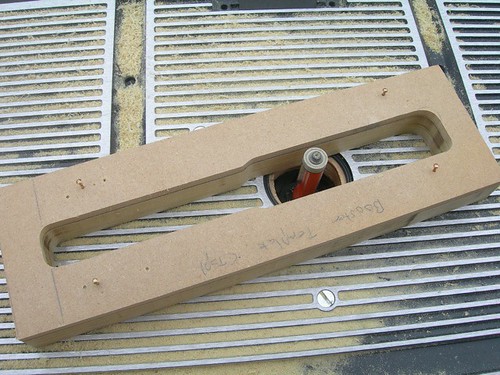
That worked out pretty well.
Note that I am not routing down the other layers just yet, I'll explain why in a moment.
Next, I cut the layers that will make up the head piece of the booster cover. This will rest directly on top of the body piece.
The head piece is made of two 3/4" layers of poplar, and one 1/2" layer, for a total thickness of 2".
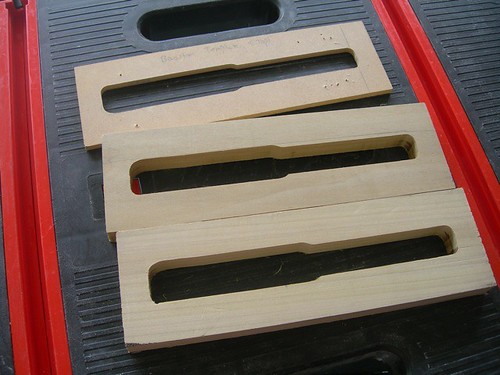
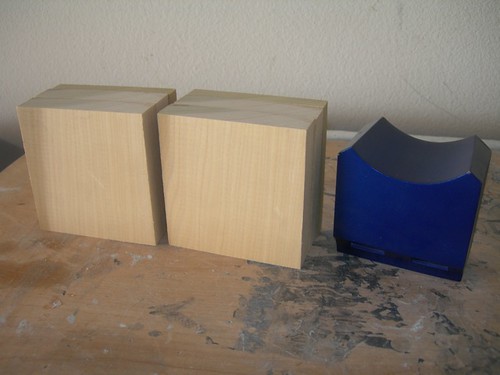
One day, these six layers will make a pair of pieces like that on the right, which I pulled off of droid #1 for sanity checking my measurements. I am intentionally cutting these pieces a little large. There are several tricky cuts coming up much later, that will help bring the pieces down to size. I'd say this piece is one of the most challenging cosmetic pieces for me to make on the entire droid. (The scratch-built foot shells were worse.)
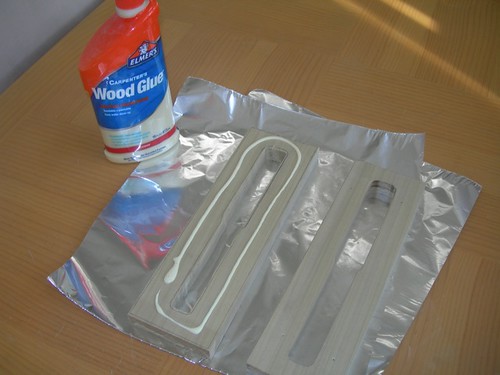
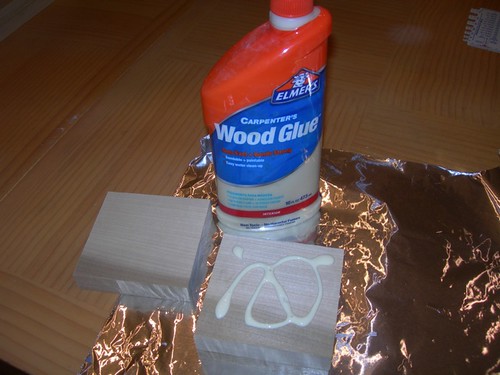
Time to start gluing layers together. For the booster cover bodies, I am gluing the rough-cut layer to the routed layer. Tomorrow I hope to route down the rough-cut layer so it perfectly matches the layer that I routed down today. It's better to route the rough-cut layer to the layer it is glued to, rather than routing it using the template and hoping for a perfect match after gluing.
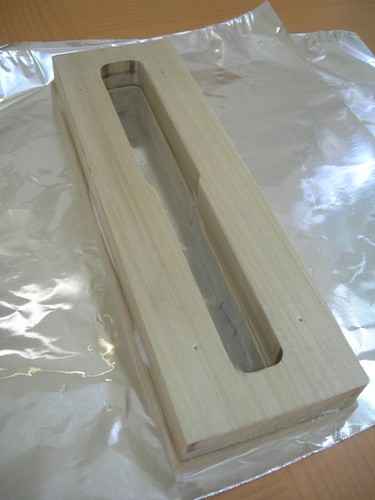
Note that I left the nail holes showing on top. It turns out that the entire top surface will be cut off later, as the piece is shaped to match the blueprints. The amount removed is deeper than the holes that the nails created when the template was attached earlier.
And finally, I glued up the layers for the head pieces.
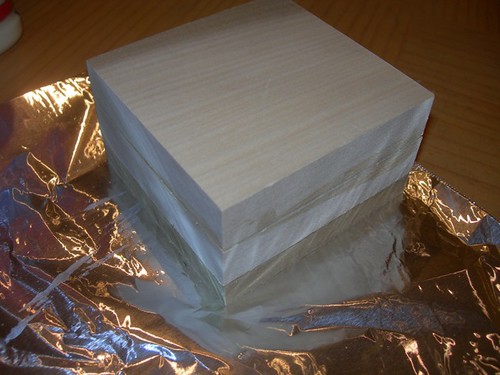
The head pieces are currently 3.5"x3.5"x2". I will reduce them to 3.125" wide, 3.35" tall and the same 2" deep. That height is 1/10" taller than spec, because I'm going to cut completely through them to create the slots, and I am accounting for a 1/10" kerf.

No comments:
Post a Comment