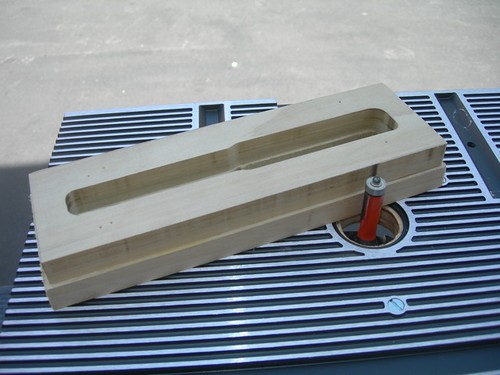
First up, routing down the rough-cut layer of the booster covers.
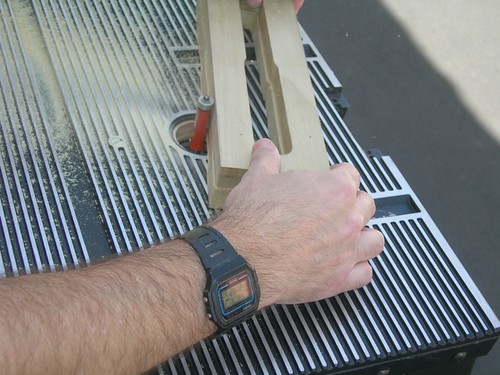
A rare shot of me building, usually I have to take before and after pictures on my own.

I routed down the material a little at a a time, because the poplar doesn't give way as easily as some other materials. Looks like the time was 2:42:30 PDT (as I can see in the full-res picture.)
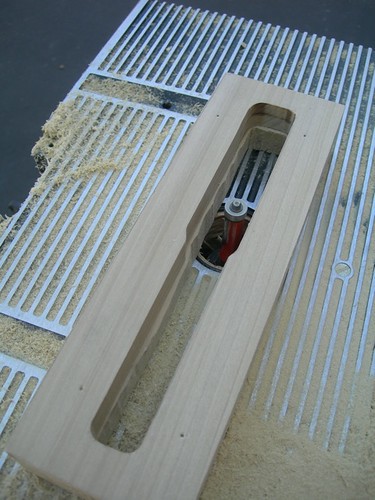
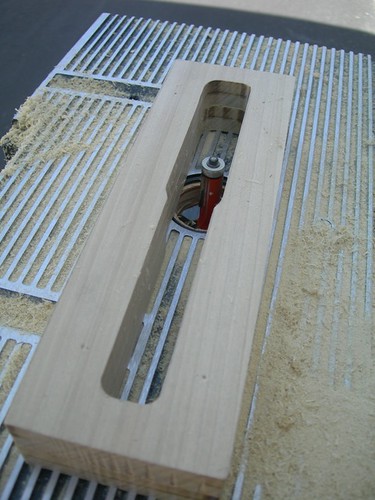
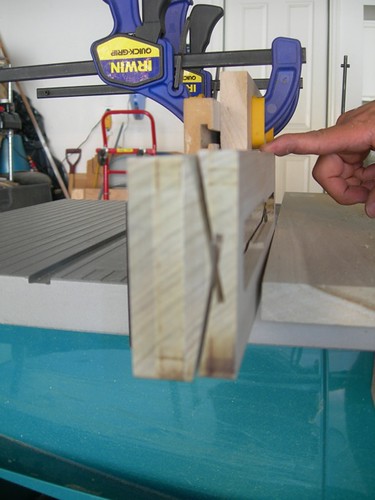
Here's one of those before/after shots of the keyhole area.
Before:
After:
With that out of the way, it was time to set up for trimming the 9 degree angle off of the top of the booster covers on each side. Veterans of the blog may recognize the picture sitting on the table saw from droid #1. I occasionally refer back to my own blog entries to see how I set up for various stages of the build, so I can recreate the scenario later if necessary.
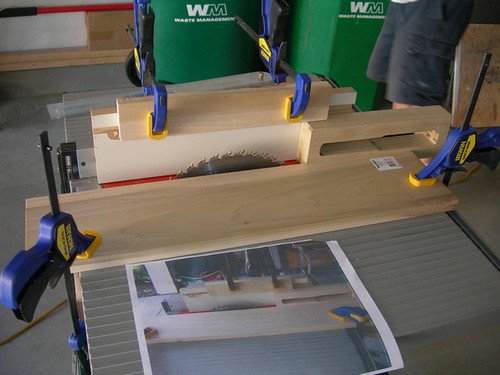
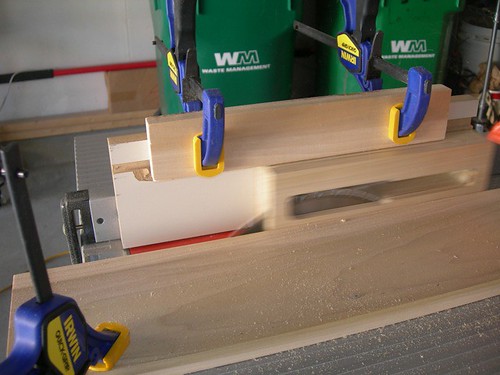
The blade is a blur, but we fed the booster cover through.
With (somewhat noisy) video!
Once one side was done, we flipped the piece over and ran it through again.
After a little sanding, the booster cover bodies are in great shape!
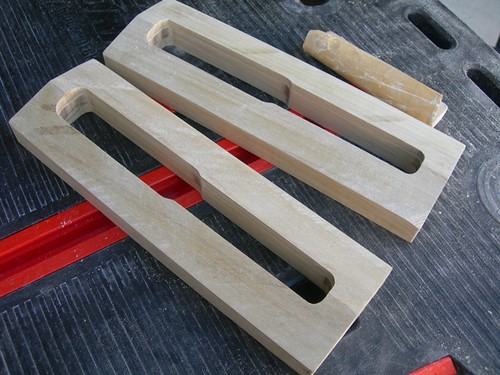
There are a few things yet to be done, including routing the horizontal groove around the booster cover to match that on the legs, and routing the vertical grooves. I'm not sure when I will do those, I may work on the dog house and head pieces first.

2 comments:
HI Victor, great job on the boosters. It was one of my favorite parts of the droid construction. When I did my horizontal groove, I merely used a thin kerf saw blade on the table saw, raised the blade 1/16 or 1/8" (can't remember the spec) and just ran them thru using the fence as a stop and the cross cut slide. It only takes a few seconds.
HTH
alan
Thanks for the kind words and advice Alan. I'm sure you'll recognize where the inspiration came from for the booster cover setup shown in today's entry. :-)
For those reading along, check out Alan's most excellent work here:
http://alanrw.freeservers.com/legs1.html
-Victor
Post a Comment