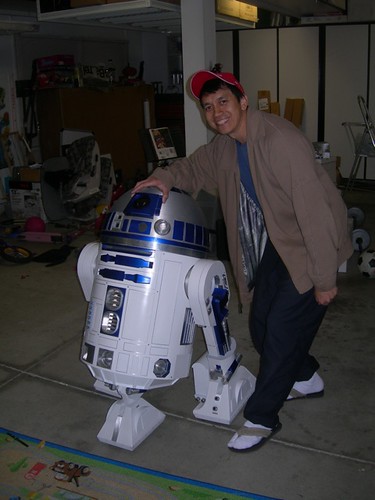
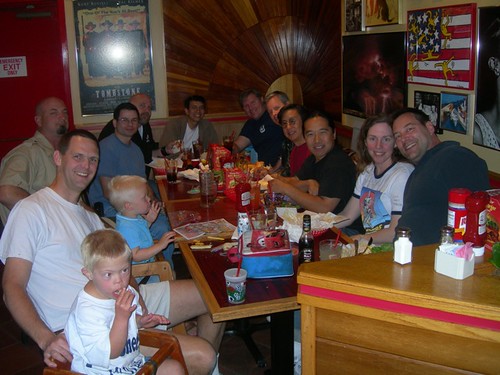
As announced on astromech.net, a few of us Southern Californians got together for dinner at the Red Robin restaurant in the Brea Mall.
Chris Romines came prepared.
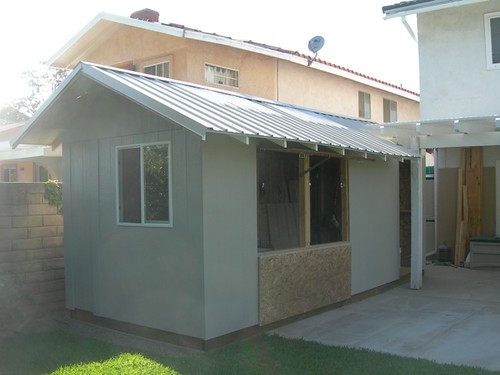
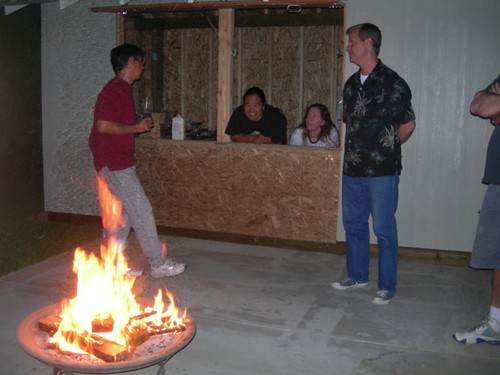
Afterward, several of us returned to Mike's house, where his newest project - a work shed, was on display. It's almost done, and it's quite impressive!
We chatted into the night, and it was great getting together once again with R2 Building friends.
Saturday, April 25, 2009
Thursday, April 23, 2009
Sanding and Primer for Top of Left Leg
I spent a few minutes this evening sanding out a slight drip on the top of the left leg, and I reprimed.
I think I'm done prepping the legs for now, but when it comes time to paint them white, I'm sure I'll give them a thorough going-over and possibly do a little more work.
Monday, April 20, 2009
Yet More Primer for Legs
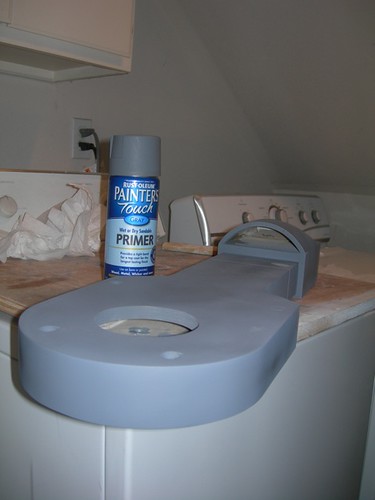
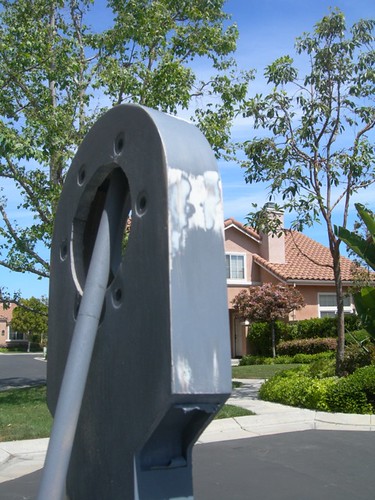
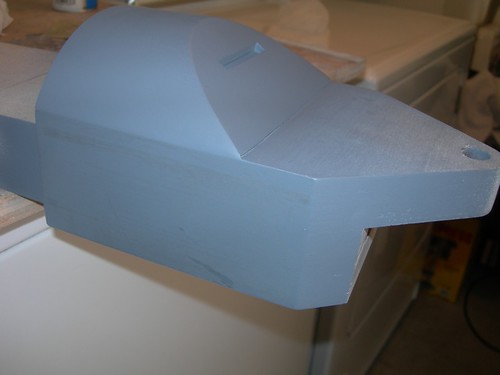
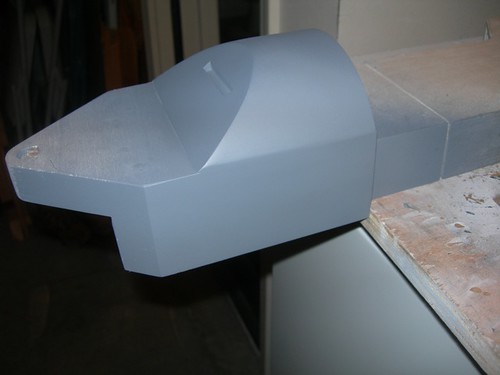
More of the same, three more coats of primer after yesterday's primer and light sanding. You'll just have to take my word for it that this isn't a recycled picture.
Unfortunately, the tedium will probably continue for a bit longer, as I see slight evidence of a drip at the top of one of the legs that I want to address, with more sanding and primer, of course.
Sunday, April 19, 2009
Leg Finishing Work Continues
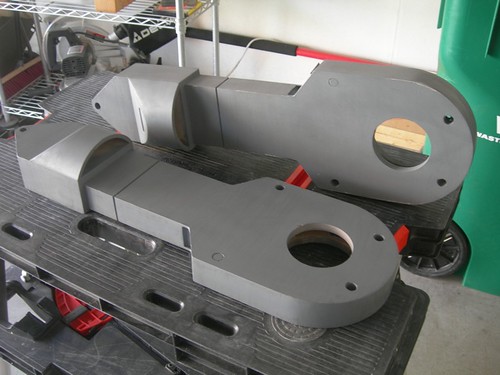
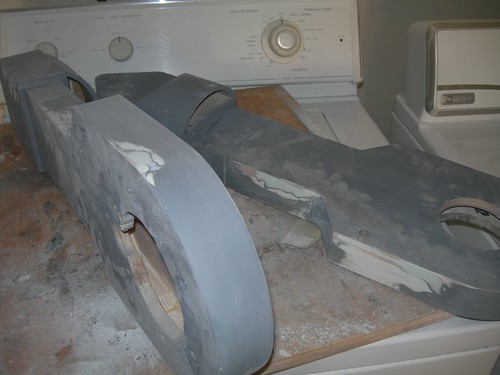
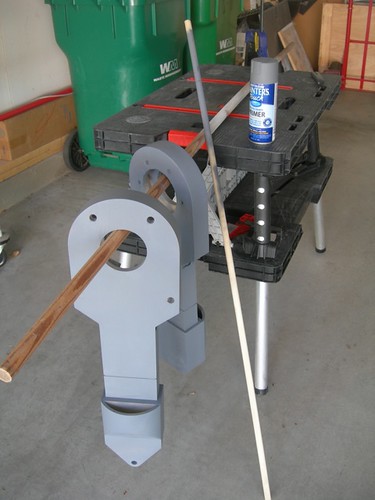
Today I picked up where I left off with the leg finishing yesterday. That means, time for another round of primer. Three coats this time, as this is the real deal (vs. last weekend's mist coats to find flaws). It was a good day in Southern California to apply primer, as the temperature was over 90 degrees Fahrenheit.
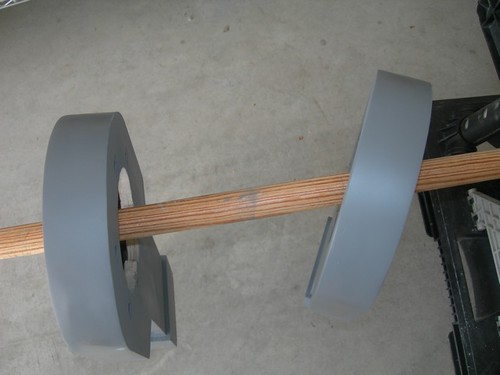
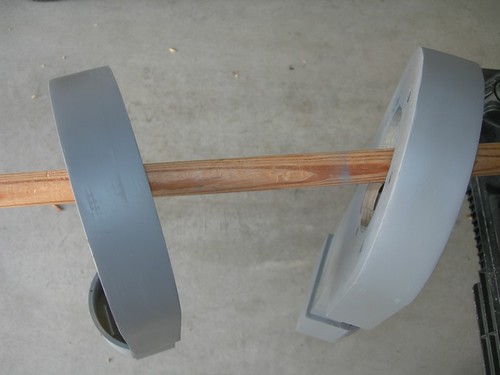
Leg on a stick. I hung the legs onto a 5/8" diameter wooden dowel to apply primer all around.
After I applied primer, I hung them out to dry on another stick, as I did last week.
The flaws I found last week appear to be gone now, with yesterday's repairs.
The pattern is three coats of primer, lightly sand, and then three more coats. So after the initial three coats, I lightly sanded and wiped them up.
When I get a chance, I'll apply another three coats of primer. Ideally that will be soon, because the weather is supposed to remain hot for the next couple of days.
Saturday, April 18, 2009
More Leg Finishing Work
As promised, I've been in ultra-slow-mode lately, and that may continue for a while. I did manage to spend a little time going over the legs.
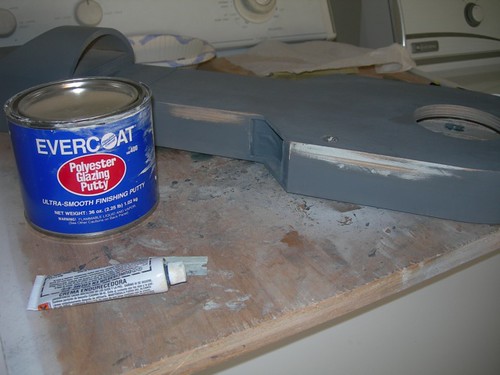
Last weekend's mist coat of primer revealed a few spots that could use another going-over with Evercoat, so I sanded the primer off those spots first.
Then, I applied the Evercoat.
Finally, I sanded everything as smooth as possible. I also discovered scraping the surface lightly with an Xacto knife blade can help smooth the surface.
I'm not sure if this exercise was worthwhile. It may be the case that I could have concealed the wood grain with a few coats of primer, but I figured I'd try this approach first. Hopefully my next round of primer tomorrow will show an improvement (and not a step backward).
Tuesday, April 14, 2009
Meet with Roy
Tonight I dropped by Roy Powers' house, to answer some questions about finishing the build, and to drop off the famous cutting board that several builders have used to help lock down the outer feet.
Roy's droid is coming along quite nicely, he's nearing completion. Still to do are the mounting of the eye, an adjustment on the legs to allow the shoulder hubs to fit, and other odds and ends.
Almost there!
Roy's droid is coming along quite nicely, he's nearing completion. Still to do are the mounting of the eye, an adjustment on the legs to allow the shoulder hubs to fit, and other odds and ends.
Almost there!
Sunday, April 12, 2009
Primer Test Coat for Legs
I decided that the legs were ready for a test coat of primer, in order to inspect them for defects.
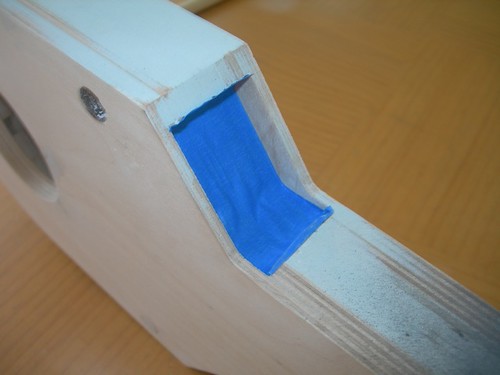
I masked the pockets for the under shoulder details, because I'm going to glue some MDF inserts in there later, and I want the glue to adhere to the bare wood.
Time for primer!
After I was done with the primer, I hung the legs to dry on a stick.
The exercise achieved its objective, I found a few spots that need a little more work. I will sand off the primer, add a light coat of Evercoat, sand and try again.
I've been in ultra-slow mode lately, and that pattern may continue for a little while, unfortunately. Busy, busy, busy with other stuff.
Sunday, April 05, 2009
More Sanding and Primer for Ankles
Today I spent a few minutes going over the outer ankles. I lightly sanded to help reveal any grain that is still showing.
I followed up with another light coat of primer. Getting close.
Saturday, April 04, 2009
Sanding, Evercoat and Primer for Ankles
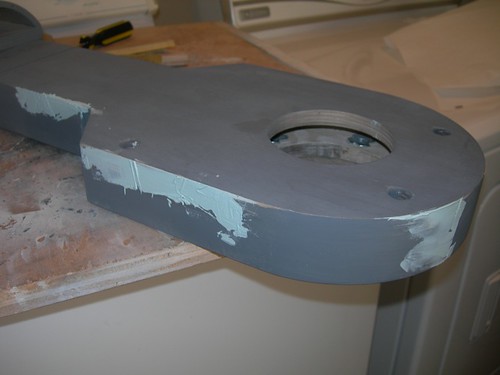
Today I did some finishing work on the seams of the ankles that I glued down yesterday.
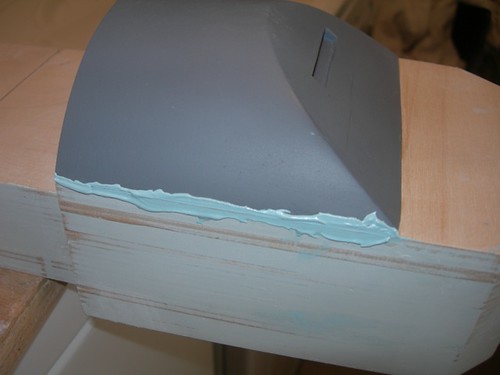
I applied Evercoat to each seam.
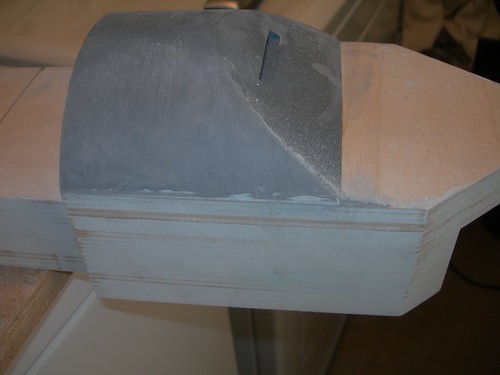
Then I sanded everything as smooth as possible.
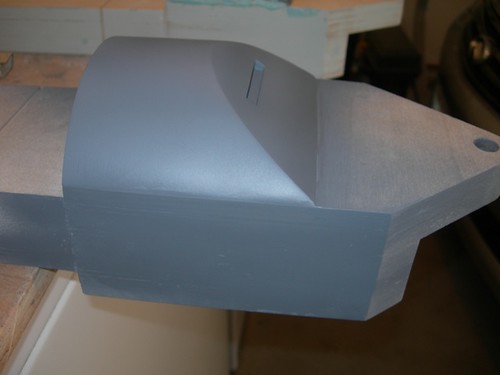
And finally, some primer to check on the results.
Pretty good, but I'll do a bit more sanding and priming before I'm done.
I applied Evercoat to each seam.
Then I sanded everything as smooth as possible.
And finally, some primer to check on the results.
Pretty good, but I'll do a bit more sanding and priming before I'm done.
Friday, April 03, 2009
Leg Touch-Up, LDP Adjustment, Glued Down Curved Ankles
I took care of a few miscellaneous items today.
In preparation for applying primer to the legs, I did a quick spot-fill-and-sand of Evercoat on a small chip on the left leg.
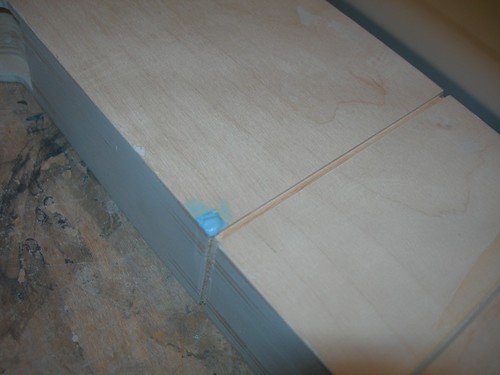
I also fixed an annoyance on droid #1. The LDP is held on from underneath using double-stick foam tape. I had three thin layers of the tape to raise it above the skins. That was one layer too many. So I removed the Rockler bearing, pulled the LDP off, removed the tape, and reapplied one fewer layer, and now it looks better.
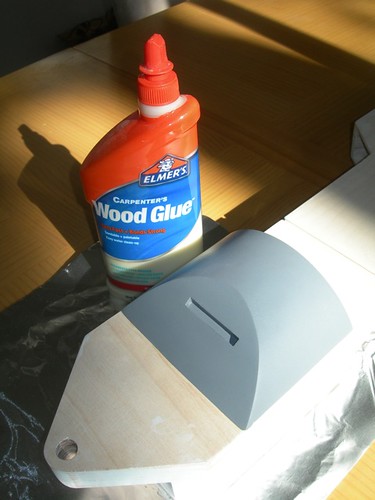
Finally, I decided the Tape-Ease curved part of the ankles were ready to be glued down.
Apply the glue, and smear it around.
I placed the ankle section down and let the glue set.
And I repeated for the other ankle.
Soon I will fill and sand the seams between the curved part of the ankle and the rest of the leg, and then it will be time to apply primer and hunt for imperfections and repair them.
In preparation for applying primer to the legs, I did a quick spot-fill-and-sand of Evercoat on a small chip on the left leg.
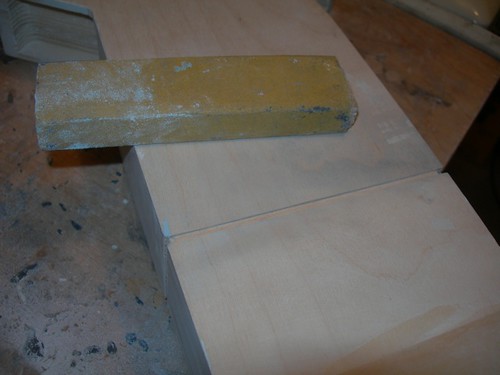
I also fixed an annoyance on droid #1. The LDP is held on from underneath using double-stick foam tape. I had three thin layers of the tape to raise it above the skins. That was one layer too many. So I removed the Rockler bearing, pulled the LDP off, removed the tape, and reapplied one fewer layer, and now it looks better.
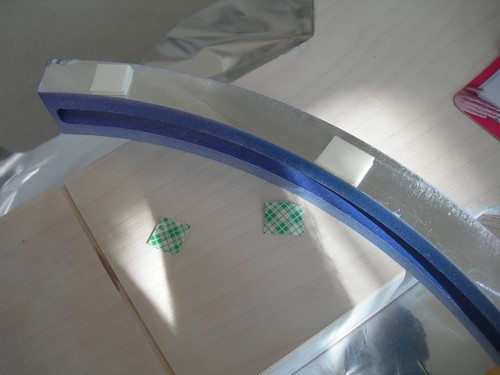
Finally, I decided the Tape-Ease curved part of the ankles were ready to be glued down.
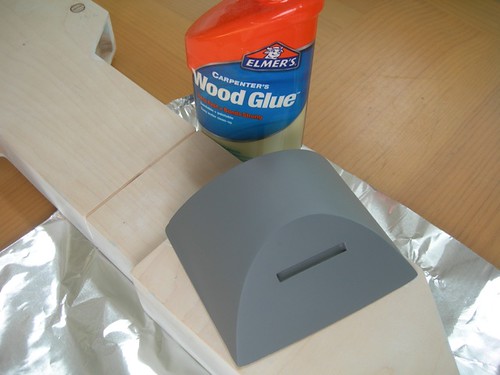
Apply the glue, and smear it around.
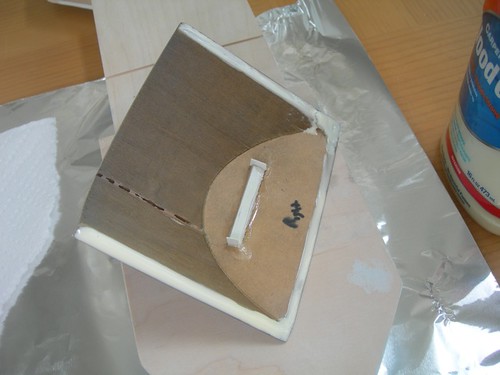
I placed the ankle section down and let the glue set.
And I repeated for the other ankle.
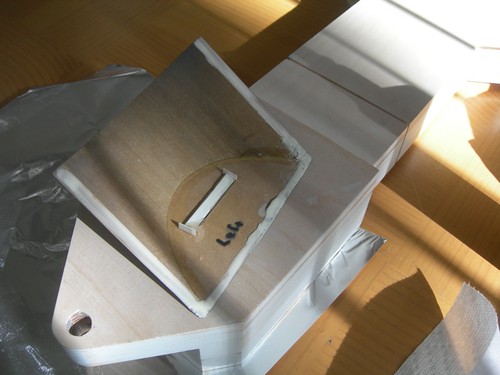
Soon I will fill and sand the seams between the curved part of the ankle and the rest of the leg, and then it will be time to apply primer and hunt for imperfections and repair them.
Subscribe to:
Posts (Atom)