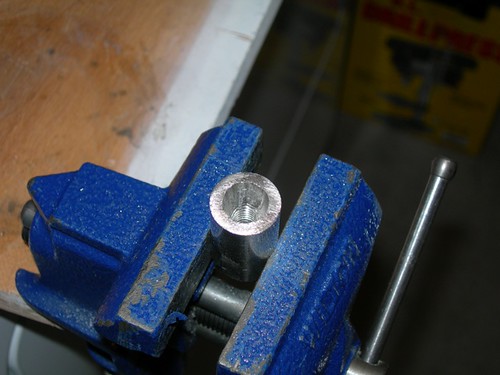
There we go, almost flush with the shaft base, with enough room to turn.
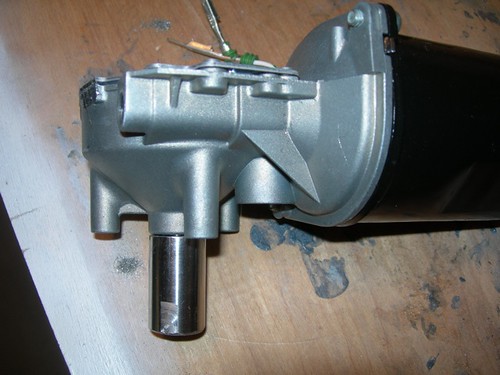
With the fit just right, next I globbed JB Weld on the motor shaft.

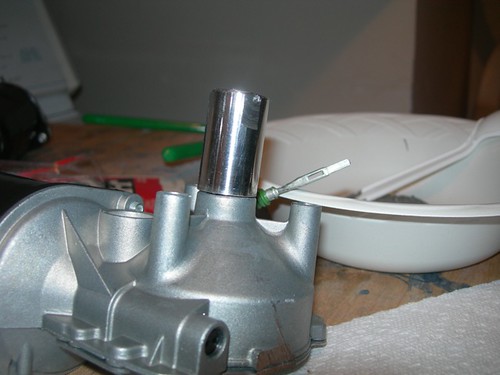
Finally, I tightened down the shaft adapter. I used a toothpick and a razor blade to ensure that the JB Weld would not bind the shaft adapter onto the motor base.
Once the JB Weld has fully cured, I'll drill and pin the shaft adapter to the motor shaft.

No comments:
Post a Comment