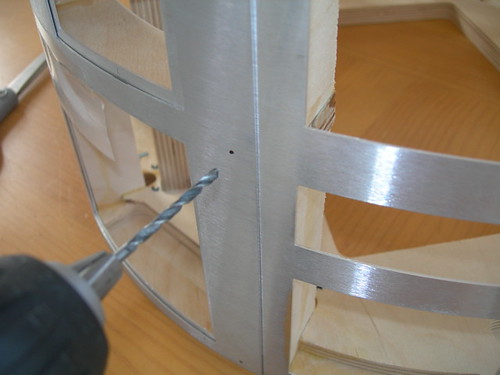
This countersink bit has five flutes, and makes for fairly smooth countersink holes.
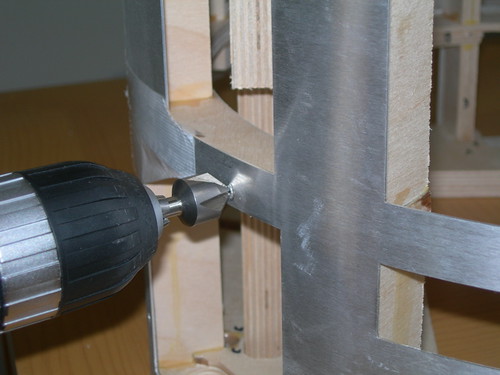
Once the top of the screw head can fit in the countersunk hole, it's time to stop countersinking. It's very important not drill beyond the amount required to fit the head of the screw in, or else there's the risk of punching a hole too large, and the entire screw head will go right through the hole.
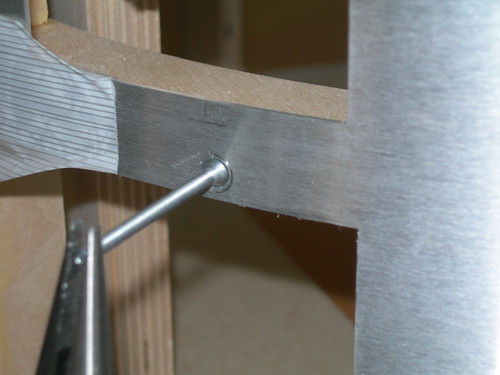
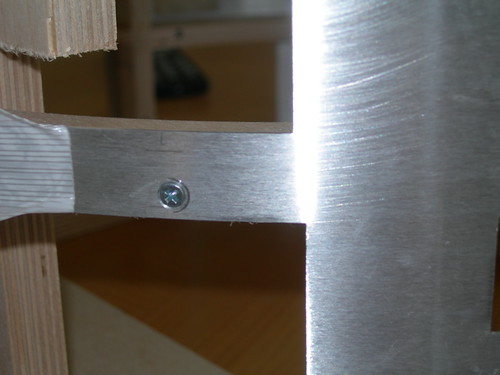
Once enough material has been drilled out, the head of the screw fits flush against the skins.
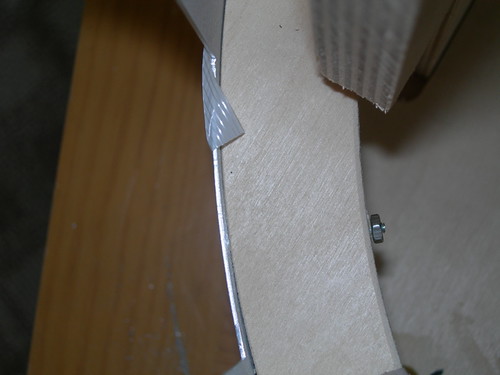
The screws that go through the ribs are backed with a #4-40 nut.
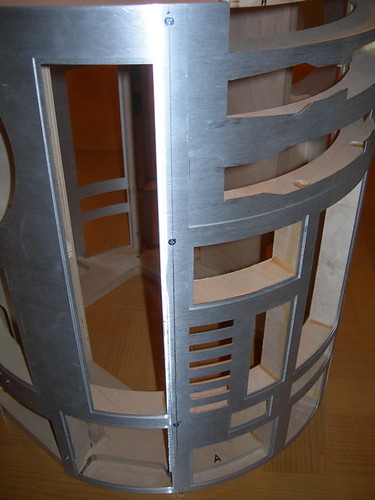
Once the inner skins had all the holes countersunk and their screws attached, I worked up the gumption to attach the outer skins and start drilling those too.
A bunch of holes later, and the outer skins are all fitted with screws, and are ready for their own turn at countersinking. No way I was going to do that today though, I need to be extra, extra careful when countersinking the outer skins. There are no second chances.
Tomorrow R2 has a special assignment. Tune in tomorrow to see what that might be.

3 comments:
I regret, but nothing can be made.
Cheers, That was a great post, I really liked visiting your site. I am going to bookmark it and will make sure to visit weekly.
Thanks!
-Victor
Post a Comment