The root cause of the problem is that the ankle bolt hole needs to be closer to the tip. I've done all I can to the foot to get more clearance for the leg tilt, but it still wasn't enough. The curve on the ankle had to be sanded down. I will probably use a paint brush to apply primer and paint. I hated to do this so much that I may rebuild a new center leg some day. The tape-ease cylinder is a pain, but the rest of the center leg is a pretty easy build.
Man, I hated to do this. (Ok, I'm over it. It's in the past now.)

I cut some center foot stabilizers that get screwed onto the center ankle. This way, when R2 backs up, his foot won't jump up like a spooked horse, as it is currently prone to do.
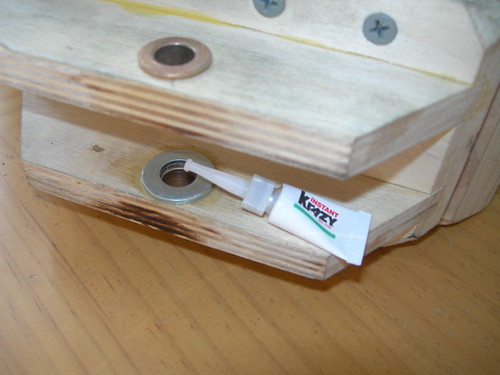
I used Krazy Glue to glue affix the washers from yesterday for the center foot, to keep it stable when bolted to the ankle. This eliminates any wiggle room. I didn't know if this would actually work, but so far the washers are holding tight.
One last cut on the outer foot shells, as I opened up a small rectangle with the Dremel and drill to allow wiring to pass from the ankle on down into the foot.
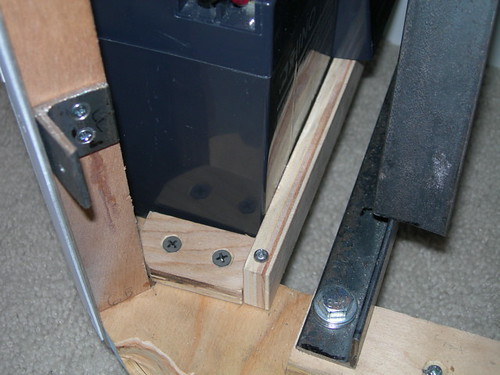
Finally, I finished up the main battery railing, I installed stubby pieces at the ends of the rails. Now the batteries won't slide around at all.

No comments:
Post a Comment