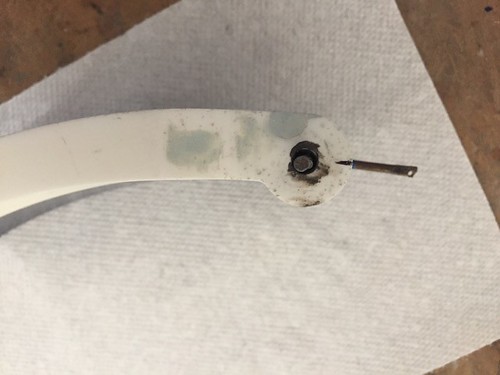
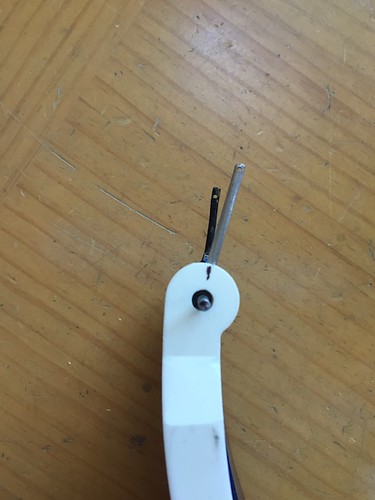
I am using the blue arms as a guide as to where to locate these rods for the new arms that will be painted red.

I stacked the new resin arm on top of the blue arm and made an alignment mark showing where and what angle at which to drill.
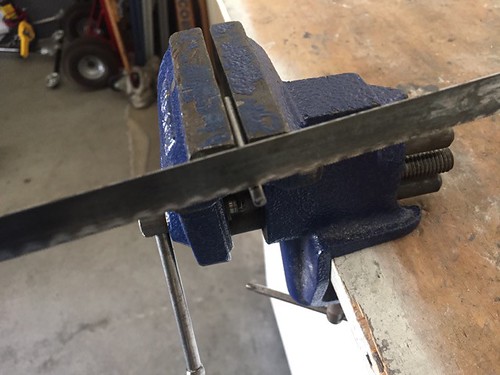
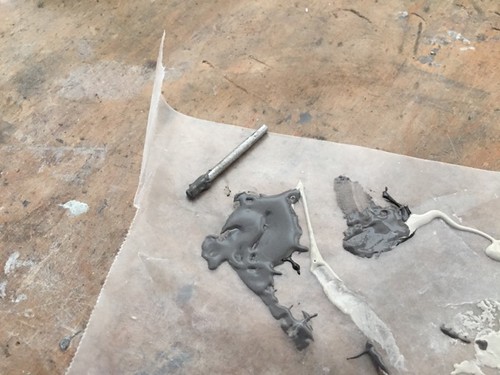
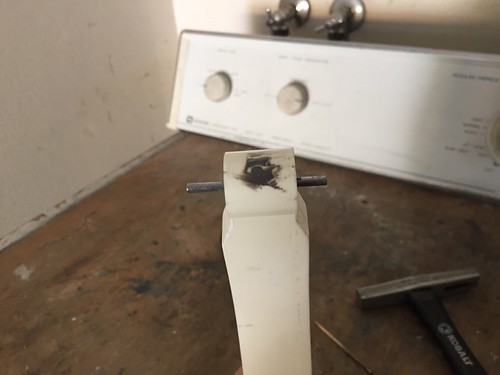
Next I cut segments of 1/8" steel rod to length.
I beat a flat spot on one of the ends with a hammer, to make it easier to drill the hole I'm going to add.
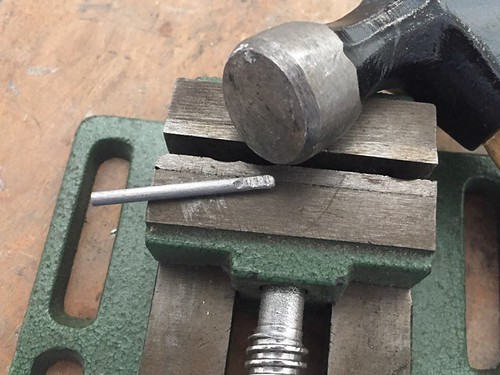
I used a punch to mark a divot at the point I wanted to drill, to prevent the drill bit from wandering.
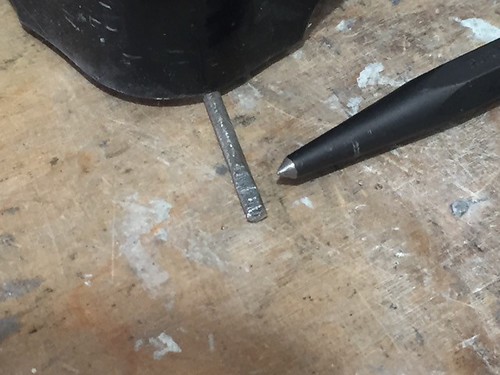
Time to drill! I went with a 1/16" drill bit.

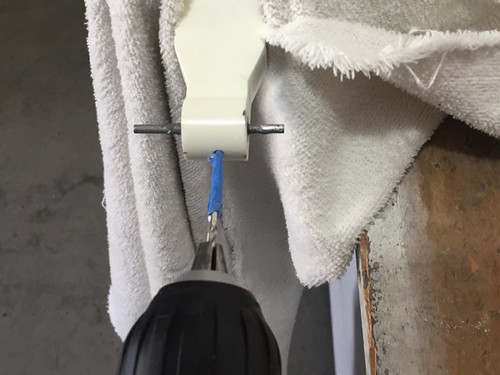
Next it was time to drill a hole at the end of the arms to install the rod segments. I used blue tape to mark how deep the bit should go.

And then I JB Welded the segment in place on the bottom arm.
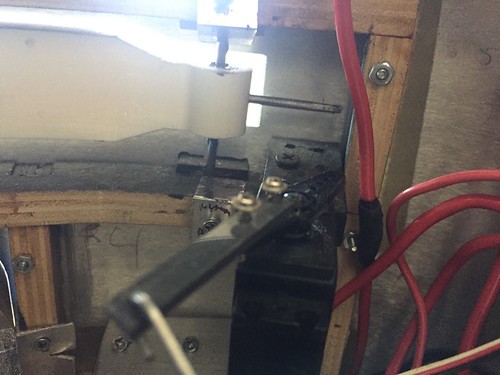
I did a test-fit in the body, including opening and closing the arm under servo control. (A paper clip hooks from an arm on the servo motor to the hole at the end of the rod.)
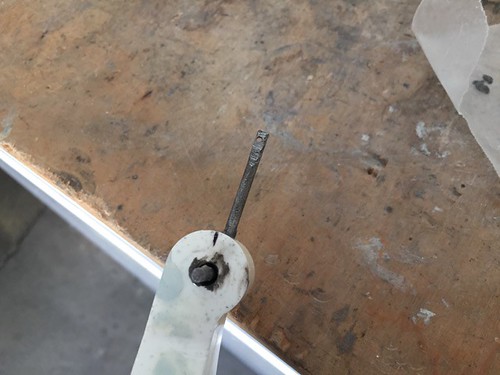
I started to repeat the process for the top arm, but I found that while it mostly worked, I had somehow managed to drill the hole at the end of the arm off-angle. I was trying to be careful about this since I made a similar mistake on droid #2, but I still managed to botch it.
So I did what I did last time, fill the hole with JB Weld.
Soon I will redrill this (hopefully in the proper location), and wrap up work on the servo rods. After that it will be time for primer, more filling and sanding, and finally painting.

No comments:
Post a Comment