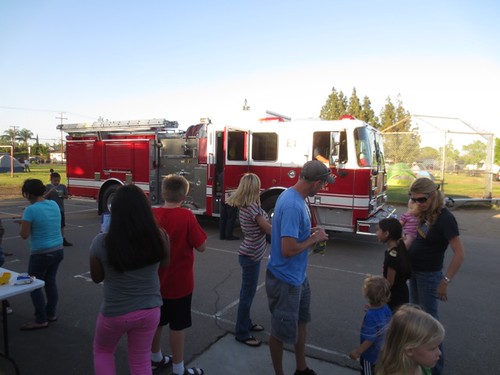
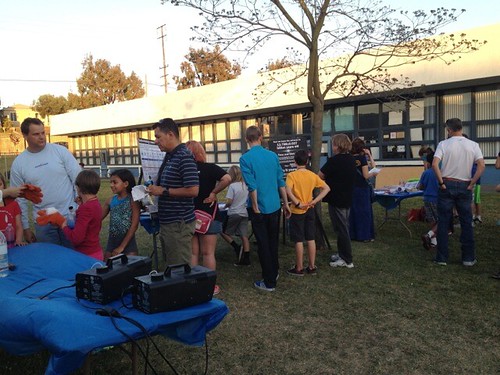
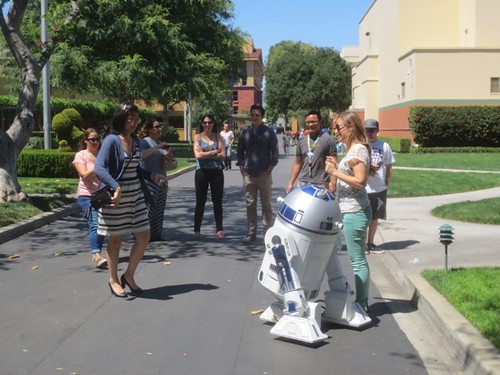
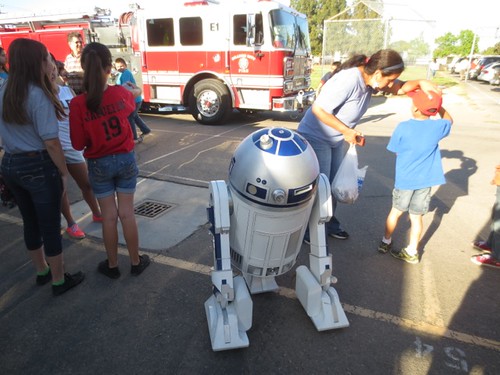
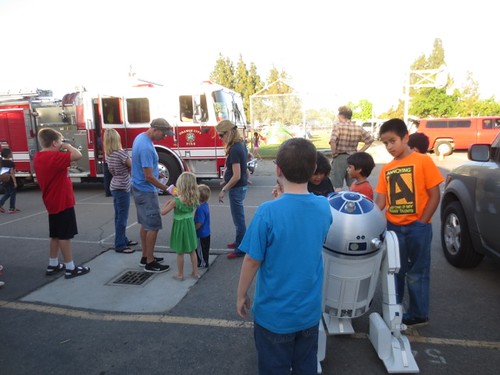
Tonight R2 participated in another middle school Science, Technology, Engineering and Math event, at Cambridge Elementary in Orange, CA.
The local fire department was also represented. Luckily R2 didn't need to be extinguished.
After R2 interacted with the kids ("R2, gimme five! Up high! Down low!"), I gave a talk on how he was built and showed them the inside of the droid. It's safe to say they enjoyed meeting R2.
Friday, May 30, 2014
Saturday, May 17, 2014
9 Volt Regulator for Amplifier on Droid #2
Today I finally got around to a minor task for droid #2, regarding his sound system.
I'm using a Radio Shack audio amplifier that runs on 9 volts. Until now, I've been using a small 9 volt battery that resides inside the amplifier for its power. There are a number of disadvantages to this:
• The battery requires me to separately turn on and off the amplifier when I power up and down the rest of the droid.
• To get to the amplifier power dial, I need to remove the dome.
• I'm prone to forgetting it's on, thus running down the battery.
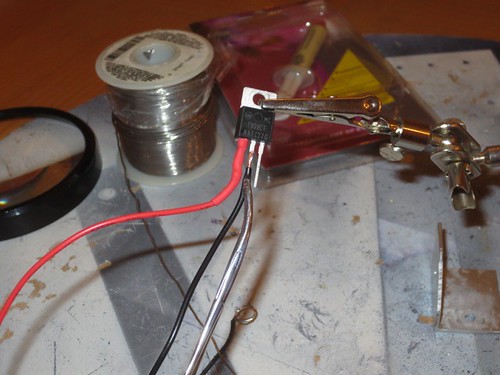
The solution is to use the amplifier's power adapter connection, that takes 9 volts DC in. Since my droid runs on a 12 volt power supply, I need to use an LM7809 voltage regulator to convert 12 volts to 9 volts.
The left pin is the 12 volt input pin, and gets connected to the 12 volt positive terminal strip. The center pin is ground, and gets connected to the ground bolt. The right pin is the 9 volt output pin, and gets connected to the positive input to the amplifier.
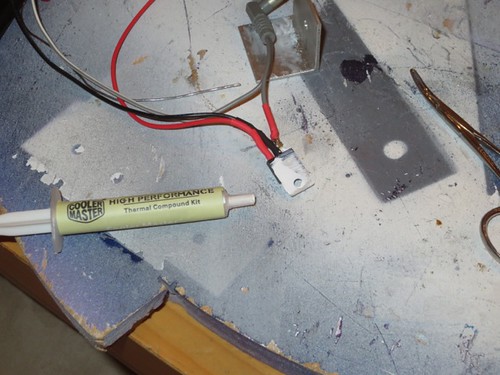
I added some thermal paste to the back of the regulator, before attaching it to the segment of aluminum angle bracket that I'm using as a heat sink.
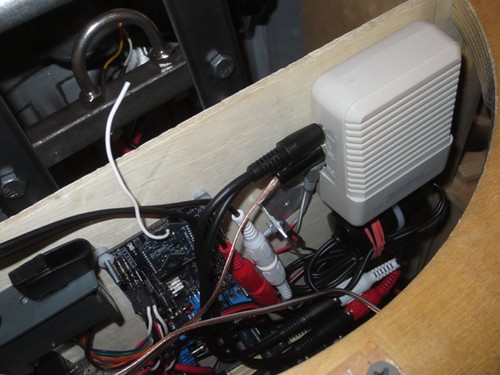
Time to test it out in the droid!
It works! Now I can run without a battery in the amplifier, and use just a single on/off switch in the droid.
Wednesday, May 14, 2014
Parras Middle School STEM Night
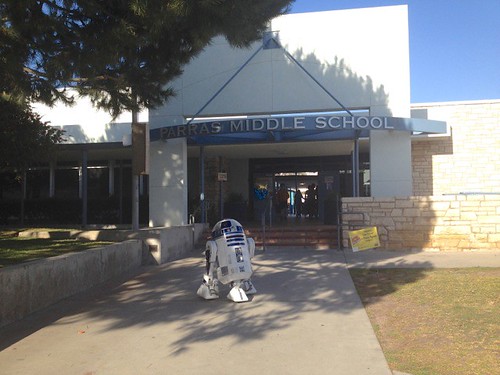
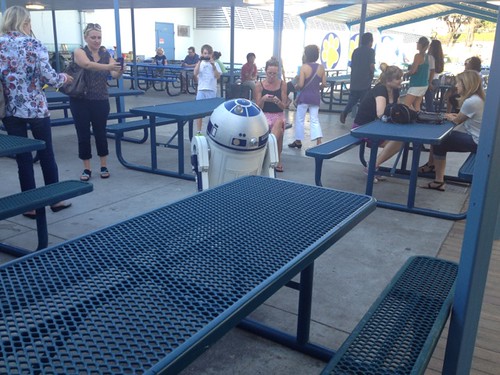
Tonight R2 visited Parras Middle School for their Science, Technology, Engineering and Math party.
Fellow R2 Builder Steven Jarvis invited R2 and me to join the interesting exhibits at the school. R2 arrived and posed for a few pictures.
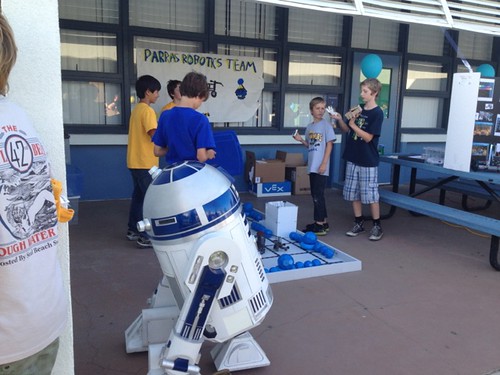
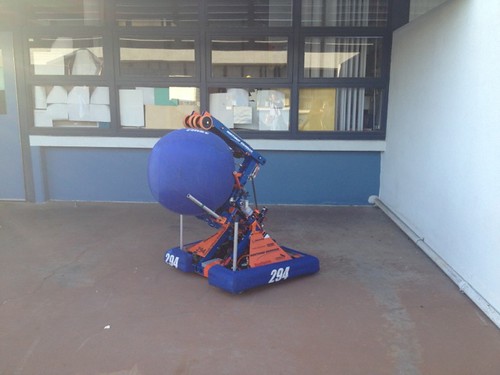
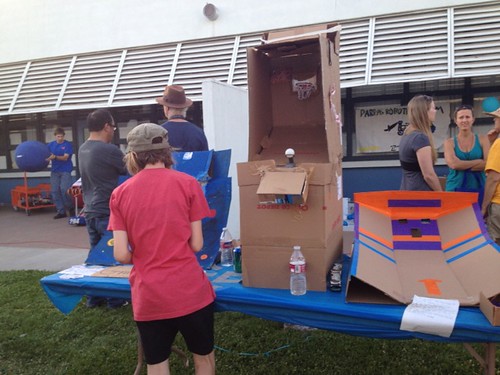
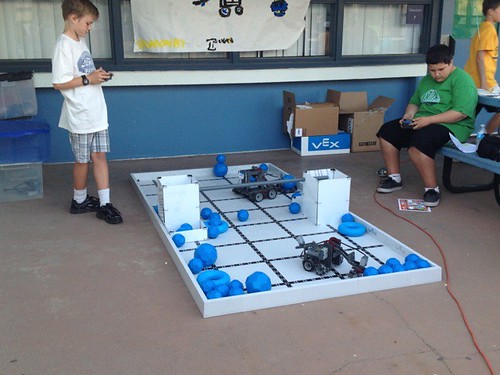
We moved on over to the area where FIRST robotics, Vex and other presentations were held.
It was a very nice evening and I was impressed with all the science- and engineering-oriented projects I saw.
Wednesday, May 07, 2014
Her Universe Photo/Video Shoot with Ashley Eckstein
Last Wednesday (April 30, 2014), R2 participated in a photo and video shoot with Ashley Eckstein, to show off a new collection of R2 jewelry available from Ashley's business, Her Universe. Her Universe is a Lucasfilm licensee, and the shoot was authorized by Lucasfilm.
Here is the video, which naturally focuses more on the merchandise, and less on R2, who makes his appearance about half way through.
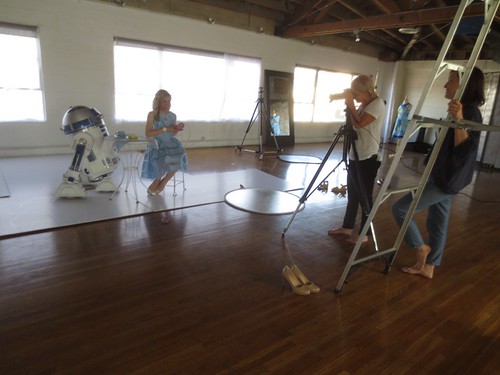
I arrived around noon at Kelsey Edwards Studios in Hollywood and unloaded R2, and met up with Ashley and the team. The tricky part is the studio is on the second floor, and there was no elevator! Suffice it to say, we managed to use the gas pipes that form the manual droid lift to get R2 up there (and back down) in one piece. I removed the batteries to save us about 20 pounds of weight.
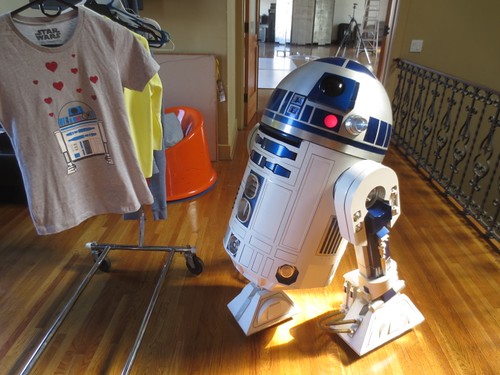
They were still shooting some photos and video that did not require R2, so we stood by while R2 admired some clothing.
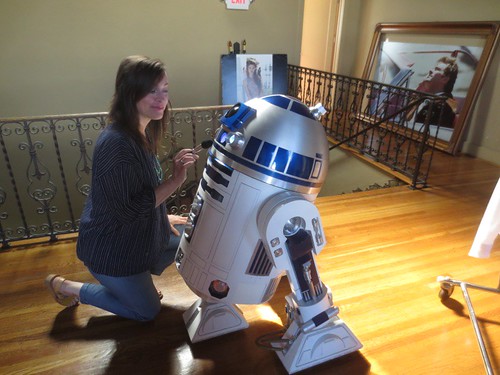
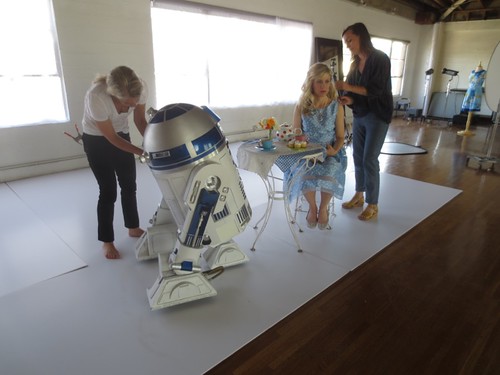
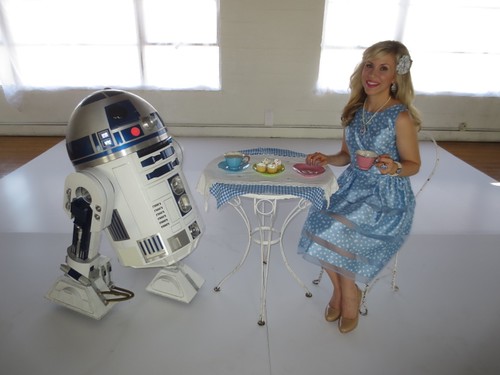
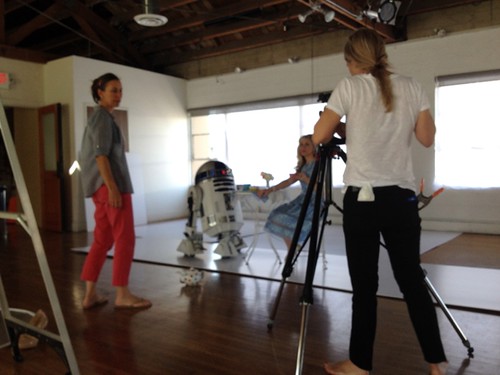
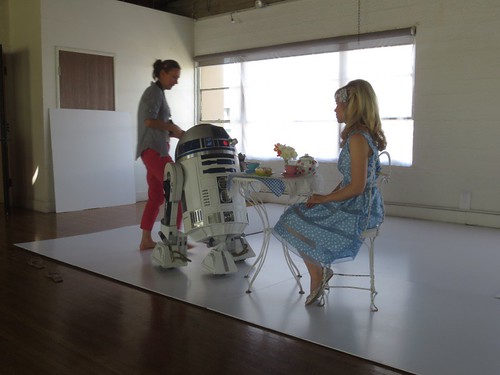
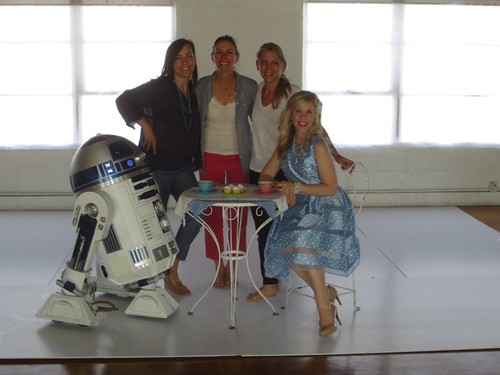
Once they were ready for us, R2 got a quick makeup touch-up before joining Ashley for some tea.
Audio and dialog were recorded, but the final video ended up just using a music track, which works nicely.
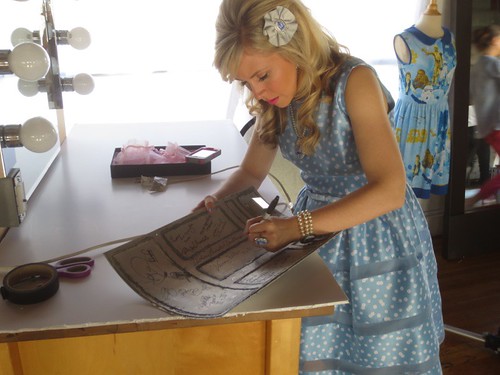
R2's portion of the shoot wrapped up around 5:30pm, and Ashley kindly offered to sign R2's back panel.
If you want to order some nice R2 jewelry, go check it out here!
The full photoset (and you just saw almost all of it) is here.
Sunday, May 04, 2014
Finished Drilling New Shoulder Discs to Fix Lean Problem for Droid #2
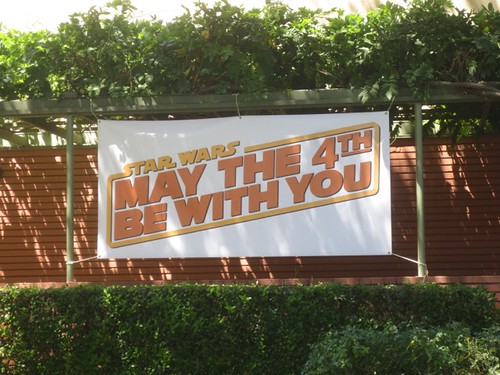
Today I celebrated a good portion of Star Wars Day working to get droid #2 to lean at the proper 36 degree angle. (I also fixed a motor keystock problem I mentioned a few days ago.) May the Fourth be with me.
One thing I realized is that the holes in the vertical bar through which the U-bolt passes were not well-aligned with the gas pipe that the U-bolt circumscribes. This caused the U-bolt to not be perpendicular with the vertical rail and gas pipe. I used the Dremel with a grinding bit to widen these holes.
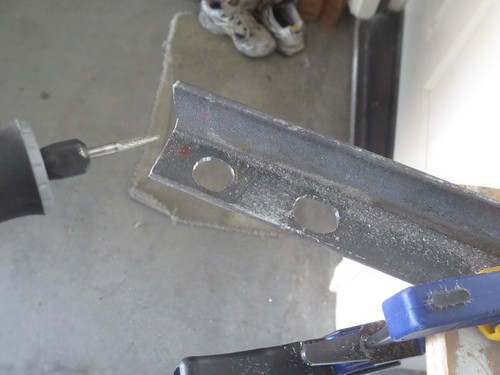
Now the U-bolt fits properly around the gas pipe, and also passes through the holes in the vertical rail in a perpendicular fashion. Note that the vertical rail is flush against the flat spot I filed on the gas pipe.
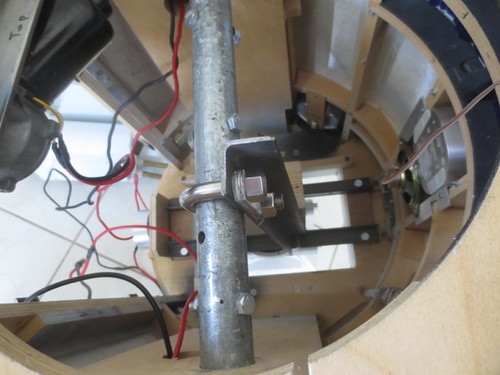
This doesn't fix the problem with R2 leaning too far back, though. Just how far is he leaning, anyway?
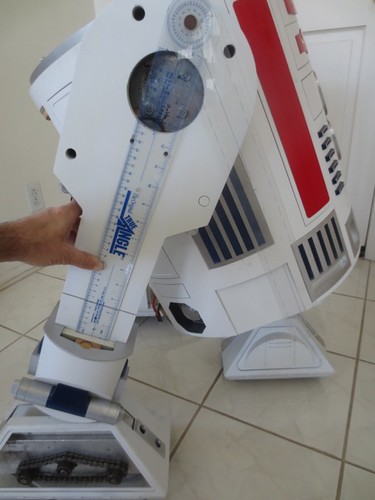
Looks like about 44-45 degrees. He should be leaning 36 degrees, so he's leaning a good 8-9 degrees too far back. This is because I didn't file the flat spot on the gas pipe in the proper location.
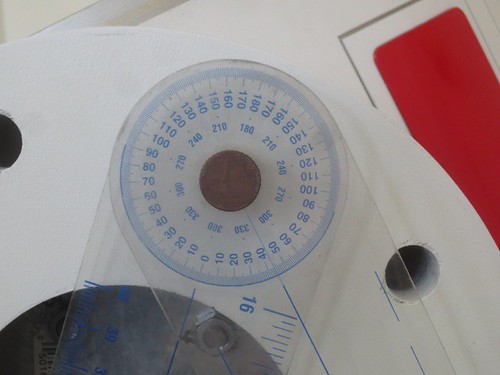
The last few days I thought about how to fix this, and decided to cut new shoulder discs, where the flange that secures the gas pipe would be rotated from it's current position. I bolted together the outer holes of original shoulder disc and the new one, and made an alignment mark.
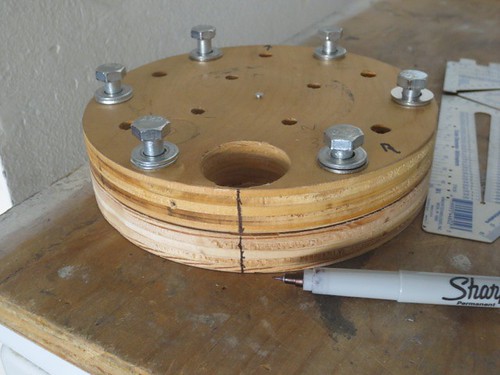
I then measured 9 degrees from this mark. I checked my measurements with four different protractors, as it was important to get this right.
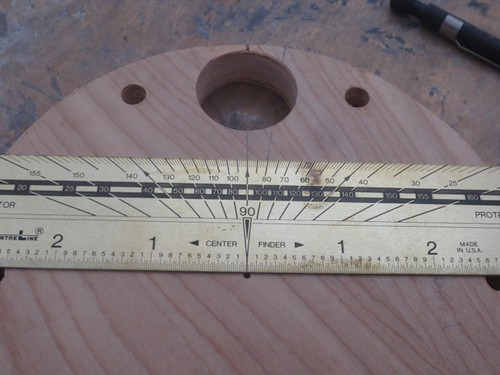
I made a second alignment mark, to know where to rotate the original disc with respect to the new disc.
I made a third alignment mark for the other shoulder disc. The left shoulder disc was to rotate clockwise, the right disc counter-clockwise. I then stacked the first disc to be redrilled onto the original, and rotated it to the new alignment mark.
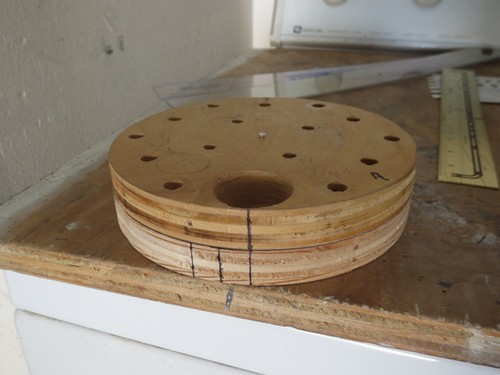
Before drilling, I quadruple-checked my logic on the actual gas pipe, to make sure everything was right, and as far as I could tell, it was.
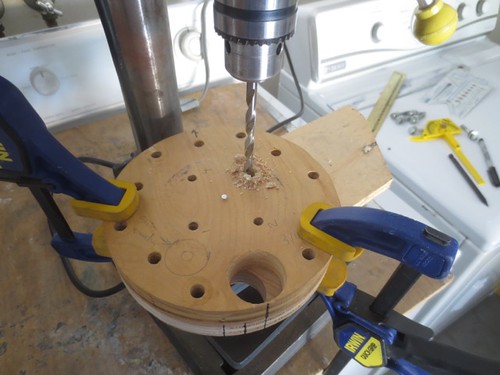
Time to drill the offset holes for the gas pipe flange. The disc is rotated nine degrees from the original.
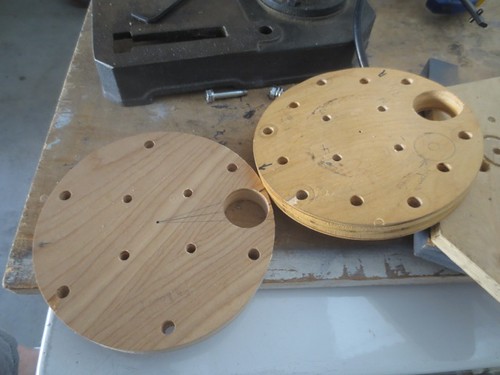
The newly drilled disc on the left, and the retired disc on the right.
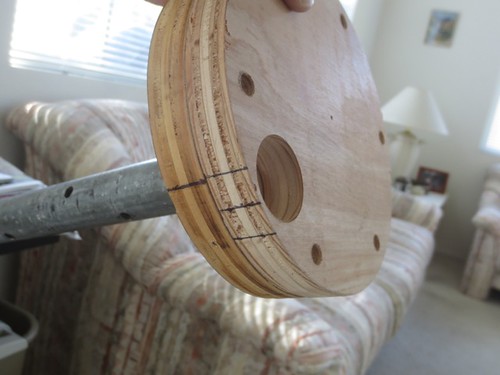
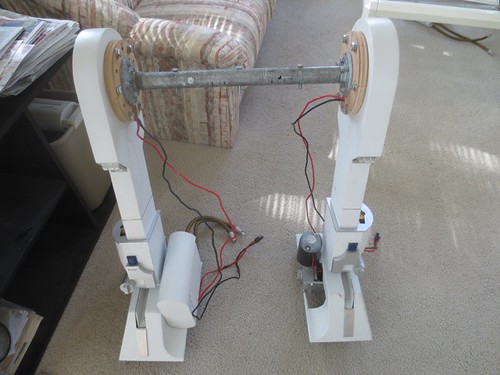
Before drilling the left shoulder disc, I wanted to sanity-check that this work had the intended effect. When the gas pipes are bolted together, the right leg should be less rotated that the left, and indeed it was. Phew!
And time to drill the left shoulder disc, nine degrees offset in the opposite direction.
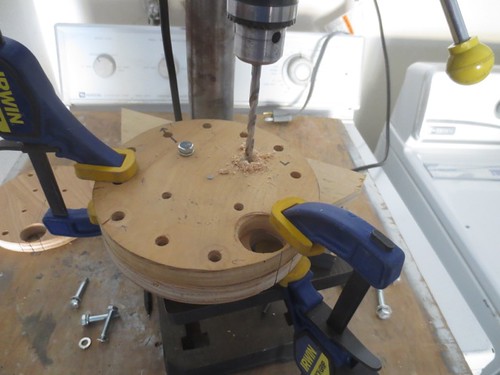
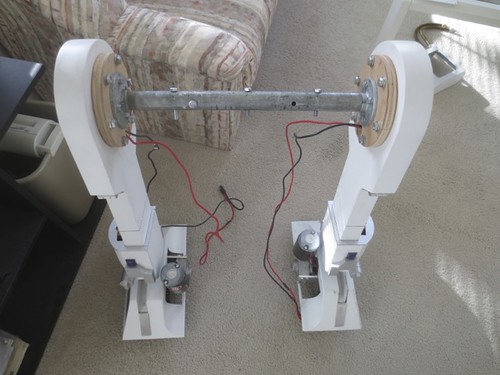
Everything should line up when the gas pipes are bolted together. Happily, they do. So far, so good.
And now, the moment of truth. Time to try all this out on the actual droid.
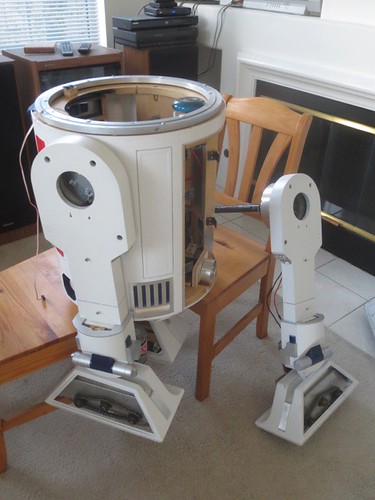
Success! Or at least, I think it is.
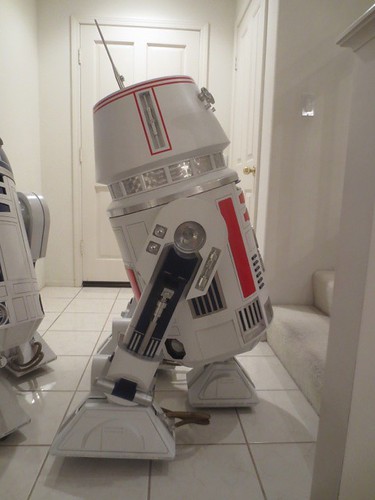
The flat spot on the gas pipe is aligned such that R2 is leaning properly now. I did some very minimal driving, and again, so far, so good. Hopefully this fixes the issue once and for all, but I need some more drive time with droid #2 before I declare complete victory.
Friday, May 02, 2014
Star Wars Day at Disney Studios
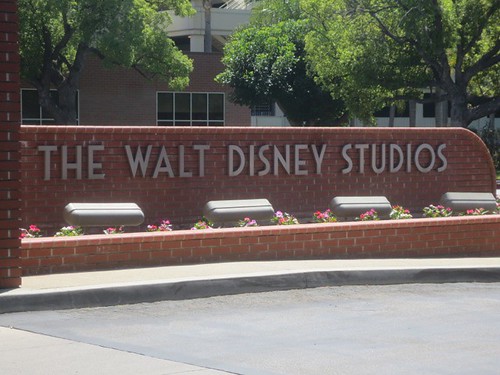
Today R2 was invited out to The Walt Disney Studios in Burbank, CA, to help celebrate Star Wars Day a little early. May 4th is Sunday, so they decided to celebrate today.
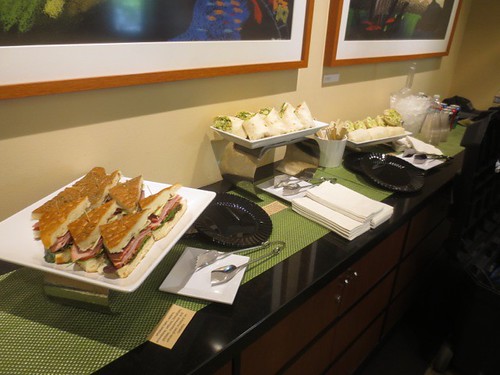
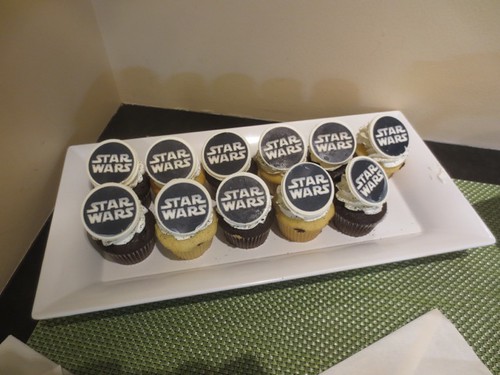
Not only did Disney provide sandwiches and drinks, but Star Wars cupcakes too! They were topped with a white chocolate disc that had the Star Wars logo printed on top.
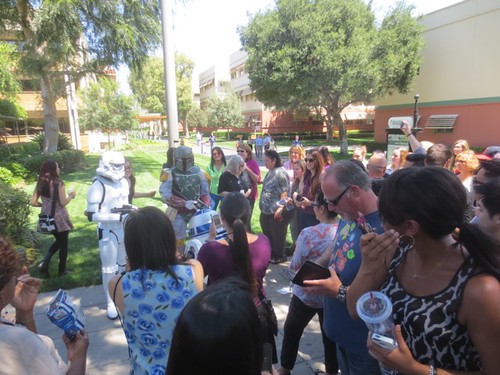
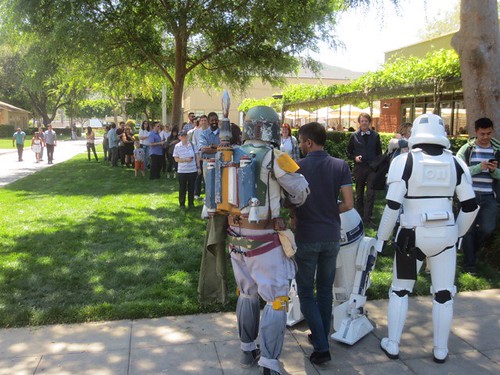
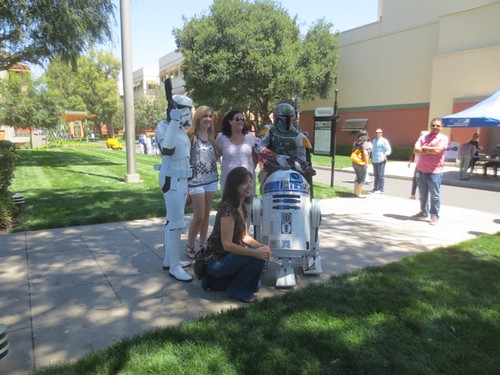
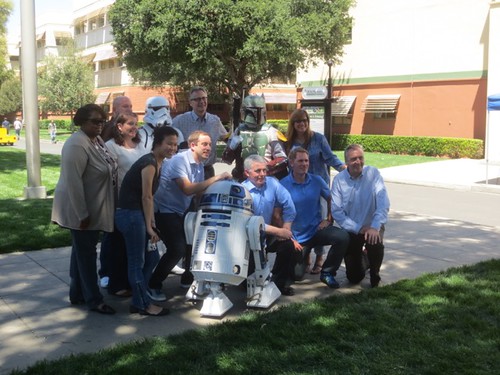
R2 was joined by Boba Fett and a Stormtrooper in front of the commissary. At first it was just mob madness, but then we had the folks form a line for photo ops.
And from 11:30am-2:00pm it was pics, pics, pics!
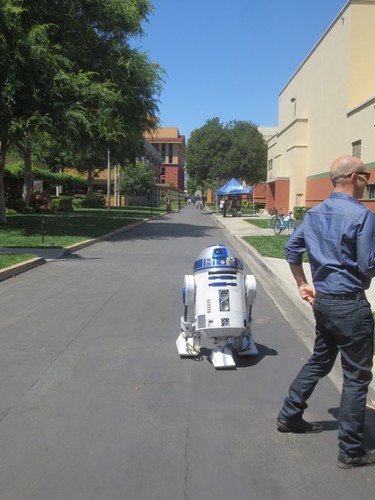
At 2:00pm we wrapped up, and R2 made a run for it to the Droidmobile.
But he's always happy to stop on the way out for one last picture (or 10).
It was a nice day out and I enjoyed the visit and meeting some of the folks at Disney Animation.
Not only did Disney provide sandwiches and drinks, but Star Wars cupcakes too! They were topped with a white chocolate disc that had the Star Wars logo printed on top.
R2 was joined by Boba Fett and a Stormtrooper in front of the commissary. At first it was just mob madness, but then we had the folks form a line for photo ops.
And from 11:30am-2:00pm it was pics, pics, pics!
At 2:00pm we wrapped up, and R2 made a run for it to the Droidmobile.
But he's always happy to stop on the way out for one last picture (or 10).
It was a nice day out and I enjoyed the visit and meeting some of the folks at Disney Animation.
Subscribe to:
Posts (Atom)