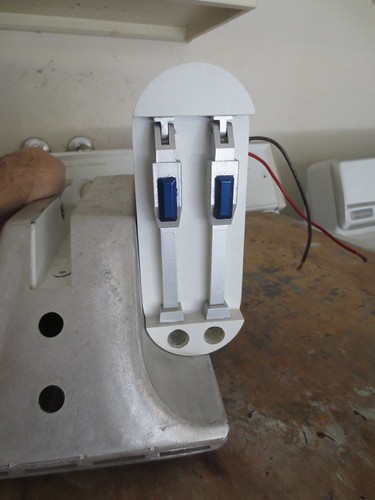
I used the Dremel with the cutoff wheel attachment to remove a bit of material.

That's better. I'm pretty sure I can live with this now. The motor and motor mount are attached and hiding in the battery box.
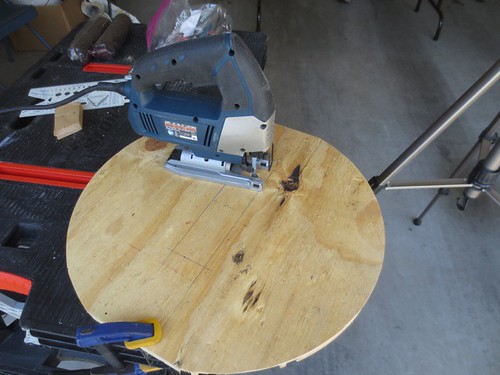
The main event of the day was the glue up of William's frame and Maddy's frame. They came by so we could make it a team effort.
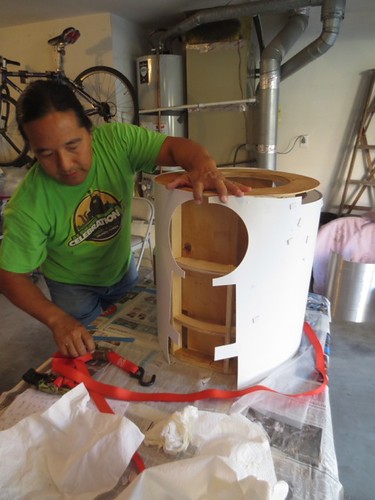
Before gluing Maddy's frame, we needed to cut out a hole for the center leg. This hole is somewhat smaller than what would traditionally be cut, due to the way the rails that attach the center leg to the frame are cut.
An almost perfect rectangle.
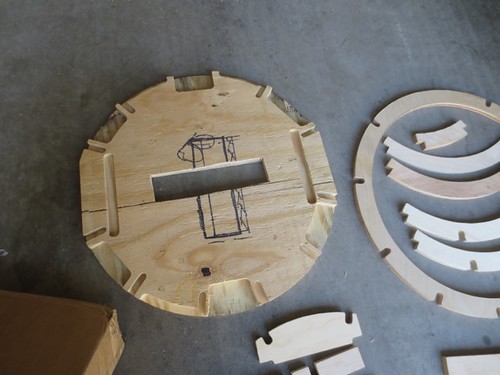
It was at about this point that William glanced down and had a look on his face that let me know something wasn't quite right.
Um, I cut the hole 90 degrees from how I should have. That's what I get for flipping the base plate upside down and not double checking the original markings Maddy had made.
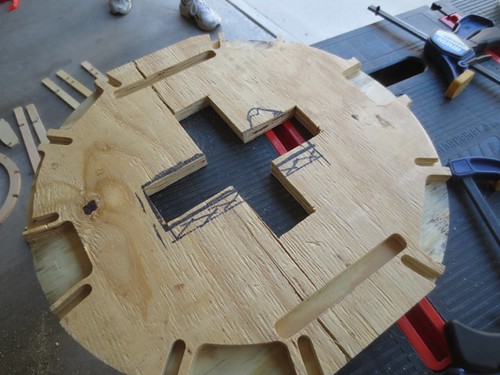
Although it's not pretty, I recut the hole at the correct orientation. Nothing has been compromised structurally, and in fact the area I accidentally cut is normally cut out along with a lot more material, as the hole typically matches that of the hole in the skirt.
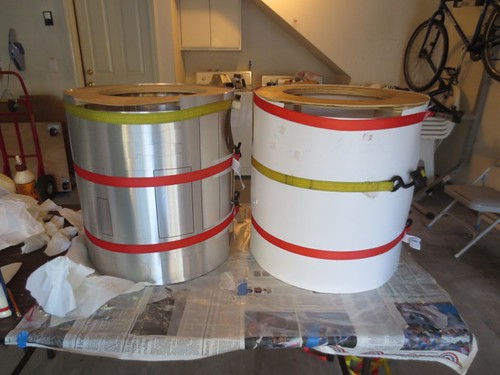
We shot a video tutorial for the wooden frame glue-up, and sooner or later it will be published somewhere. We walked through the basic steps, such as dry-fitting, where and how to glue, and how to use the skins to help align the frame and ensure that the frame properly supports the skins. Here, William is working on the glue-up of his frame.

By the late afternoon, two frames were glued up and drying, waiting for the day they can support their droids' adventures.

1 comment:
Grate job you guys!!! :)
Post a Comment