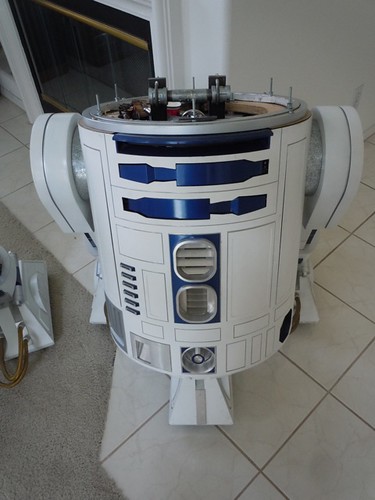
Today I addressed a bit of a Rockler bearing conundrum that I faced when swapping the R2 dome and the R5 dome.
Recall that I've mounted the dome ring screws for the R5 dome onto the R5 dome ring itself. They point down from the dome and go through the corresponding holes on the Rockler bearing. This was done to avoid having a problem where screws pointing up from the Rockler bearing would otherwise poke through the R5 neck ring.
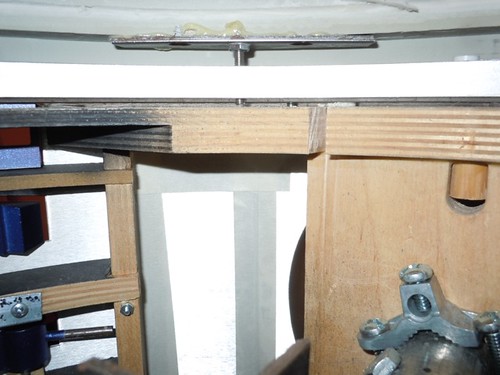
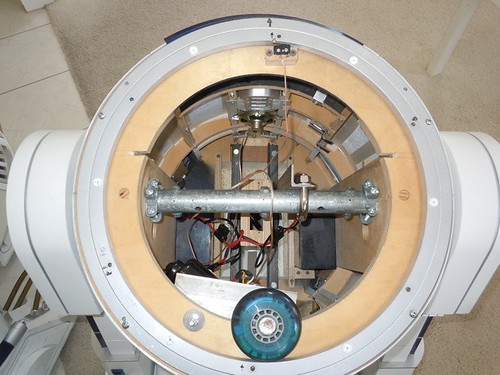
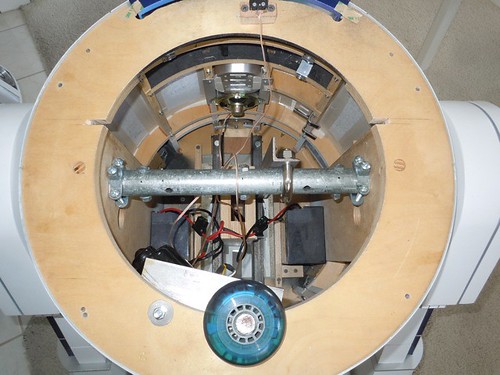
Conversely, the R2 dome expects the dome screws to be mounted in the Rockler bearing pointing up, as seen here with droid #1
One option when swapping the domes is to remove the Rockler bearing and the six dome screws whenever I swap from the R2 dome to the R5 dome, and then reverse the process when going back to the R2 dome. That's not so bad in and of itself, but it potentially means keeping track of nut positions that help to raise the R2 dome above the skins.
Rather than deal with that, I figured that if I could get my hands on an extra Rockler bearing, I could then have one dedicated to the R2 dome with the screws affixed to it, and the other dedicated to the R5 dome without the dome screws. I was fortunate enough to acquire a spare Rockler bearing (without having to buy it).
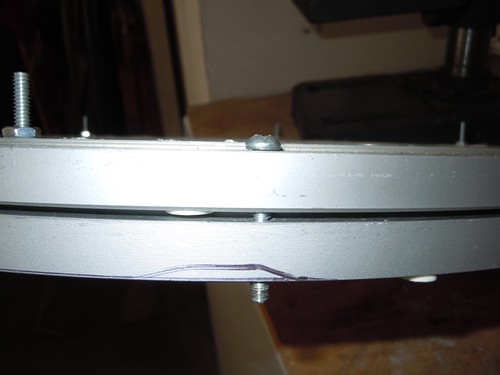
The only trick is getting the four screw holes in the outer ring of the new bearing to match up to the original bearing. These four holes are used for the screws that hold the bearing onto the wooden frame.
The more I thought about matching the hole pattern for the frame, the more I figured if I was going to the trouble of drilling Rockler bearings, I might as well make all three bearings fit exactly the same on both droids. So I pulled the Rockler bearing off of droid #1 to use as a template for drilling holes into the other two bearings.
First I affixed the six dome screws onto the inner ring of the original bearing for droid #2, and then I slid the bearing for droid #1 on top of it.

Each bearing has four holes drilled into its outer ring, to secure it to the frame with screws. Unfortunately, these holes are not in identical locations on each droid, but I'm about to make them so. By luck, one of the four outer ring holes did match up with each ring, so I slipped a screw through the hole to help lock the outer rings together.
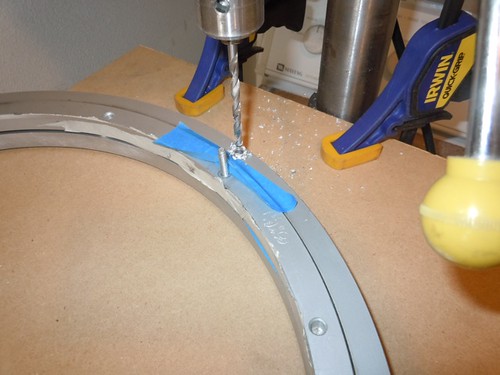
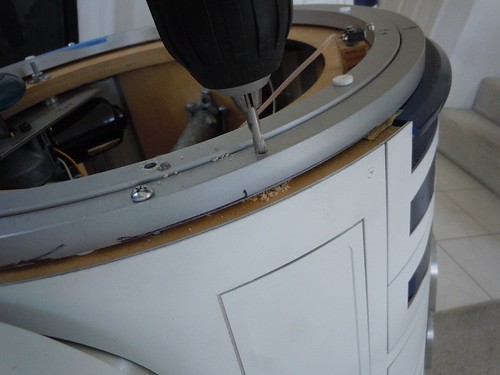
I checked and double-checked that the four hole locations for droid #1's bearing wouldn't interfere with anything on droid #2's bearing. After convincing myself that all was well, I started drilling. I covered the four hole locations of the lower bearing's race way with masking tape, and also used a piece of tape for the upper bearing as well, as I drilled.

I repeated the process for each hole location. The outer ring on droid #2's bearing now has seven holes, versus the original four. Three holes are new, one was recycled.
Once the holes were drilled, I took the original bearing for droid #2, and placed it back on droid #2's frame, placing screws in the original four locations. This locked the bearing onto the frame in the proper position, nice and centered on the frame.
I used a hand drill to drill the three new locations in the wooden frame, using the new holes in the Rockler bearing as a guide.
Three new holes in droid #2's frame, plus the original four.
I repeated the process for the new Rockler bearing for droid #2, and that also went very well. I also verified that both the bearings for droid #2 fit on droid #1's frame.
Now all my bearings are interchangeable. This is good, because as of now droid #2 is not yet remote controlled, so if I want to dress up droid #1 as R5-D4, I'll be able to do so with a lot less hassle. Plus, not all bearings are created identically, and sometimes getting dome screws to match up between domes that were drilled for different bearings can be quite a challenge.
I told you it could get confusing.

2 comments:
I know this is late, what about tapping your rockler and using studs. Like 10-24 with jam nuts and oversize end. When you want to change just add Nd remove studs
David,
Next time I see you I'll have to ask you about this idea in more detail.
-Victor
Post a Comment