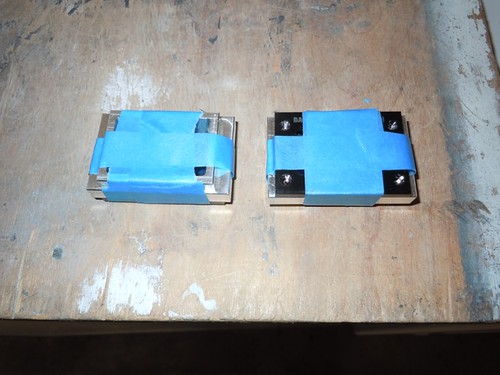
These need to be drilled and tapped for a #6-32 screw. I taped down the bezels to the surrounds for use as a template to locate the four mounting holes.
I set the drill press stop to the proper depth, for the #36 (0.1065") drill bit I'm using.
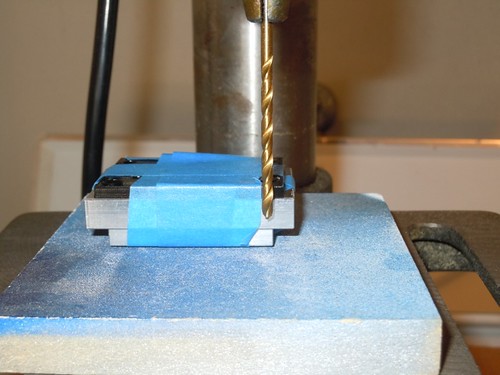
Time to drill!
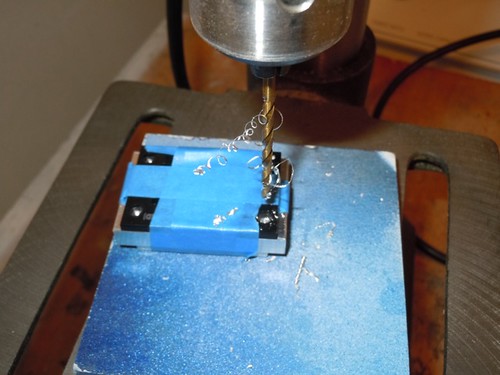
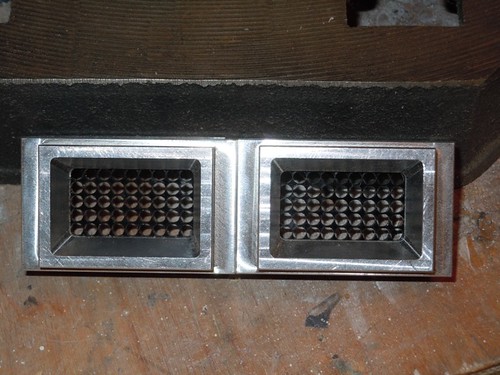
A short while later I had the four holes drilled for each surround.
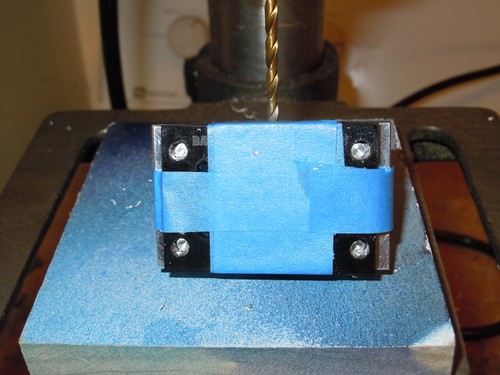
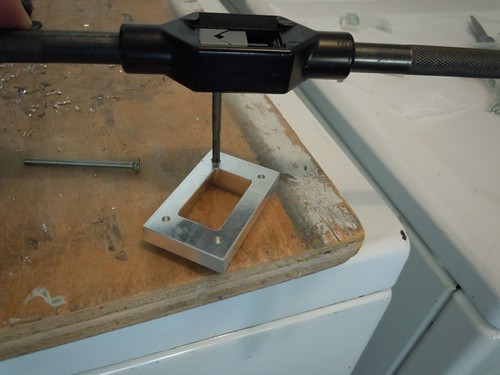
Next up, tapping each hole with a #6-32 tap bit. I'm not very good at tapping, but it worked out fine.
A quick test-fit with the bezels on the surrounds, to make sure the alignment looks okay.
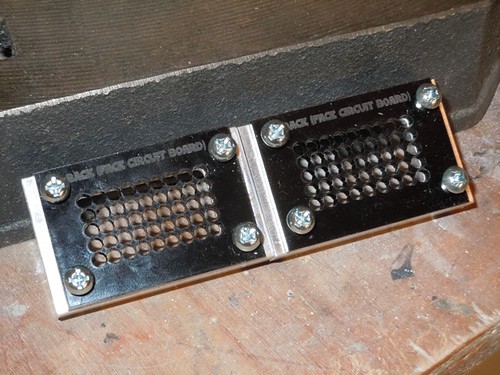
So far, so good.
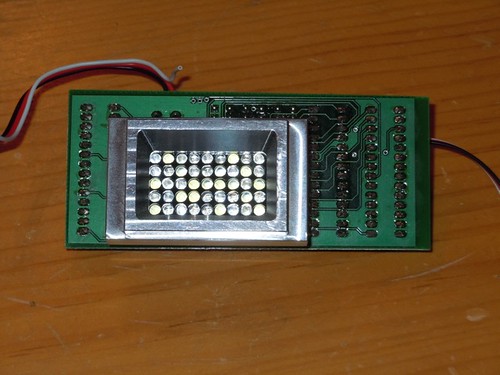
And finally, a test on the front logic circuit itself. Again, things look good.

Hopefully I can start making progress on the housings for the various dome lights shortly.

No comments:
Post a Comment