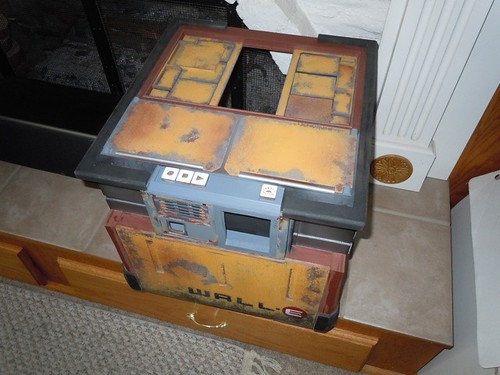
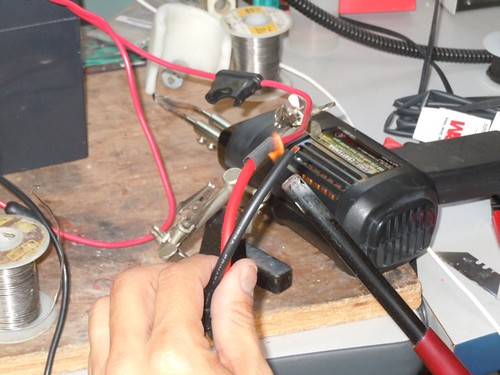
Mike has a beefy soldering gun for this type of job and he knows how to use it, and he kindly offered to help. Before anything else, though, I had to check out the latest progress on his WALL•E build. The front and top panels have been weathered, and they look outstanding.

On to the batteries. These are 6-volt, 12 amp-hour batteries, hooked up in pairs in series to supply 12 volts to my droid. Two sets of these pairs are tied in parallel to provide long-lasting power.
The holes in the terminals need a little widening.
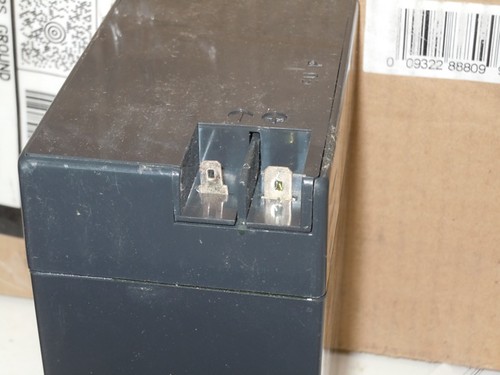
The only thing I'm qualified to do is drill out slightly larger holes. Mike did the first pair, I did the other three.
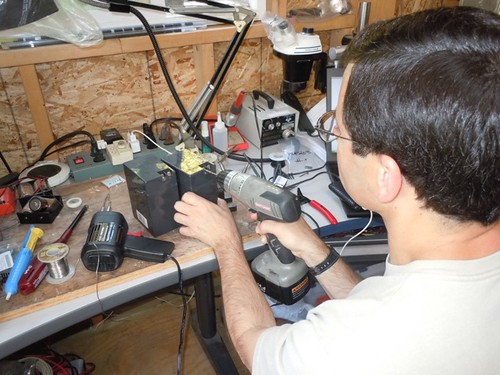
Under the supervision of one of his chickens, Mike did all the soldering. (Mike said, "She taught me everything I know.")

Mike continued the solder job. I marked the received date on the batteries so that I'll know how old they are, and so I can tell them apart from the original batteries.
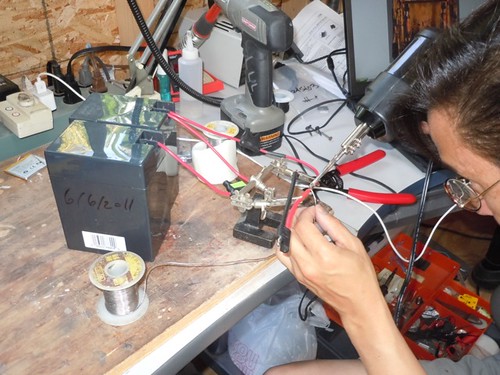
Fire is good for all sorts of things, including getting the shrink tubing to do it's work around the wires.
Everything tested perfectly at 12 volts. It was time to move on to the battery boxes.
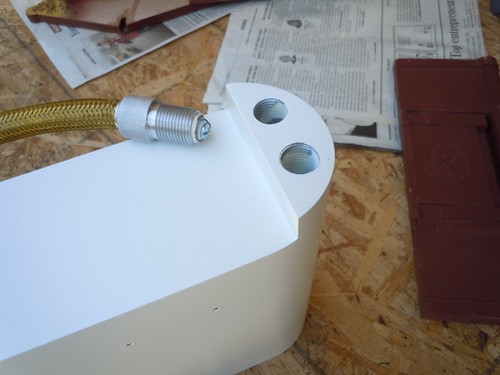
These battery boxes come courtesy of Craig Smith, and are outstanding. The only trouble I have with them is that the 5/8"-18 threads in the resin shrink slightly when the resin cures, making it difficult to screw in the knurled fittings.
Mike recommending Dremeling down the threads, and he went to work on the first battery box.
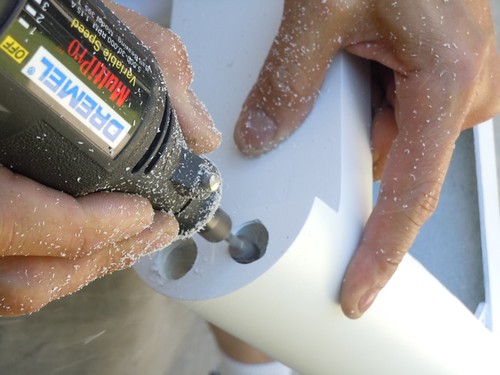
The "before" on the right, and the "after" on the left. It turns out just a minimum amount of thread is required to keep the knurled fitting in place.


I finished up the second battery box, and now everything fits.
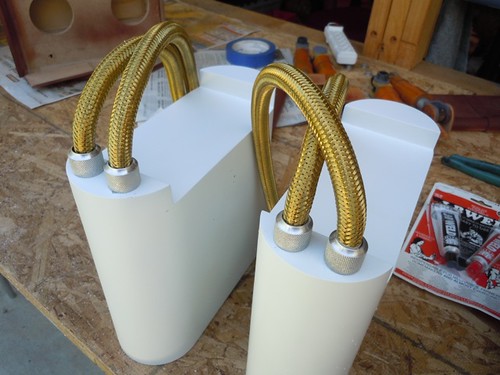
I think this wraps up the build portion of droid #2. It's time to put the sucker together for the first time soon.

No comments:
Post a Comment