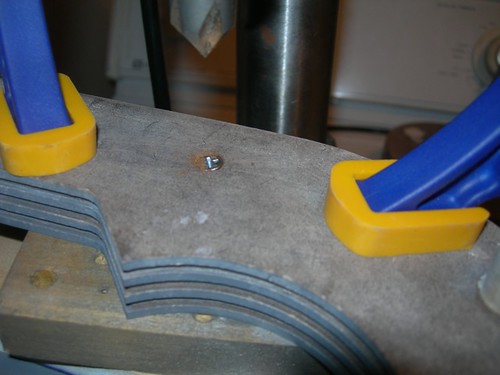
For droid #1 I did the math, and determined that the top buttons tilt at a 5 degree angle. So I set my drill press table to tilt five degrees, clamped the work down, and prepared to drill.

I'm aiming for center on the X axis, and just slightly below center on the Y axis, since the button is going to be tilted such that the center hole will be pointing slightly upward.

Once the front hole was drilled, I countersunk from the back, at the same five degree angle. I test-fitted the #8 screw to ensure it would not stick out above the back surface.
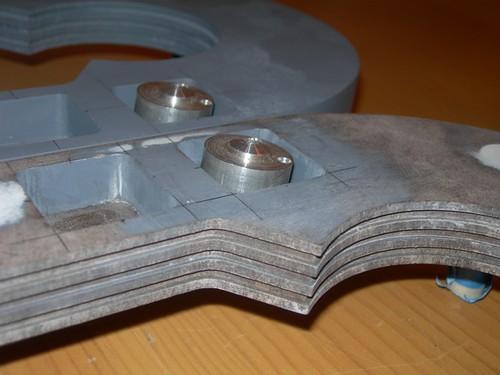
I repeated the process for the other horseshoe and did a test fit. It looks pretty good, I think I can live with it.
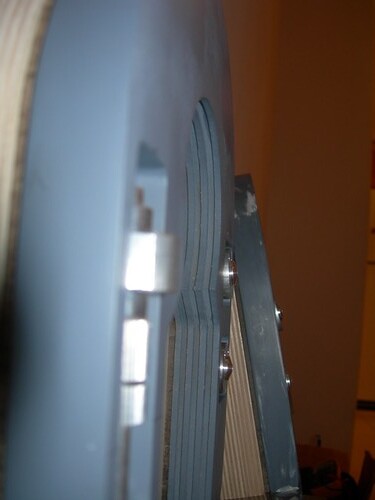
With the bottom buttons installed, the tilt of the top button is a little clearer, although the picture is not the best.
The horseshoes are almost ready for final priming and painting. I accidentally put a couple of nicks in the horseshoes that I plan to fill and fix. These are almost microscopic, but I figured I will try to make them as perfect as possible.

No comments:
Post a Comment