First, I cut a couple of blocks of wood that will hold the snap switches that I'll be using to control dome rotation.
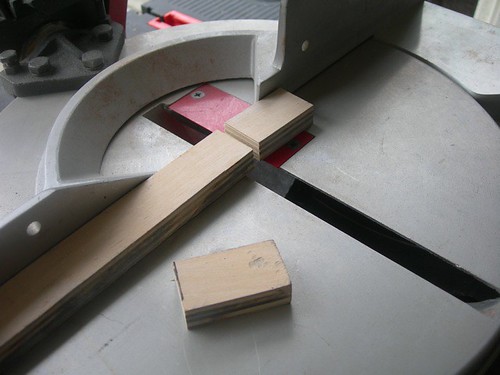
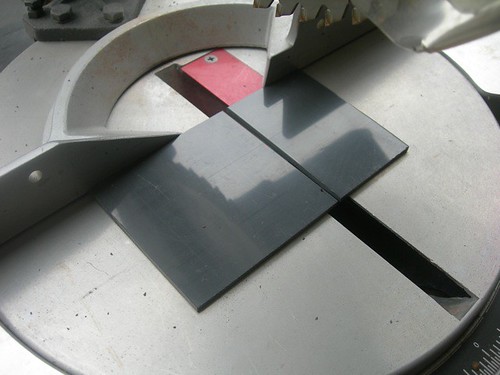
Next, I measured and cut a scrap piece of PVC that will hold all the parts to the dome controller.
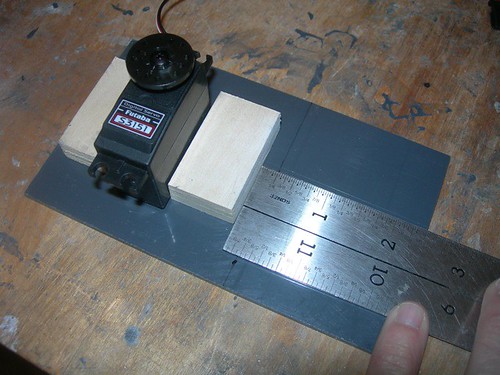
Then, I marked the perimeter of the servo that makes contact with the snap switches.
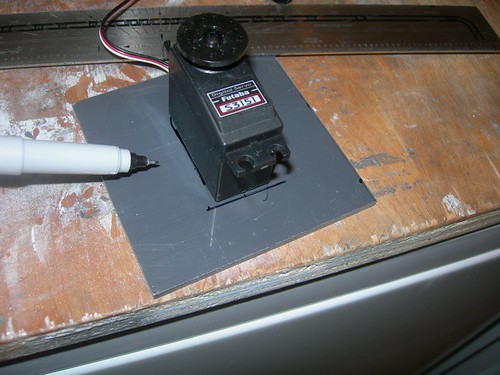
I cut the rectangle out with the Dremel cutoff wheel attachment.
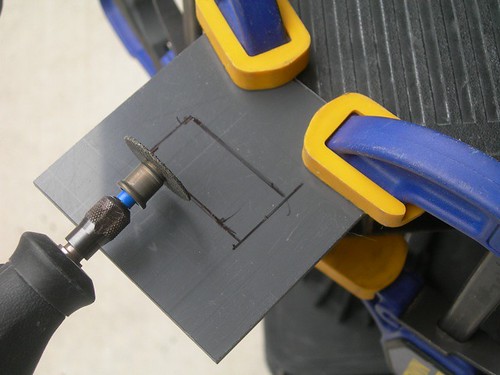
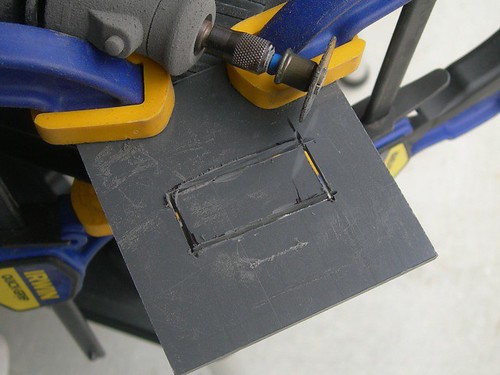
The fit looks good.
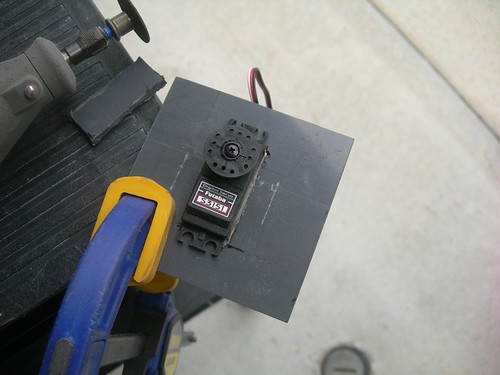
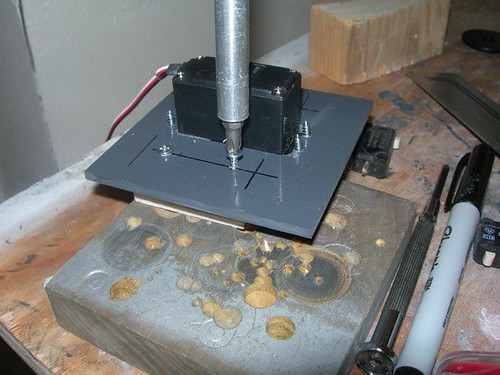
I drilled mounting holes for the four #4 1/2" wood screws that I'm using to attach the servo to the PVC.

Next, I drilled pilot holes into the wooden blocks from behind for the same #4 1/2" wood screws that I'm using to attach the blocks from behind to the PVC.
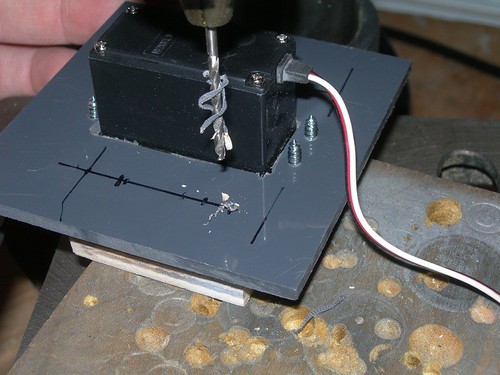
I screwed the blocks down from behind with the wood screws.
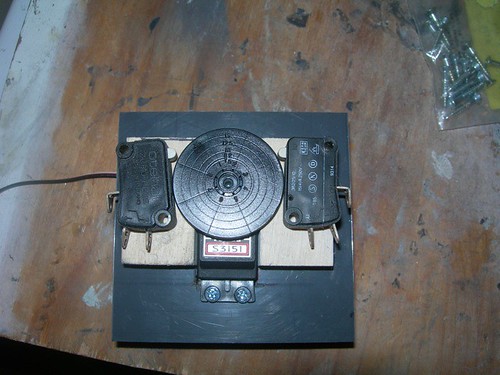
I then fit the larger servo disc in place, and did a test fitting of the snap switches to see where they should be placed, and to see where I needed to cut the disc.
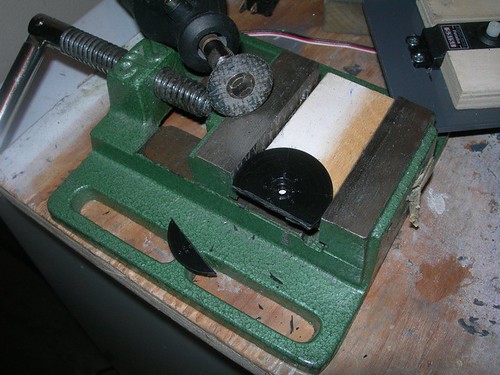
I again used the Dremel with the cutoff wheel attachment to cut part of the disc away.
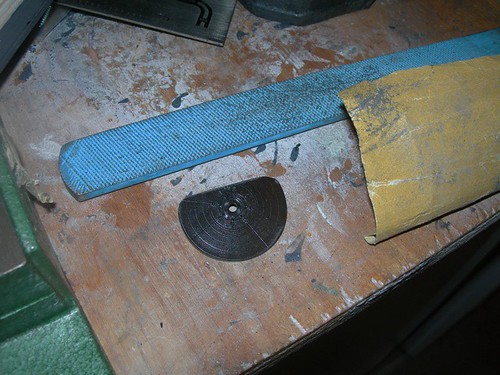
I used a file to round the corners.
I found that while the wooden blocks were workable at their original positions, the overall fit of the snap switches would be better if I adjusted the blocks to be a bit higher on the PVC, so I did. I then clamped the left snap switch in place, and used a #4 3/4" wood screw to attach the switch in place to the wooden block.
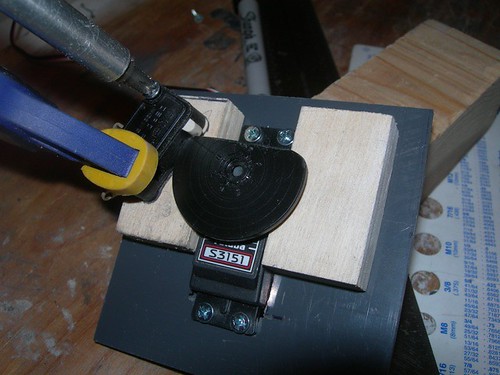
I did the same for the right switch. With both switches in place, and the disc in the neutral position, neither switch is actuated.
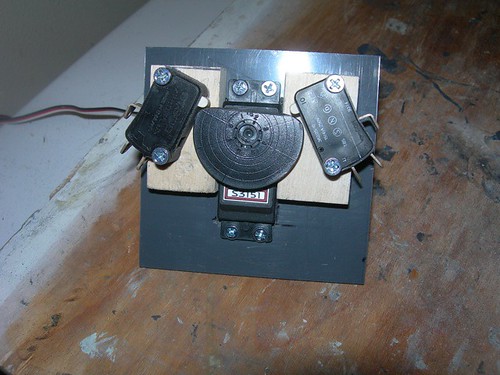
When the servo pivots clockwise, the left switch is pressed. When the wiring is complete, this will cause the dome to rotate clockwise.

Likewise, when the servo pivots counterclockwise, so rotates the dome.

I will attach this to the dome and sound automation circuit later, as I finish the electronics build-out of this droid.

No comments:
Post a Comment