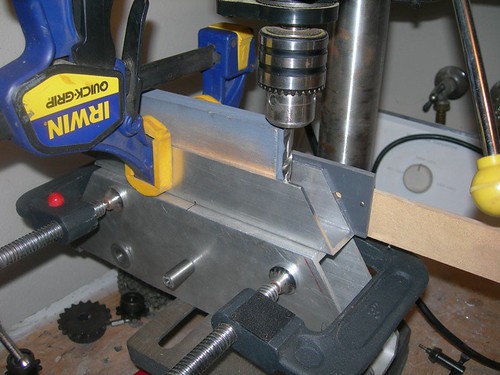
I sandwiched lots of things together to get the channel piece centered. Similar to last night's effort, I clamped a piece of 1/2" plywood to the main drivetrain body, with a portion of the plywood rising above the top of the main body. Next to that, I placed a 1/4" piece of MDF, followed by a 1/8" piece of PVC, to give me my 3/8" spacing from the edge of the main body for the top channel piece. I also wedged a 3/4" piece of plywood and a 1/4" piece of MDF into the channel itself, to help keep the channel from bending as I applied a clamp to all that work.
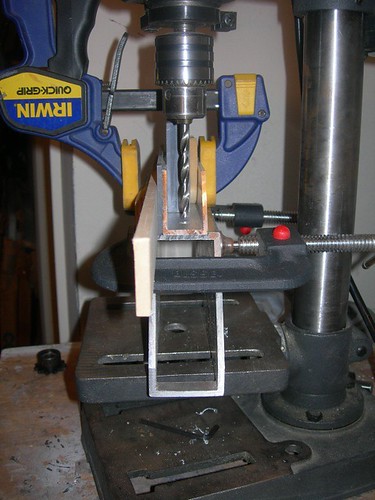
With center of the channel piece aligned to the center of the main drivetrain body, it was time to drill the 1/4" holes on the drill press.
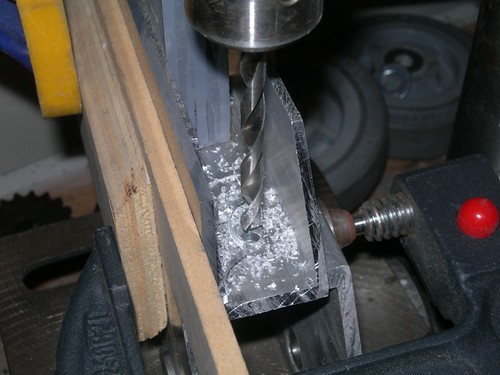
Four holes later, and the two channel pieces were attached to their respective drivetrain bodies.
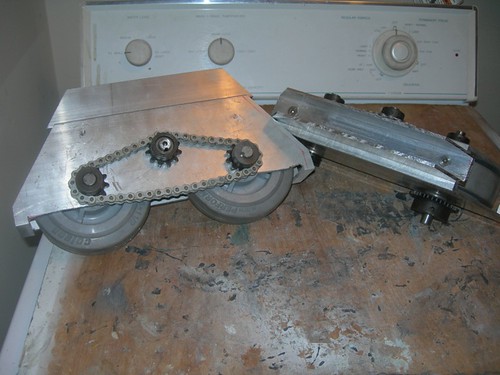
I still need to countersink the holes in the channel pieces, but I'll have to wait to borrow my friend Kelvin's countersink bit, as the one I have won't reach that deep into the channel.

No comments:
Post a Comment