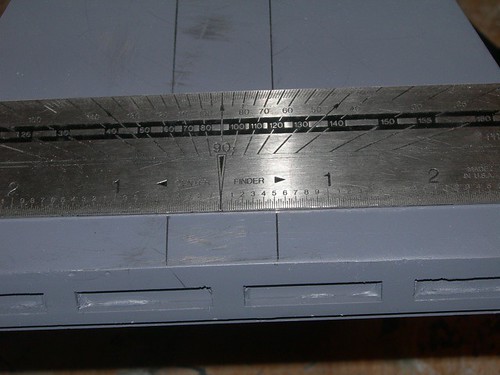
I started by lining up the foot strip to be centered in place, just below the channel on the foot shell. I then traced the foot strip's outline. I used a ruler to measure and mark the location of the mounting holes.

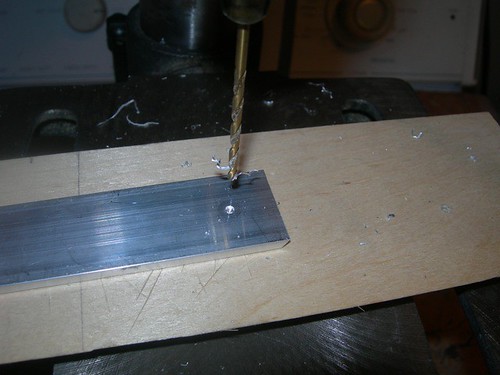
Next, I drilled the holes using a #43 drill bit, suitable for a #4 screw.
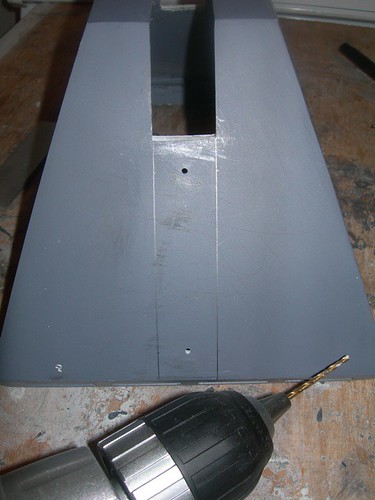
I then taped the foot strip in place, and drilled shallow pilot holes from behind.

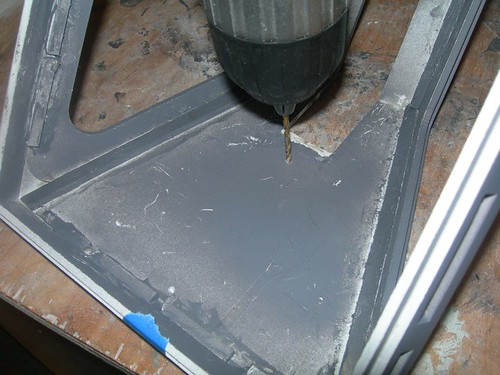
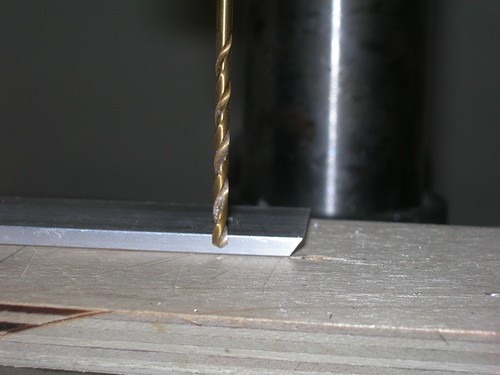
I moved the #43 drill bit to the drill press, and set the drill press stop to a depth that will drill mostly through the 1/8" aluminum foot strip.
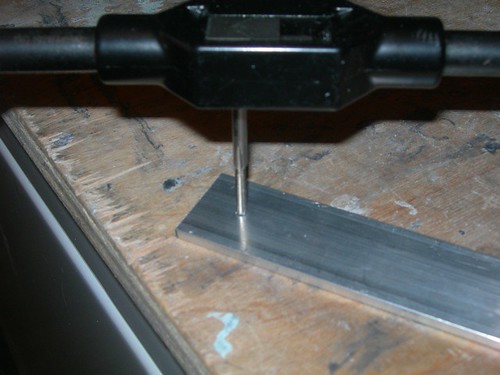
I then tapped the hole for a #4-40 screw.
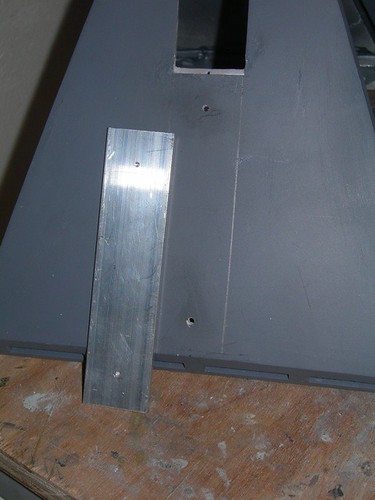
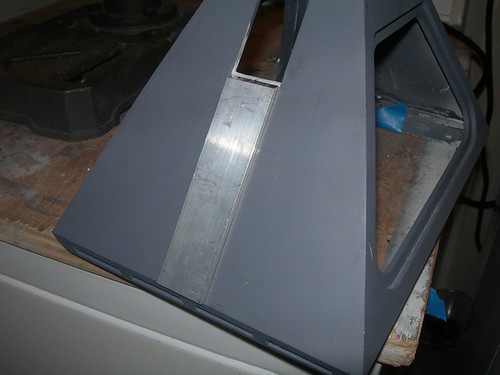
With the drilling and tapping done, I mounted the foot strip, installing the 1/2" #4-40 screws from behind.
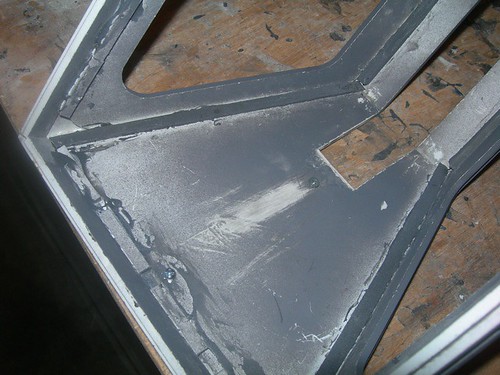
Looks okay to me. Of course, I did this process for both the front and back of the center foot.
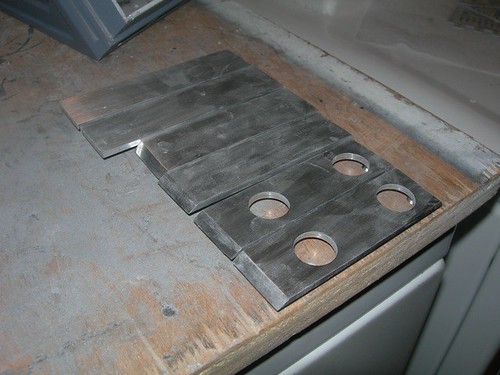
I then had a little bit of finishing work to do on the foot strips. The foot strips that I drilled for the front outer feet had small volcano-like craters from the 5/8" holes I drilled earlier this week. Those needed to be sanded down.

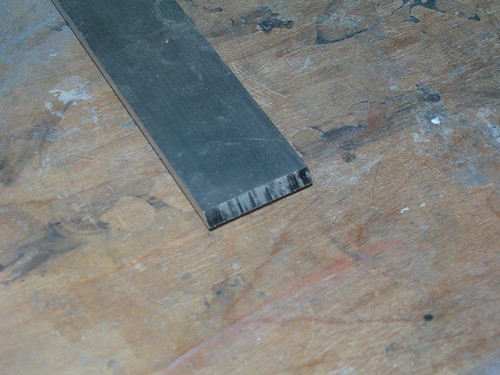
The beveled edges of each foot strip also show some of the roughness of the teeth marks from the blade of the miter saw. These needed a little sanding/polishing.
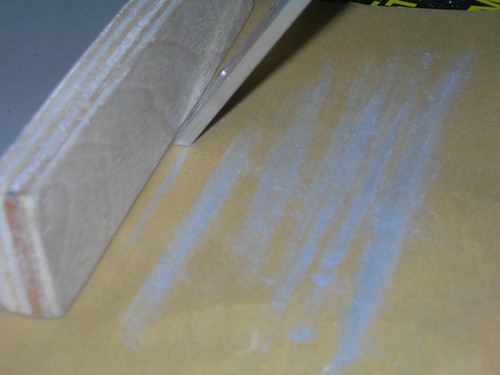
The craters were easy enough to sand down. I just sanded the piece flat. The beveled edges were a bit tricker. I used my little wooden sanding block as a guide to keep the foot strip oriented at the proper angle, as I sanded against 320 grit sand paper.
That's better.

They might be dusty from all that sanding, but at least I think I'm done with the foot strips now.

2 comments:
this is such an excellent build blog... I follow it closely!
Thanks Edwardo!
-Victor
Post a Comment