The process was pretty much the same with these three foot strips as it was with the first one.
First, I marked and drilled the mounting holes.

Next, I taped the foot strip in place.

I then drilled pilot holes into the aluminum from the back.


Based on the pilot hole locations, I drilled deeper into the back of the foot strip, but not quite through it.

I used my trusty 4-40 tap to thread the holes. Obviously the tap bit cannot go very deep with such a shallow (1/8") piece to work with, but it turns out that just a few threads are sufficient, and the screw itself will self-tap as it screws deeper into the aluminum.


Next, I mounted the foot strip onto the foot shell, and marked pilot holes for the holes that accommodate the knurled fittings.

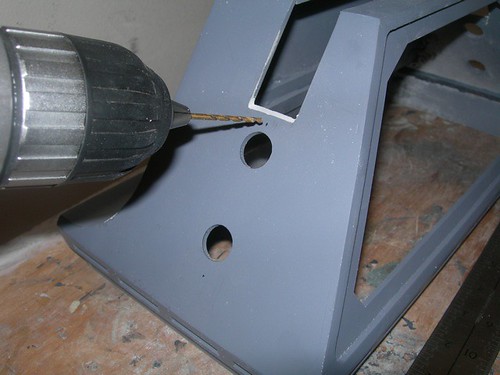
With those pilot holes marked, I removed the foot strip, and set it up on the drill press with the drill press vise. I squirted the piece down with WD-40 to keep the drill bit happy.

Then I drilled the 5/8" holes, making for nice aluminum scraps.


The process of drilling these relatively large holes from the back leaves a small volcano crater on the front side, which I plan to sand smooth later.

Finally, I drilled and mounted the two rear foot strips on the outer feet. These don't have the larger 5/8" holes drilled into them.

All done for now.

I managed to make some dimples on one of the rear foot strips by screwing the screws down too far into it. I'm not sure if I care, but I might either hammer them flat, or sand them flat. But I may well leave it alone.

I still need to mount the center foot strips, but I might do a little bit of work on the foot shell channel first.

No comments:
Post a Comment