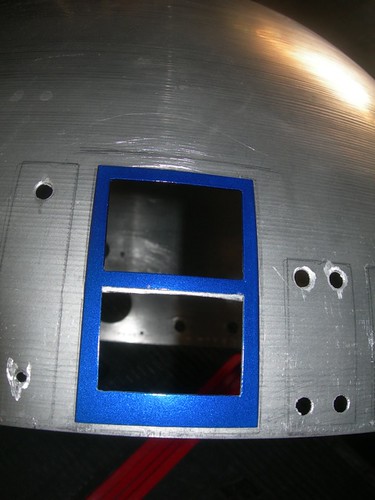
A few more minutes with the Dremel cutoff wheel helped. I still need to further trim the bottom of the crossbar, but the bottom logic surround does fit with a bit of effort. Effort is not a good thing, since it will cause the panel from the outer dome to pop off. Why not just cut the crossbar out all together? Well, I like the support it provides to the panel from the outer dome, so I'd like to keep it, if possible.
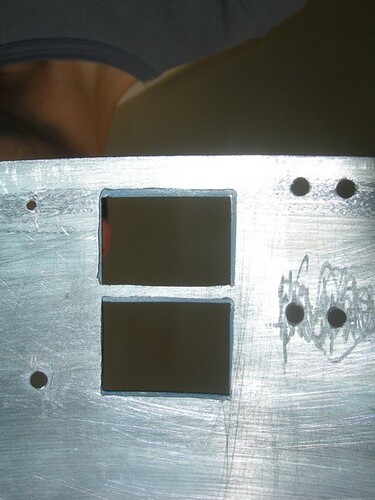
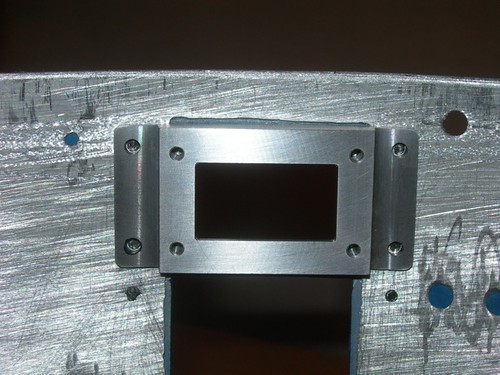
Next, with the outer panel taped in place, I marked the mounting holes for the top logic surround on the inside of the inner dome.
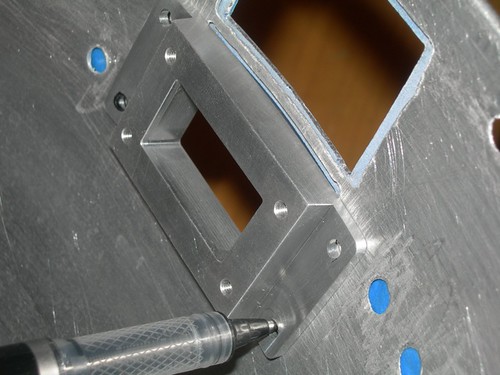
The outer four holes are the mounting holes, the inner four holes are for mounting the logics themselves to the surrounds.
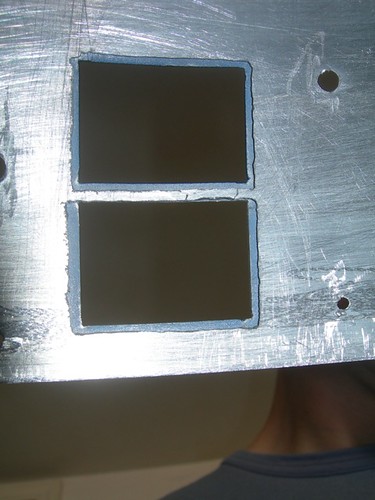
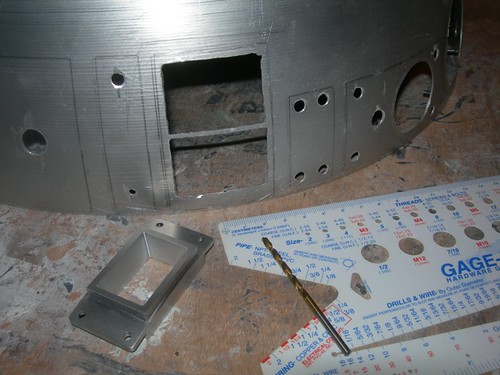
I repeated the process for the bottom surround location.
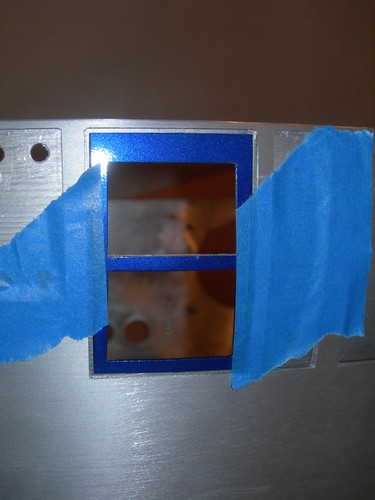
The mounting holes on the logic surrounds are 3mm in diameter (roughly 0.118"). I don't have metric drill bits or 3mm screws. The closest drill bit I have is 0.120". Before drilling, I want to make sure I can find the right size screws, and if needed, drill bit. So I'll pause here for the moment.

No comments:
Post a Comment