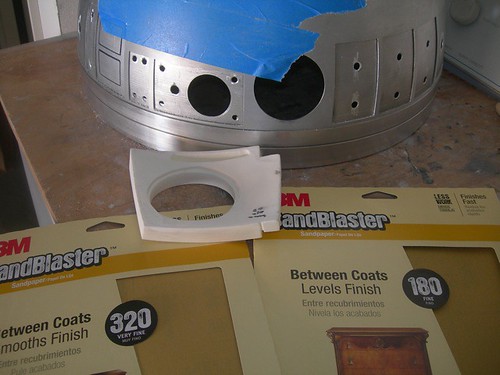
Before doing any sanding, I scrubbed the back of the eye with the Dremel drum sander, keeping away from the edges as I went.
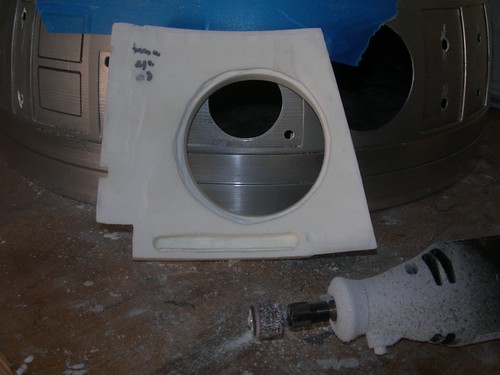
Next, I returned to sanding the back of the eye against the dome. Once I was done, I removed the protective blue tape and checked the fit.
The left side looks good...
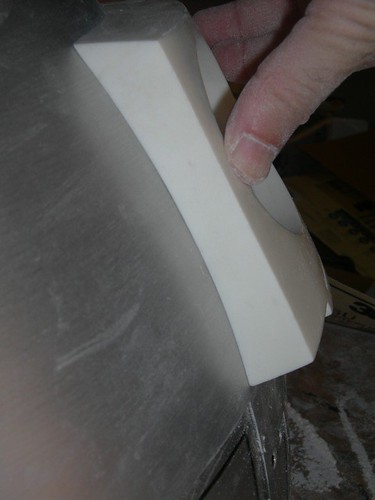
...as does the right.

Some small bubbles broke away toward the right on the top. I'll fill that area with a small amount of Evercoat.
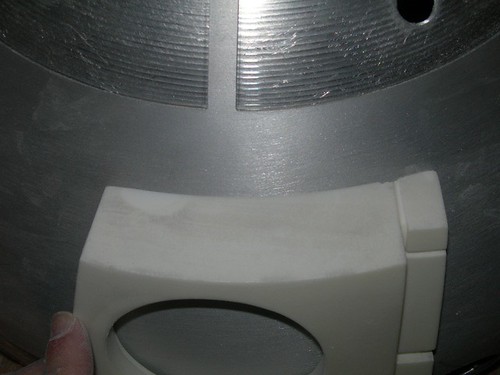
The bottom edge looks good, even though no one ever sees it.
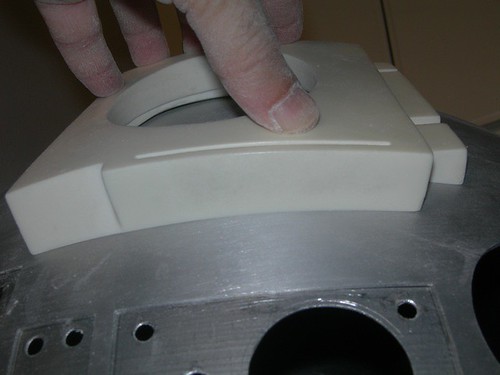
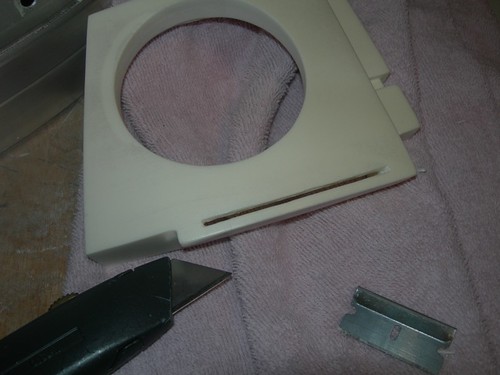
I wrapped things up by using a utility knife to start cutting the slot in the eye.
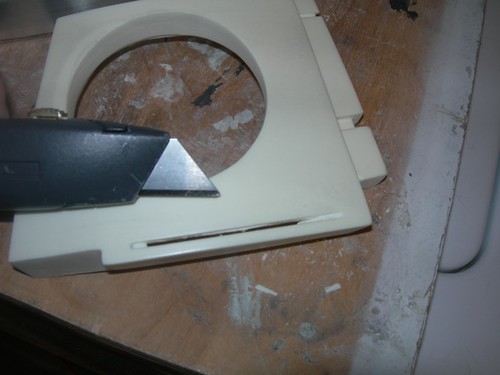
A razor blade finished the job.
I still have a small amount of filling work to do on the eye, but it is close to being done, prior to painting, that is.

No comments:
Post a Comment