The center channel sat a little lower than the channel that is cut into the foot shell, so I needed to add about 1/4" of height to the center channel on the wooden foot.

I went over to my friend Kelvin's house, where his table saw has taken up residence, after several years in my garage. There, we cut a strip of 1/4" thick Baltic birch that was the exact width of the center channel on the foot.
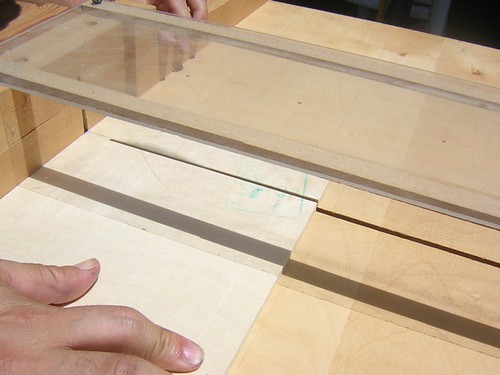
The strip was cut long intentionally, as I planned to bevel the edges on the miter saw (also borrowed from Kelvin) at home.
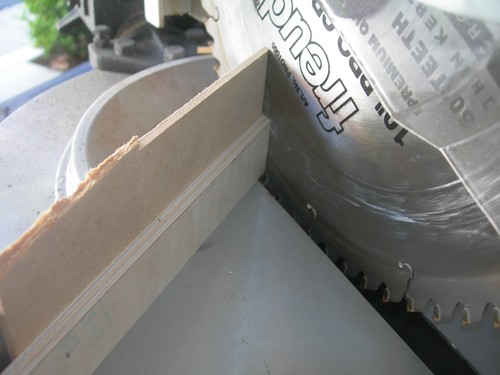
I adjusted the angle of the miter saw to match the angle of the edge of the channel on the center foot (53 degrees, I believe), and trimmed the end off. A sacrificial piece of MDF backs up the birch, to prevent tearing as the cut is made.
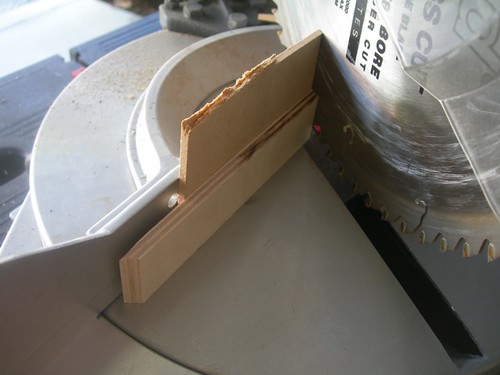
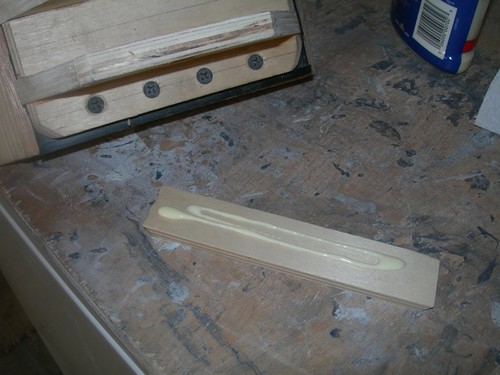
I fitted the strip back in place, and aligned the edge I had just cut along the exiting edge on the foot. I marked where to make the cut on the other side.

Back to the miter saw, where I made the cut on the opposite side.
The loose fit looks good. I say "loose", but the strip is actually nice and snug in there, and probably doesn't require glue to stay in place, but I'll be gluing it anyway in a moment.
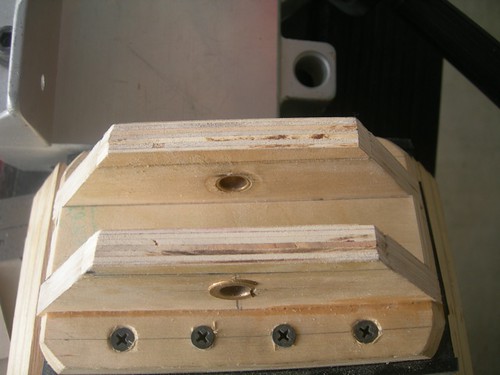
The height of the wooden channel is now pretty much where I want it to be.

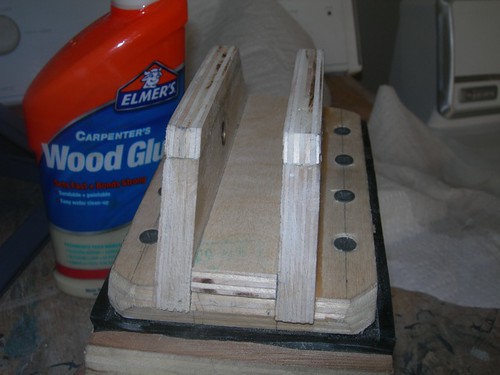
Time to glue it down.
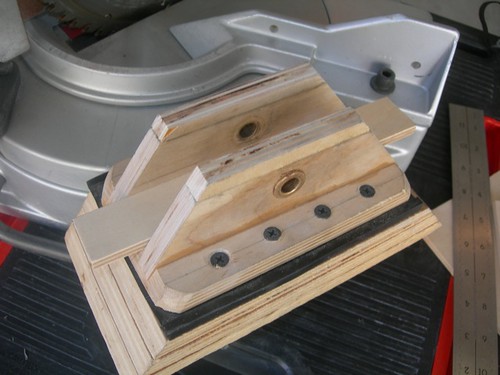
Done with the center foot for now.
Recall that I have 2.5" diameter casters on the center foot. I may or may not try to find 3" casters that fit the foot in the future. For now, I'll live with the 2.5" wheels.

3 comments:
Victor,
What is the black material you are using in the center foot?
Thanks
Kevin
Hi Kevin,
That is a layer of rubber that I cut from a pipe coupler that I found on the plumbing aisle at Home Depot and cut to size.
-Victor
Hi Kevin,
That is a layer of rubber that I cut from a pipe coupler that I found on the plumbing aisle at Home Depot and cut to size.
-Victor
Post a Comment