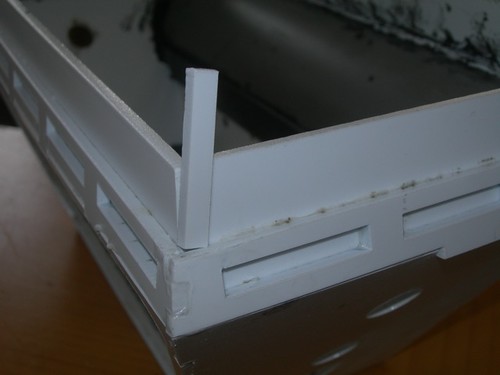
Some of the gaps called for the spare styrene scraps from the window strip cutouts. I tested the fit first, and I could see I needed to sand the bottom to fit the angle where the filler piece would sit. (Sanding the angle took all of about five seconds.)
I then put the piece back in place, and marked from behind where it should be trimmed.

I used the inelegant hacksaw to cut the piece to size. I probably could have used the wire-cutter portion of my needle nose pliers, but I know at least one half of the styrene piece would have shot across the garage, never to be seen again.

One by one, I repeated the process for each corner, gluing the pieces in place as I went.

Some corners required just a thin layer of styrene to fill the gap. I cut scraps out of some spare 1/16" styrene that I had left over from the skirt build.

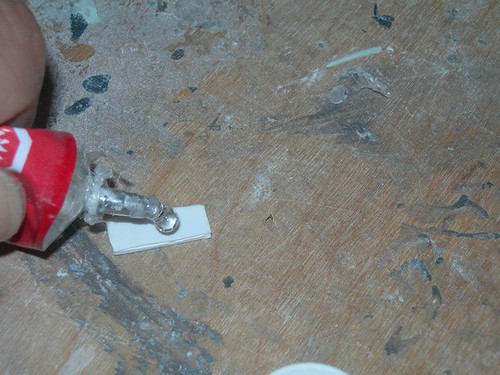
I'm using Testors glue once again for the styrene-to-styrene gluing.
I'll let this dry overnight and hopefully tomorrow I can sand any overhanging areas down to size, and then I'll move onto the Evercoat phase.


No comments:
Post a Comment