
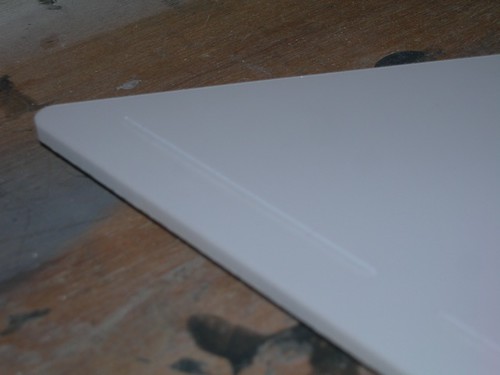
I applied the Testors glue to the back of the window strips.
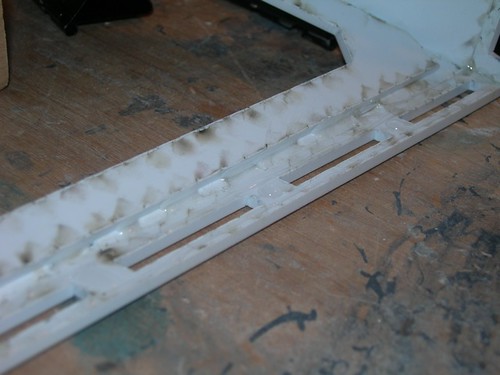
Then I clipped the skirt backing strip in place.
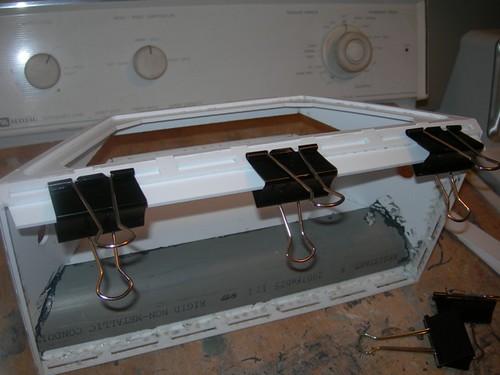
Repeat three more times, and that task is done.
Next, the side strip and panels for the door.
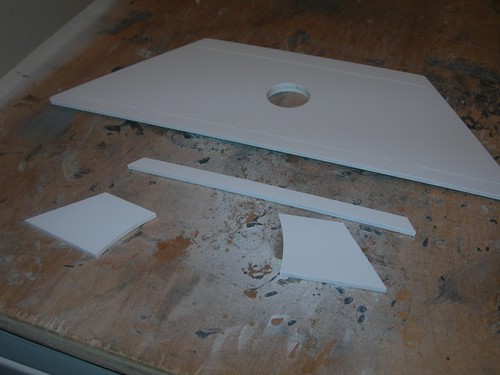
The doors come with nice guide lines etched in them to show where to glue down the pieces.
Glue goes on the back of each piece and then the piece gets glued onto the door.
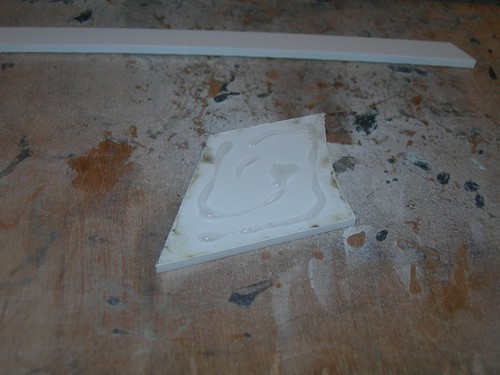
All done.
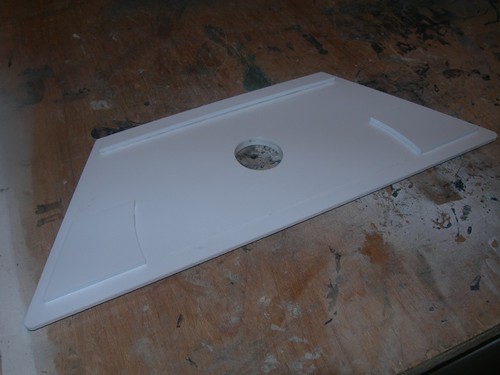
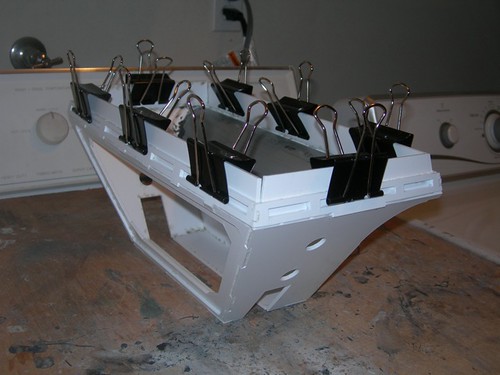
There is a lot of finishing work to be done, since the corners on the foot shell to not meet up without a gap. There are also some gaps to be filled at the corners of the backing strips that I glued in tonight (if I don't feel too lazy).
First I will build the other outer foot shell, and then I'll deal with the filling and sanding.

No comments:
Post a Comment