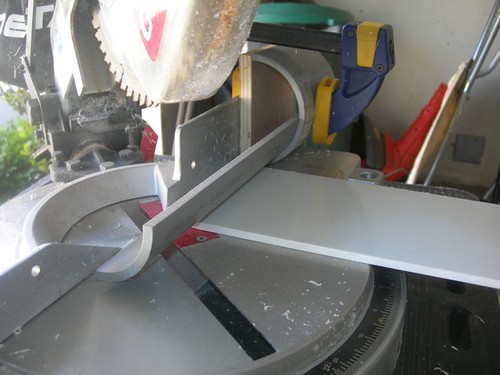
The first thing I did was use a piece from the second foot shell to calibrate the angle to chop at on the miter saw. About 35 degrees. (Note: This may be an error in the A&A flat packs, as it looks like this measurement is taken from the sheet of the blueprint that shows a projection [sheet 1 of the outer foot], rather than the top-down view [sheet 2 of the outer foot]. I think the angle should really be more like 33.75 degrees. This will affect the top channel piece of the drivetrain, but that's no big deal, I intentionally have not cut it yet.)
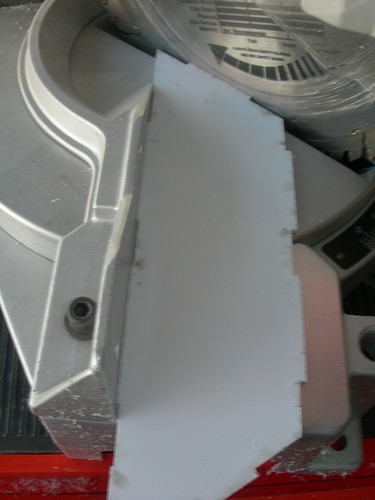
Next, I needed to figure out how to prop the quarter section of PVC pipe upright, so that it would hold a 90 degree angle. This is vital, so that the curve will hug the curve that's cut on the front and back pieces of the foot shell as closely as possible. Any other angle won't work right.
Luckily, the pipe I purchased at Lowe's is interlocking pipe, so one end was large enough to hold the 3" inner diameter section. I chopped this segment so that I could use it as a pipe holder.

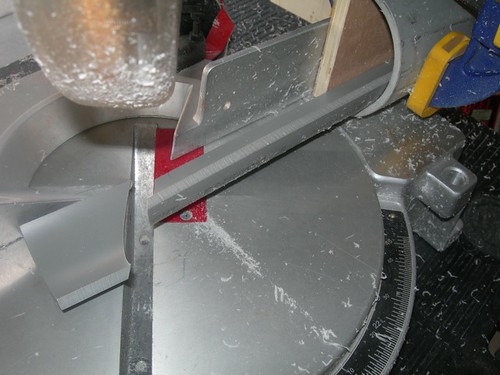
I clamped this larger section to the miter saw, and then I was able to insert the quarter section of pipe into it, and keep it in place with my free hand to make sure it didn't move during the cut. Some scrap styrene helps prop up the quarter section of pipe.
That worked just like I hoped it would. The PVC shavings make a huge mess though.
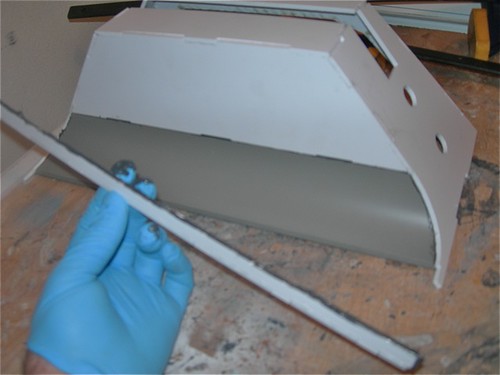
As usual, this was an iterative process. I would trim a little bit of the quarter section, and then do a test-fit. Still about a centimeter gap here.

Another trim or two and it fits.
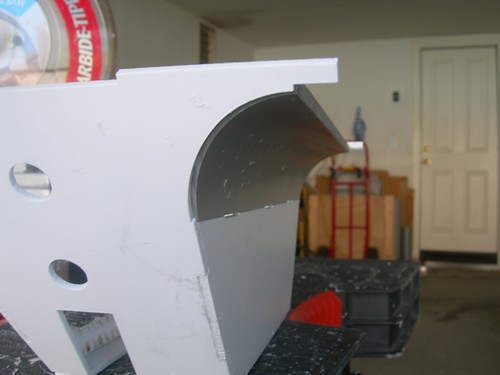
Note there is some overhang of the pipe compared to the front and back pieces. This is due to a couple of reasons. First, there is an additional small gap cut into the front and back pieces, intended for a thin sheet of styrene to be used for the curved piece, that comes with the A&A foot shells. The second reason for this mismatch is that the front and back pieces are cut when lying flat, but once they are leaning at an angle, they no longer cover the required area. I will fill this with Bondo and/or Evercoat later. Again, no big deal.
Time to glue it in! I'm using good ol' Oatey PVC glue for this. It loves both PVC and styrene.

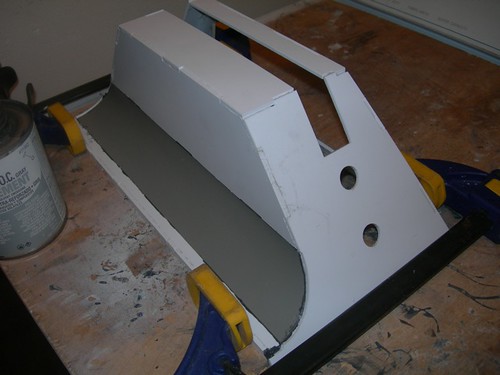
Once the piece had dried, I decided to wrap up by gluing in the styrene piece that goes at the bottom of the curve. Again, I used the PVC glue.
Big clamps, but very light pressure keeps the piece in place while the glue dries.
After it dried, I checked the results from the inside. Not bad, I didn't make too much of a mess, but I do want some extra PVC glue slopped around the edges of contact. I will probably add overlapping reinforcements later.

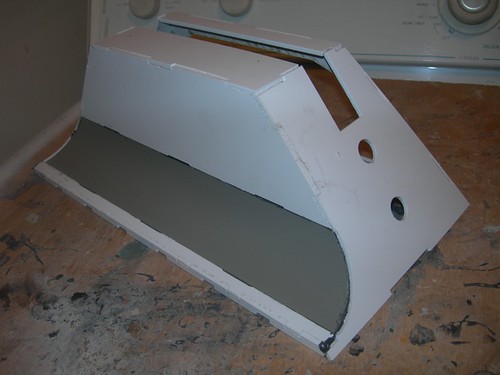
And here's the view from the outside.
I hope to get some more work done tomorrow, we shall see.

No comments:
Post a Comment