First up, the aluminum parts, namely the coin slots and large data port. I lightly sanded these with 220 grit sandpaper, to rough them up a bit to help the primer form a nice bond.
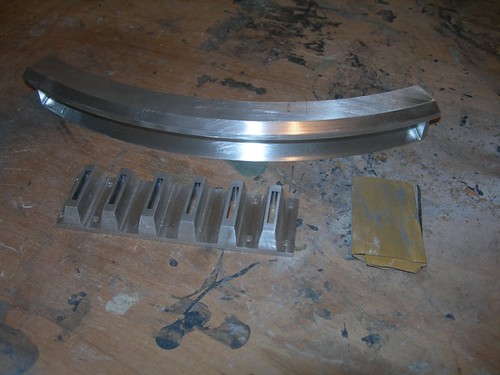
The sanding was followed by a thorough cleaning with acetone. Shiny!

Next, the fun part - masking the coin slots. I decided to go the extra mile with droid #2 and open up the tape to allow paint into the slots, as it is this way on at least some of LucasFilm droids.

Finally, I washed all the resin parts in a soapy bath with an old toothbrush, to clean off any mold release agent and other grime.

Some of these parts still need some filling and sanding, but I wasn't going to go through the washing exercise twice, so I washed them all at the same time.


No comments:
Post a Comment