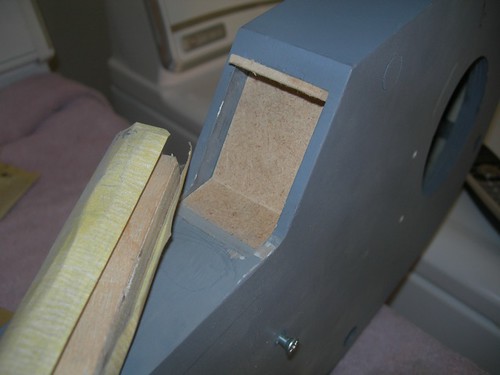
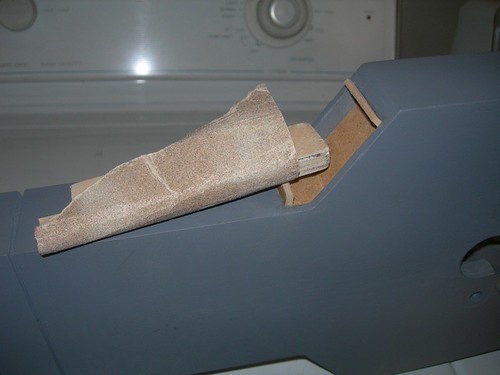
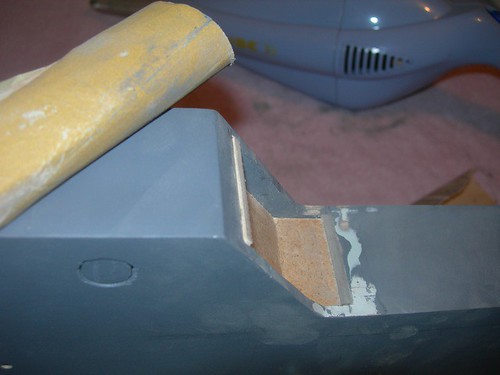
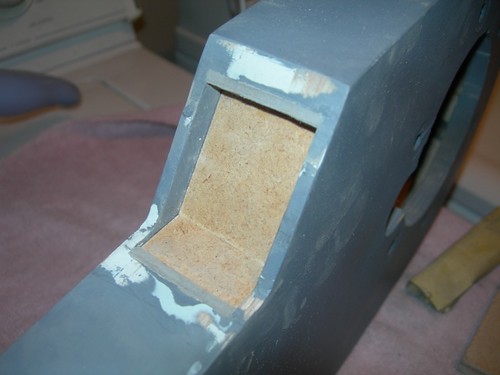
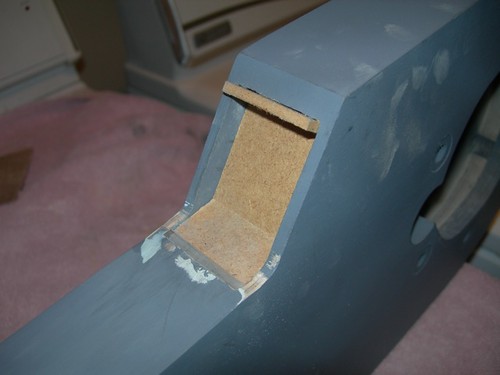
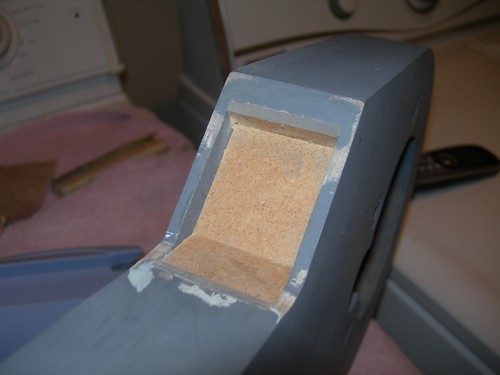
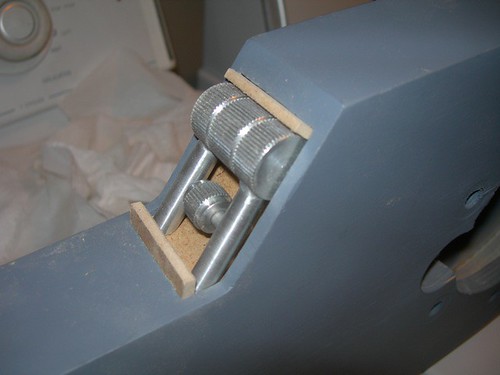
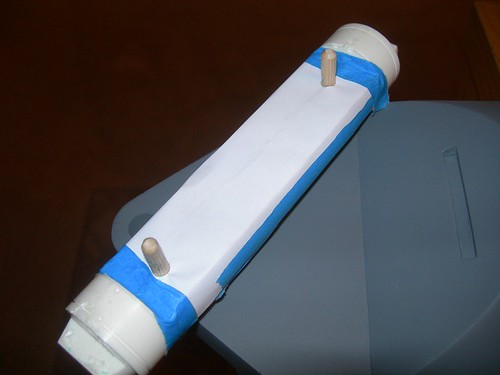
Tonight I mounted the ankle cylinders to the wooden legs.
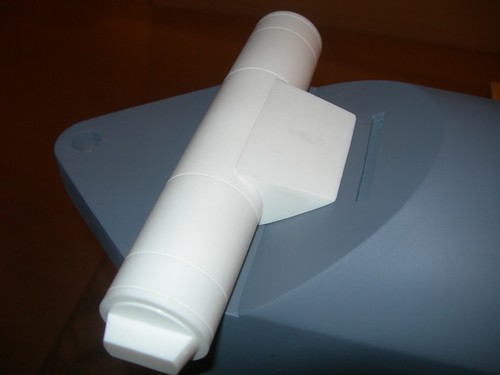
First, I created a paper template to pinpoint where on the resin cylinders to drill the holes. The holes are a little over a half inch deep and 1/4" in diameter, for the short wooden dowels that I'll use to mount the ankle cylinders.
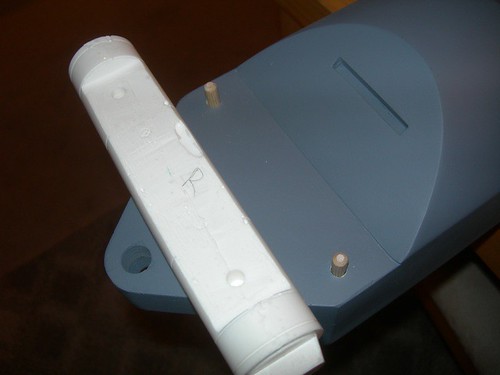
I repeated this for each resin cylinder, and test-fitted the dowels as I went.
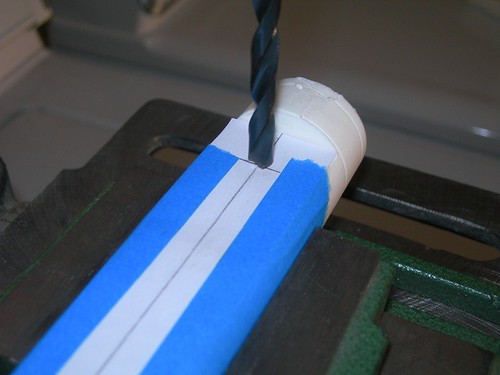
Next, it's time to drill matching holes in the legs. Here's a step-by-step description of how I went about this for each cylinder.
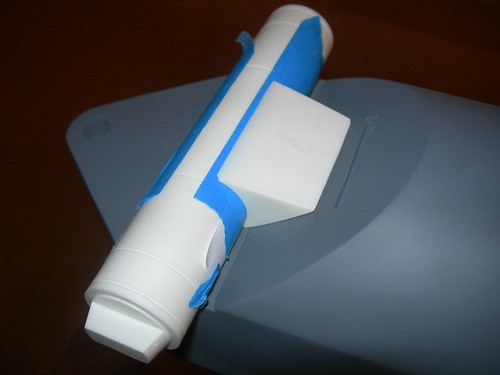
First, I grabbed a fresh piece of paper and taped it tight around the resin cylinder.
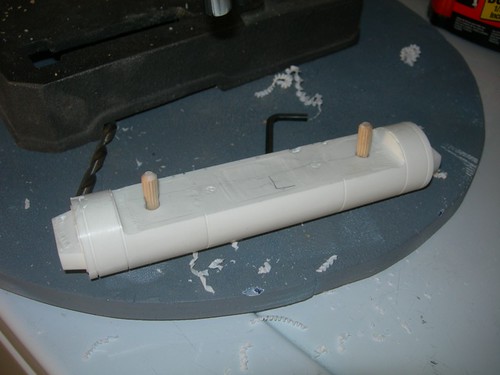
Next, I took a couple of the wooden dowels and poked them through the paper, and into the cylinders.
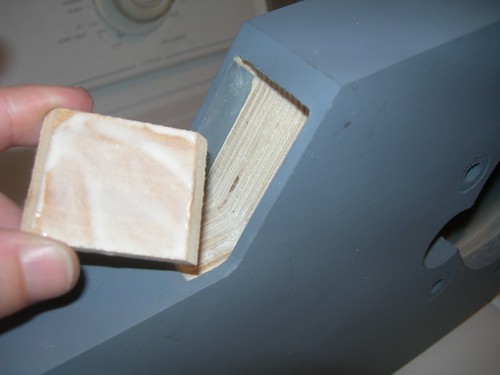
With the holes punched through the paper, I removed the dowels and set the cylinder on the ankle as it would rest when permanently mounted.
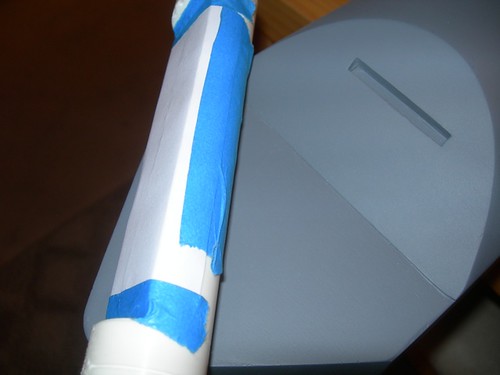
Then, being very careful not to move the cylinder, I untaped the bottom part of the paper from the cylinder, and taped it down to the ankle.
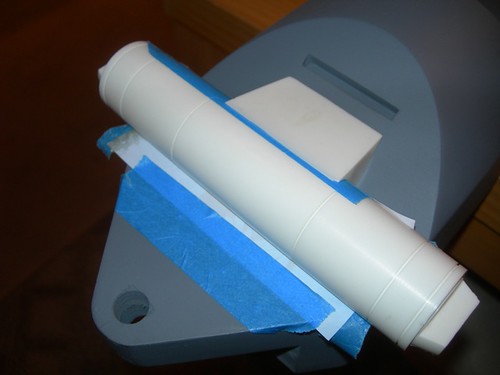
Next, I carefully untaped and removed the rest of the paper from the cylinder, and taped it down to the ankle.
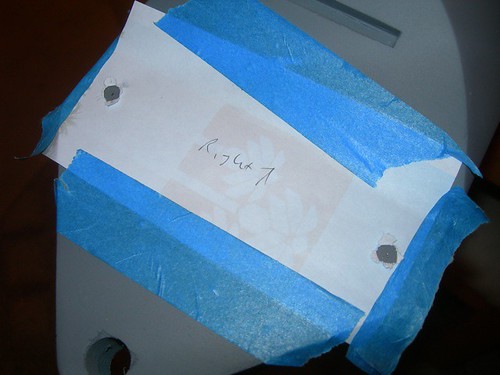
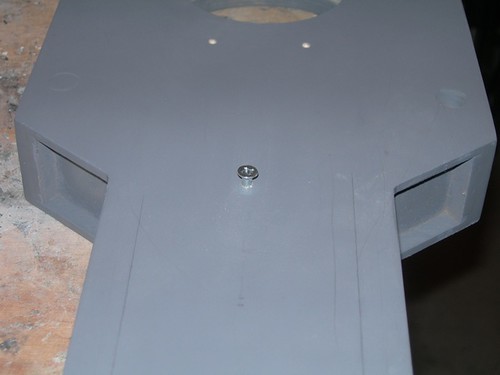
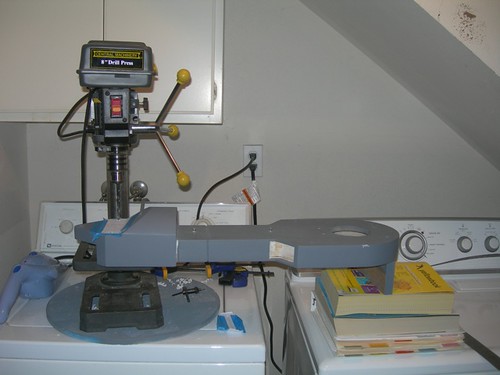
Here's my sophisticated, high-tech leg positioning system, as I prepare to drill the holes in the leg.
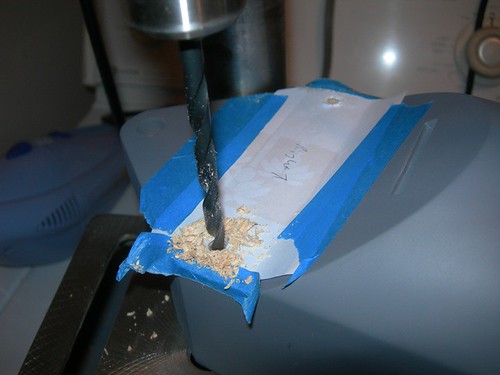
I centered the drill bit as best I could above the holes in the template and started drilling.
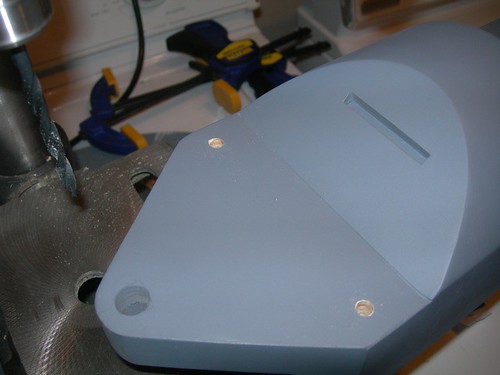
The moment of truth: Will all the holes match correctly?
Yes, success!
Repeat 3 more times, and I'm done.
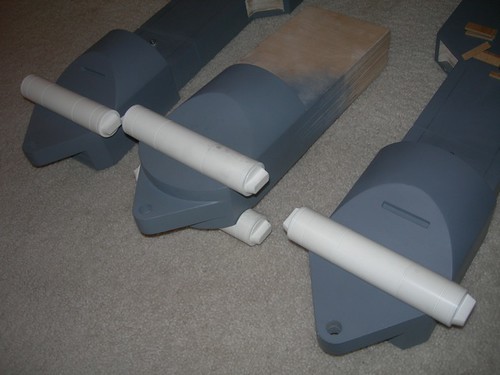
One of the cylinders on the center leg is very slightly off-angle, but it's so minor that I don't think I'll do anything to correct it. If I do address it, I'll probably widen one of the holes in the resin cylinder and then JB Weld the dowel in so that it sits correctly.
Having said that, I took a look at droid #1, and it has the exact same issue, and I never really noticed it before, so I seriously doubt I'll do much for this droid either.