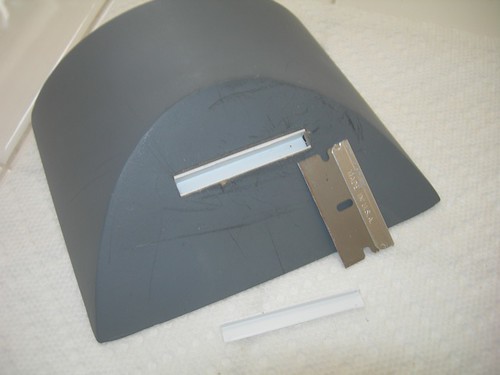
Step one was to trim off the excess styrene with a razor blade.

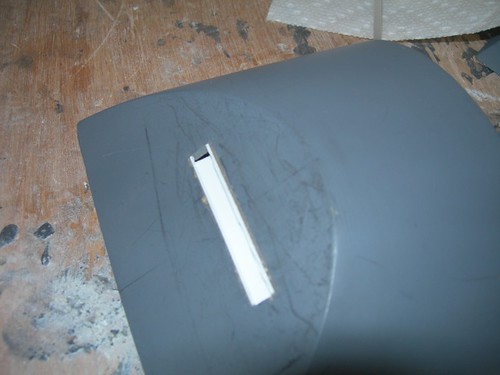
There was a small void in each corner of the slot.
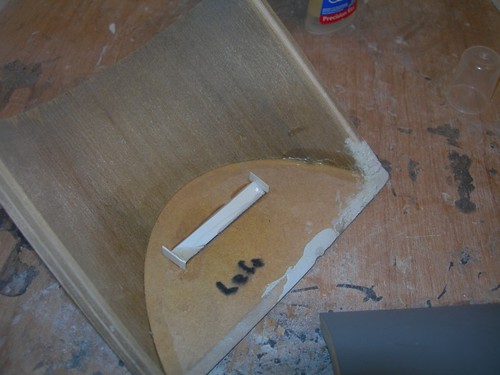
I cut small pieces of styrene and glued them on the underside to cover up the small holes.
All better!
Next, I slathered good ol' Evercoat into the edge of the slot where it meets the styrene.
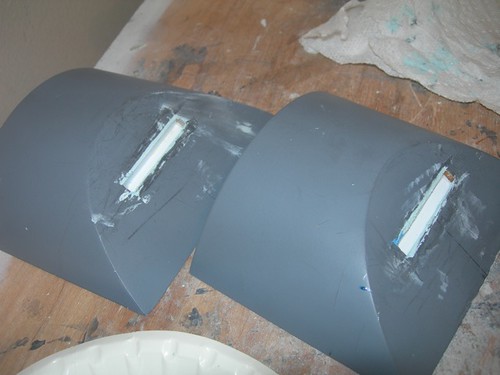
After it dried, I sanded it smooth.

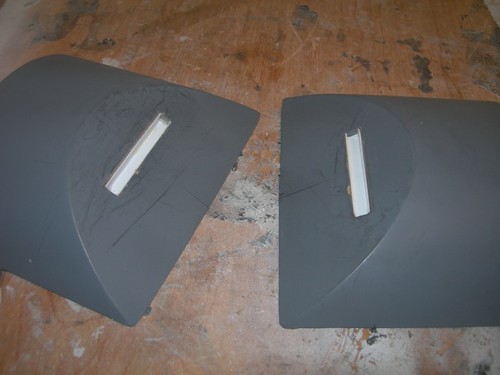
And finally a mist coat of primer to check out the results.
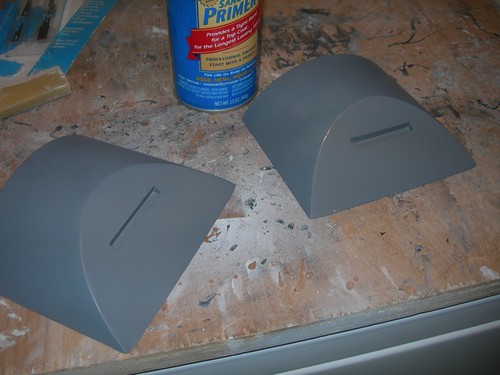
It came out pretty well, I may not have to do any additional filling. I will apply some more primer, sand and hopefully call the curved part of the ankle done.

2 comments:
Victor, If the dictionary had the phrase 'Scratch Build' in it, there would be a picture of you right next to it! Sterling work as ever.
Thanks Gareth! I have plenty of parts that i have bought, but occasionally I do manage to make something.
-Victor
Post a Comment