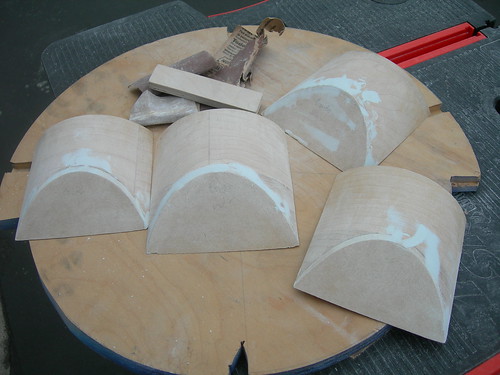
First, it was time to fix up the curved ankle pieces that I somewhat butchered when I was trimming them with the router. I applied Evercoat glazing putty wherever the surface was messed up.

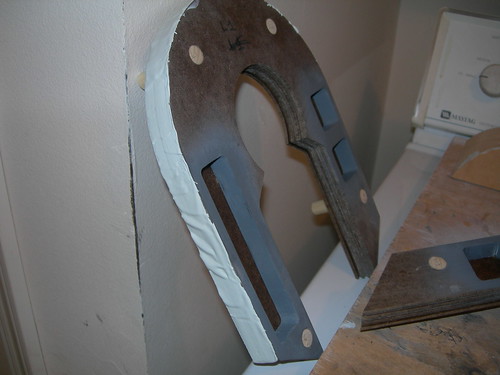
I also applied Evercoat to the edge of the left horseshoe, and later, to the front of the horseshoe, where the four dowels are visible.
Several pieces of sand paper later, the curved ankles were done.
I sanded down the straight edges of the horseshoe, before going after the curved part. I should have masked the dowels to avoid getting Evercoat on them, but it came off pretty easily. Still, lesson learned for the right horseshoe.
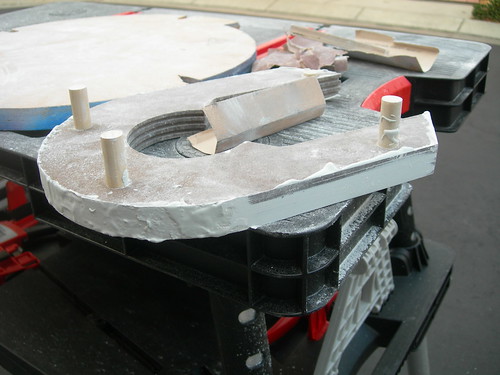
Done with these for now. Some primer and paint, and they should be looking good!
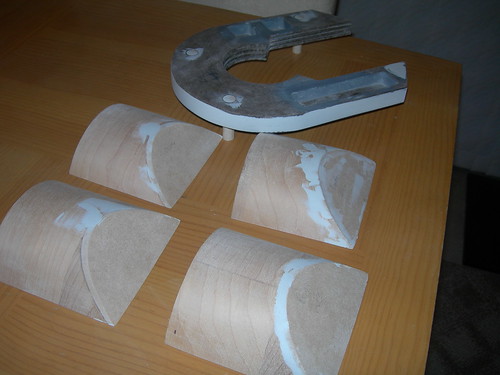
Tomorrow I hope to get to the right horseshoe, and maybe start on the sides of the legs.

4 comments:
I wouldn't mind seeing some more pictures of how and what you sanded the horseshoes with. Especially the curved area as to not get any flat spots or beveled angles. :)
Also on your dowels do you sand then flush or do u leave a slight build up with a tappered edge?
You probably had it in another post but where did you get your evercoat and which type are you using?
A tip on the dowel holes is to bevel the endge of the hole before you apply bondo. The goal is to elliminate the sharp edge. Also, it is real important to fether that area when you do your final primer otherwise you will see the dowel hole no matter what.
Hi Moose,
I start with 100 grit sand paper to take the high spots down, followed by 220 grit, and finish with 400 grit. I always sand with the sand paper wrapped around a flat stick, to be sure I don't put any curves on the corners. I learned that lesson the hard way on droid #1, when I used a rubber sanding block on some areas.
For the curve at the top of the horseshoe and legs, you are right, it requires care to avoid sanding a flat spot into the curve. I try to get an even curve by keeping an eye on how much Evercoat is left. Usually one area of MDF is higher than the others, so if I start to see through the Evercoat along that area of the curve, I know to stop in that area and move further on down the curve until it looks the same. Not sure if that made much sense...
Regarding the dowels, Matthew replied in the comment area too, but my plan was to blob some Evercoat over each dowel and sand everything as flat as possible, and see what happens. Based on what Matthew wrote in his comment, I'm not sure this will work well. If not, I will have to make sure I understand what he recommended and probably give it a try.
I purchased the Evercoat at a local paint shop about 10 miles up the road, Fountain Valley Paints, in Fountain Valley, CA. The can says, "Evercoat Polyester Glazing Putty."
-Victor
Matthew,
I glued down the dowels so that they sit flush with the front face of the horseshoe, so I didn't really leave myself any space to bevel. I would probably have to drill a new hole into the dowel to do so.
Right now the plan is to fill and sand everything as flat as possible, but it sounds like that may not be sufficient. We'll see...
-Victor
Post a Comment