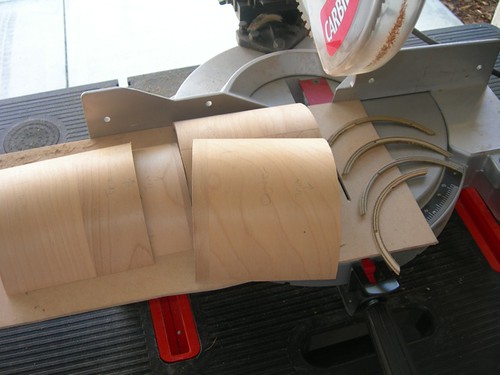
I started by squaring the bottom end of each cylinder segment. Two trims for the outer legs, and two for both sides of the center leg.
Then, it was off to my friend Kelvin's house, where his table saw now resides.
I dug up pictures from the build of droid #1, so that we could replicate what we did many moons ago, to cut the 55 degree section out of the bottom of the cylinder.

It looks just as cool now as it did then.

With video too!
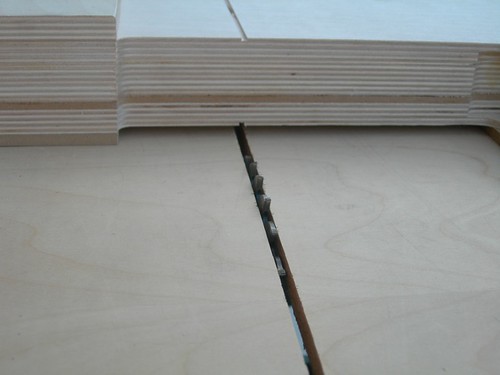
We wrapped up by cutting the grooves in the leg. We only cut the grooves for the long dimension of the leg, I will use a hand saw to cut the shorter sections.
A reasonable amount of progress for a weekday.


No comments:
Post a Comment