I went slowly and iteratively, trial-fitting the screw after a few seconds of drilling.
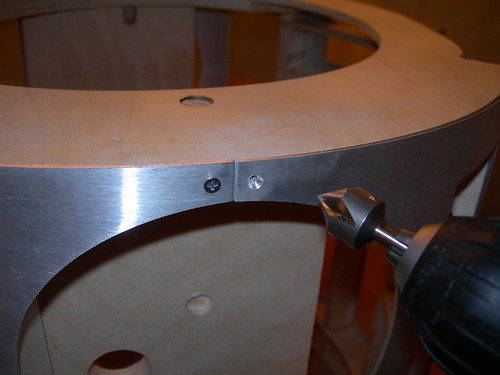
Once the hole was just large enough, I screwed down the screw.
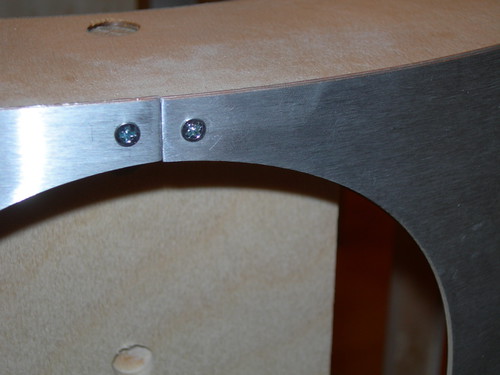
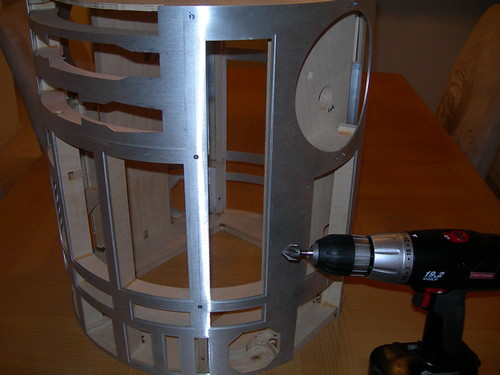
It took a while since I went so slowly and carefully, but the front skins are pretty much done, with no casualties. I may go back and drill a tiny bit more material out on a couple of the holes where the screw heads aren't quite flush with the surface of the front outer skin, but I'll work on the back outer skins before I do that.

2 comments:
You know theres one thing missing from all these "building" photos.....
THE MESS!
OK PAL! wheres the sawdust, the metal shavings, wheres the sticky glue on the table!!? HUH!!?? HUH!!?? BIG GUY ???!!
Something fishy is going on here!
It's a cover-up! One of those pictures must show the Dustbuster in the background somewhere.
Notice how I am completely trashing my dinner table?
-Victor
Post a Comment