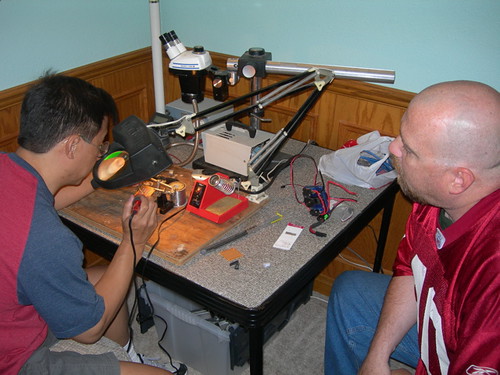
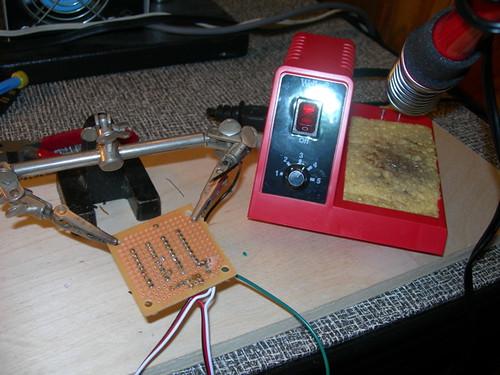
Meanwhile, I got to work on making a second board for myself. I had purchased enough parts for a second circuit, and this may come in handy in the future.

This time I managed to solder together most of the circuit myself. Of course, Mike completed two circuits in the amount of time it took me to get about 75% done with mine. As the hour started to draw late, Mike finished up the remaining connections.
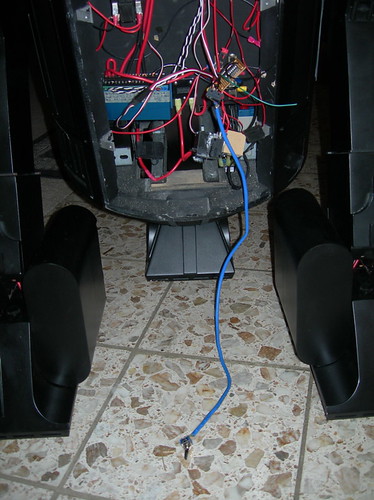
We tested Chris' circuit in his droid, and it worked perfectly the first time (naturally).
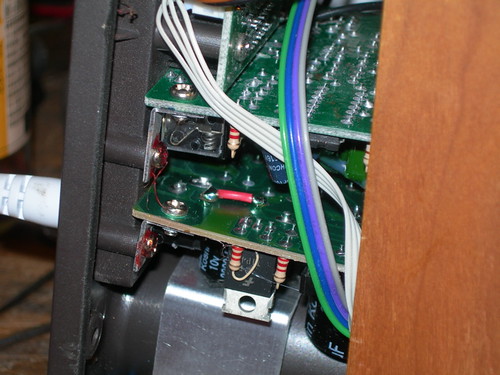
For extra credit, Mike fixed my brother Jonathan's Tivoli radio, which would not power on.
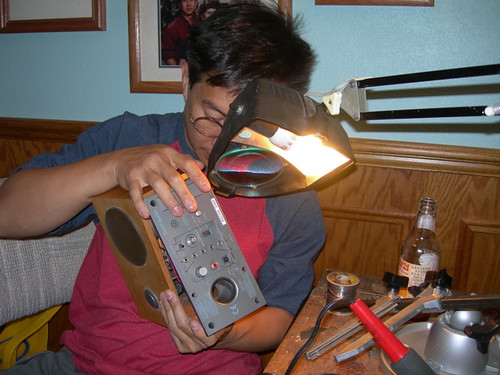
Mike noticed that a pad had separated from the circuit board near the power connector, so he soldered a red wire in place, and miraculously, the radio works great again. Jonathan was really happy to hear it playing over the phone.

No comments:
Post a Comment