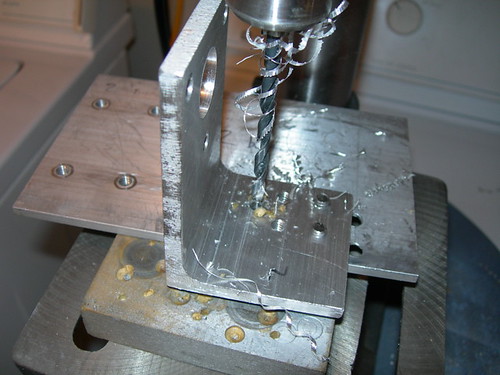
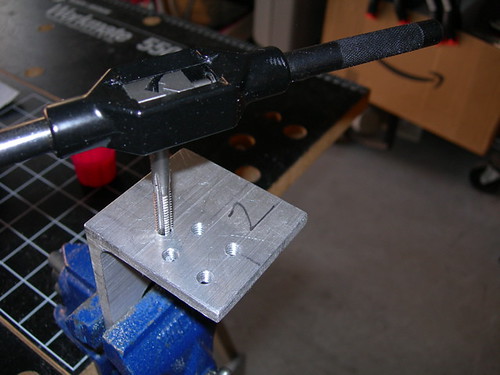
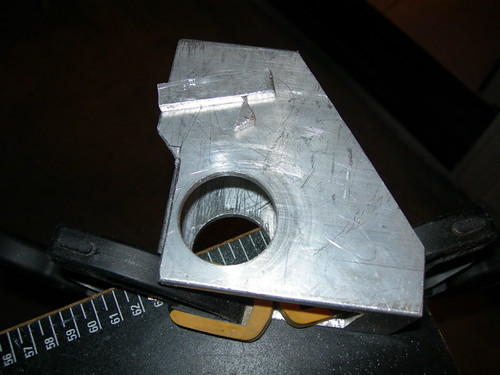
I had another opportunity to drill and tap, this time on the right foot's motor mount bracket. I drilled a 0.201" hole, followed by a 1/4"-20 tap. Like yesterday, this was done to move the motor mount that hangs from the main bar closer to the wheels, so that the motor will reside mostly within the foot shell.
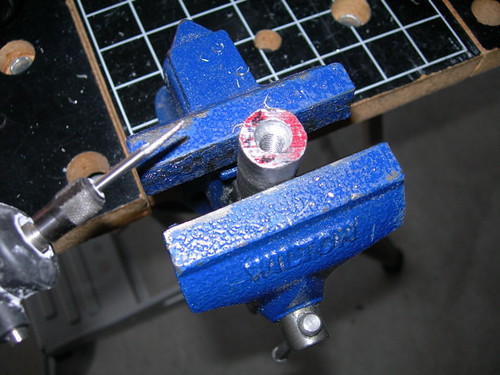
Next, I opened up the base of another shaft adapter so that it could fit closer to the base of the motor shaft when it screws on. I used a 13/32" drill bit and the Dremel with a grinding attachment for this modification.
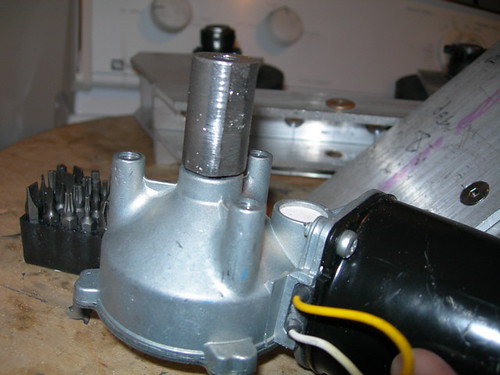
I had to trim some of the wheel housing out to allow the 22-tooth gear some room, just like yesterday.
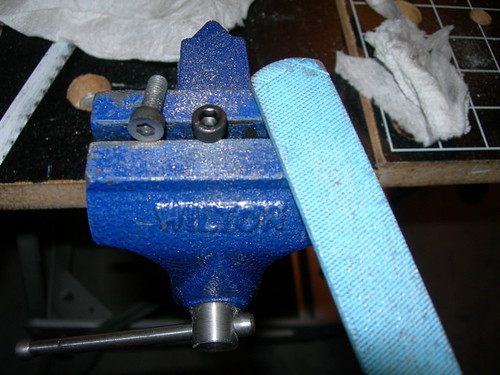
Things are so tight in the right foot drivetrain that I even had to file down some hex cap screws.
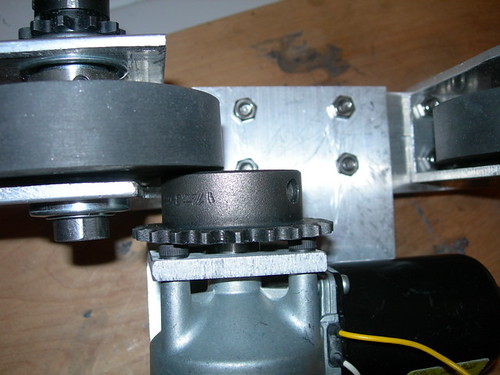
I wasn't kidding. You can barely see daylight between the gear and the hex cap screws on one side, and the gear and the wheel on the other. Making matters worse, I think my shaft adapter has problems, the gear has a slight wobble as the motor turns. It still clears everything, but just barely. That likely portends of problems to come, I'll probably have to make a new shaft adapter.

3 comments:
Looks like your hex cap screws are going hit the chain on the gear.
I replaced the hex screws with the counter sunk hex screws when I built my drive train.
Mike Senna
Thanks Mike. Once again you make clear what should have been obvious.
-Victor
Not so obvious! The screws can be found at Home Depot in the big drawer cabinets. That is where they put the metric screws.
The ones I found were phillips head not hex.
Slip the 22 tooth gear as close as you can to the motor mounting plate (leave room for the chain) to maximize the distance between the gear and drive wheel. Why: The rubber wheel will flex on extreme turns on rough surfaces and could rub the gear. This is a very, very minor issue, but can be avoided for perfection's sake.
Mike
Post a Comment