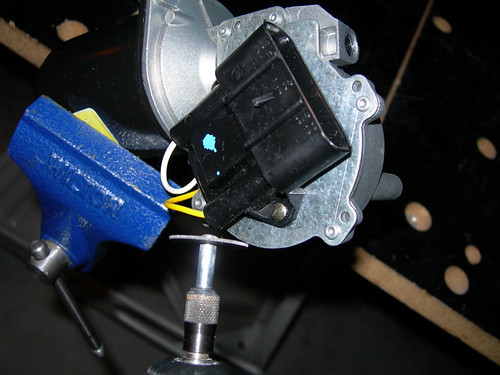
The first thing that needs to go is the black plastic power connector. I placed the motor in a vise and used a hacksaw to saw at the plastic around the rivets until the housing came off.
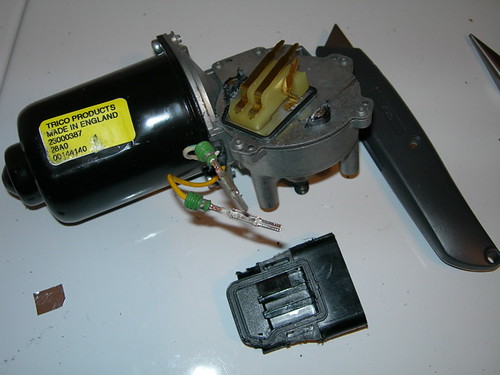
There is a yellowish plastic block underneath the power connector that contains metal leads into the motor. Two of the leads are connected to this block, and the whole assembly pulls out easily. A third metal lead has to be snapped off.
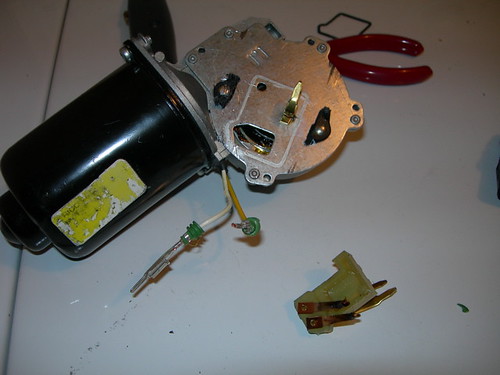
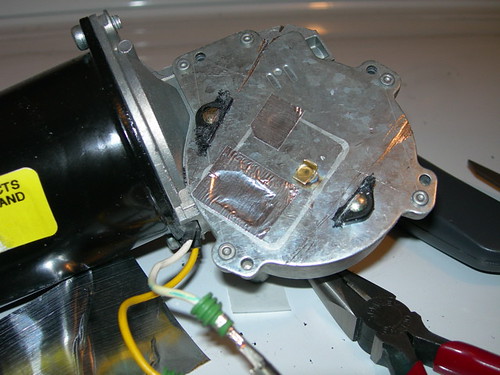
Once the leads have been removed, it's time to cover up the holes with a little foil tape.
Tonight, for the first, time, I applied power (12 volts) to the motors. They all appeared to be working properly, from what I could tell. I tried both forward and backward polarities.
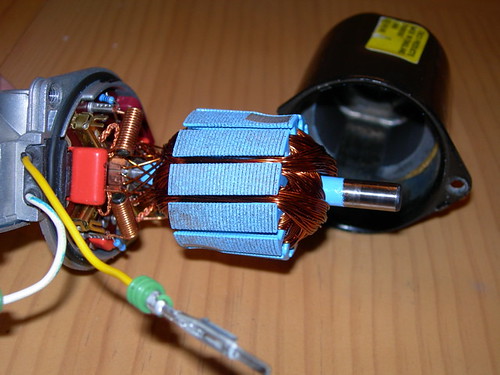
I couldn't resist taking a peek inside one of the motors, since I will be modifying them soon using Alex Kung's 24v conversion tutorial.

No comments:
Post a Comment