Before doing anything else, I had to completely obliterate my droid. I was hoping I would never see it like this, but sometimes you have to take a few steps backward in order to move forward.

Ouch.
Why the mess? I needed to remove the front skins for cutting, and to get to all the screws that hold the skins to the frame, the legs must come off. The skirt also had to come off to rest the frame on a flat surface for later, when I needed to cut more space out of the frame itself for the power couplers.
The skins did not come off without a fight. I had used silicone to secure several of the panels, and the silicone had bonded to the wood in the frame. But with some careful work, I was ultimately able to get the front skins off.
Since this may be my last chance to see my droid this skeletal, I decided to pry off the lower utility arm's pivot holder, since I never did like how far back the pivot point sat. I'll work on fixing that after everything is put back together.
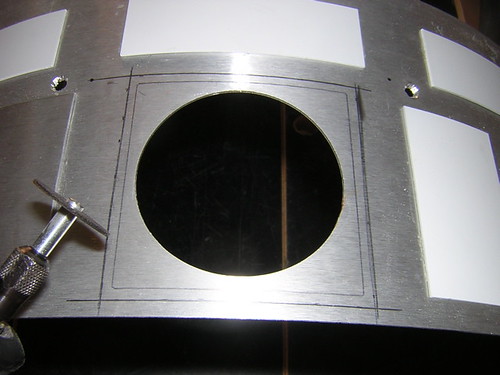
Okay, so back to cutting the skins. I marked the outline at which to cut, about 1/8" beyond what is visible on the outside, and used the Dremel cutoff wheel attachment to start cutting.
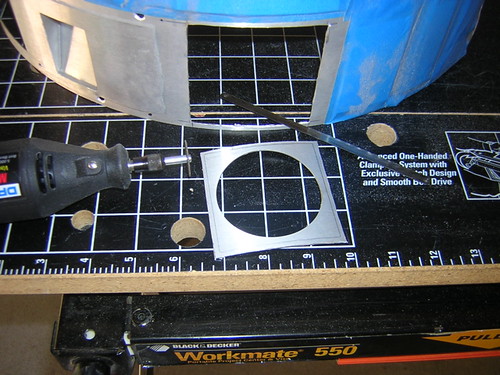
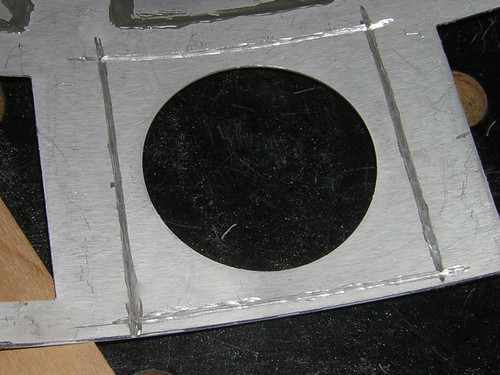
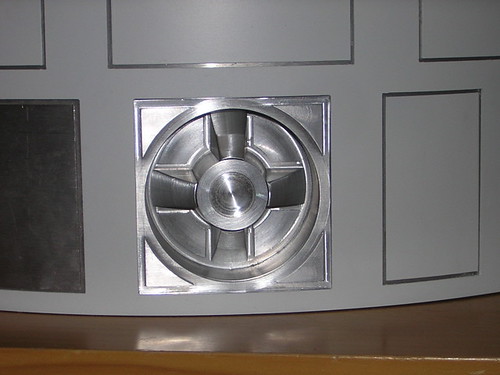
With care and patience, I got the power coupler area cut from the front inner skin. (The outer skin doesn't get touched for this surgery.)
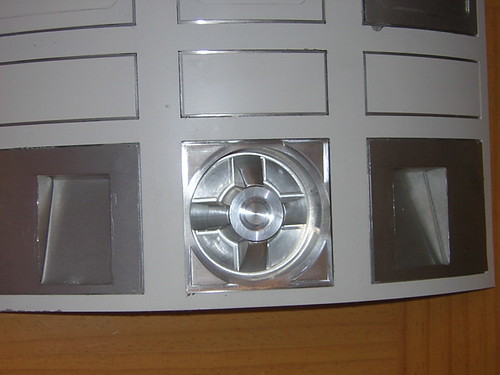
Next up, the back panel. This is trickier, because unlike the rest of the skins, the inner and outer skins of the back panel are JB Welded together. Thus, I had to cut only the inner skin, leaving the outer skin as untouched as possible. I Dremeled very slowly and carefully, keeping a watchful eye for when I could see that I had cut through the inner skin.
Again, with much patience and care, I managed to remove the inner skin's power coupler area. I also removed my coin returns from the back panel, since I had inadvertently swapped their positions. I will fix this too shortly.
The skins are not the only thing requiring work to accommodate the power couplers. Due to the new power coupler frame, I must Dremel out a larger area in the frame as well. I only had time for the front power coupler area today, I hope to use the router to route out the rear power coupler area tomorrow.
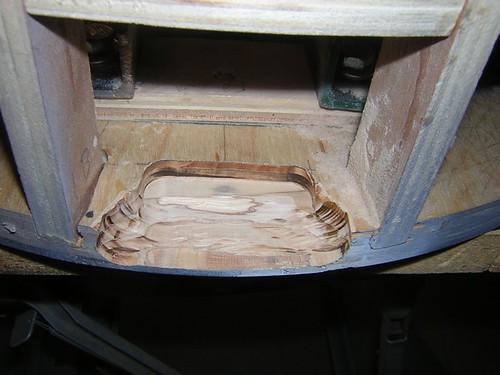
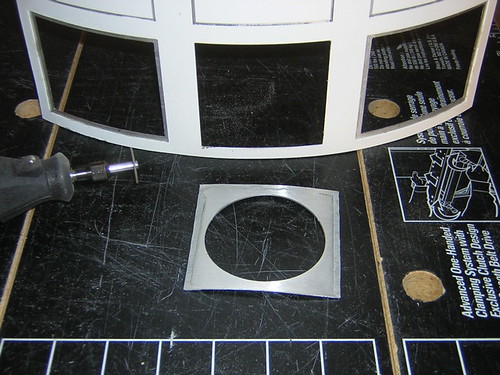
The day would not be complete without a loose test fit of the front and rear power couplers against the skins.

4 comments:
Very nice Victor! Hey, great seeing you and R2 this weekend! It's coming along GREAT!!!
Thanks Joe. It looks a little different today than Saturday, eh?
-Victor
Oh MY GOD!!! Did you seperate your inner/outter skin?
If you did, I bet you were scared to death.
I used my nibbler to remove the inner skin area, Then filed it smooth.
On the coupler, It sets kinda behind the outter skin, Right?
Man it looks like R2 BLEW Up in the pic.
Good work!!!
Calvin
LOL. It's not as bad as it looks.
The inner skins are screwed onto the frame completely separately from the outer skins, so separating to the two was not a problem. The only problem was the back door, where I did JB Weld the two layers together. So I had to be very careful to only Dremel through the inner skin, and stop when I started to see the outer skin.
And you are correct, the frame of the coupler sits directly behind the outer skin. I am thinking of using silicone to glue the frame to the outer skin, and set the round coupler on the frame. But I haven't decided for sure yet.
-Victor
Post a Comment