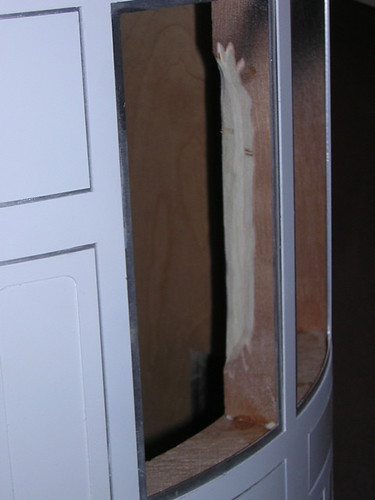
I needed to shave the vertical rib to the right of the front vents some more to accommodate the front vent harness.
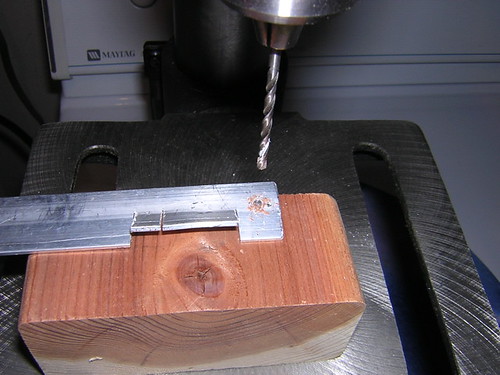
Then I drilled the rails for the harness so they can be screwed down onto the back of the vertical ribs. I marked the spots on the rails to drill, and used my trusty drill press, on my trusty dryer. I bent an area of one of the rails because it was bumping into a horizontal rib in the frame.
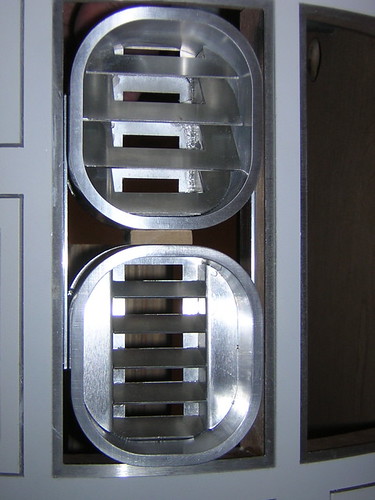
A test fitting looks good. I got careless handling the vents and knocked off the top slat of the upper vent, but another dose of Loctite glue did the job.
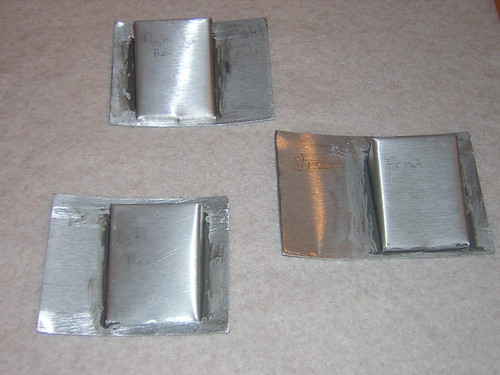
Finally, I gouged out spots on the wooden frame base plate where the coin returns will go, and I JB Welded the coin returns. I remember dreading these earlier, but they didn't end up being a complete disaster after all (although I still need to attach them to the skins...).

2 comments:
You might try some glazing putty on the horseshoes to help smooth then out. I can't see anything from the pics, They look great!!!
Calvin
Thanks for the tip Calvin, I'll keep it in mind. I was unfamiliar with glazing putty.
It might be too late for the horseshoes, since they are already primed,but it's not too late for future parts that will be smoothed and painted.
I finally came up with a simple trick to help with the micro-hills and valleys, and they are very small. Just use masking tape on the hills, leaving only the valleys unmasked., rather than blasting the whole edge with primer. Now only the valleys get primer, helping to fill them in. That seems to have helped a lot today.
-Victor
Post a Comment