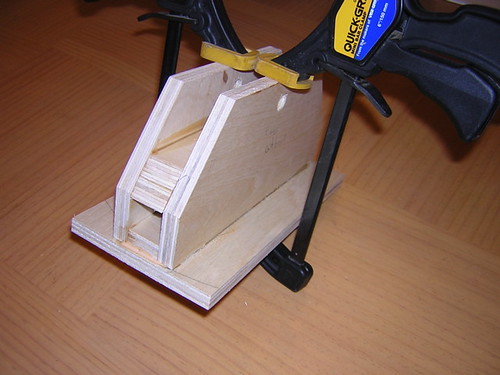
After cutting everything to size, I glued it all together. The wheels are just there to help support the other side of the foot that's about to get glued on top. The large bolts will be removable, along with the wheels. The two sides of the feet are 1.5" apart, which is just slightly wider than the wheels.
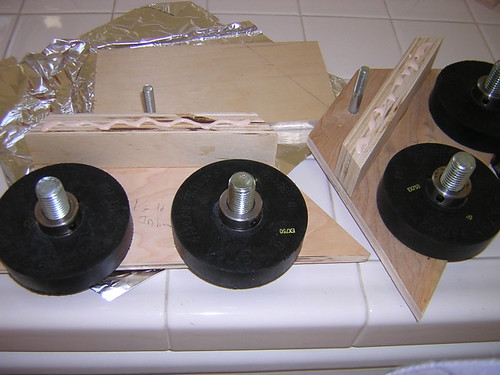

The middle temporary foot requires somewhat different construction, since it will ride on top of caster wheels. It is not quite done yet.
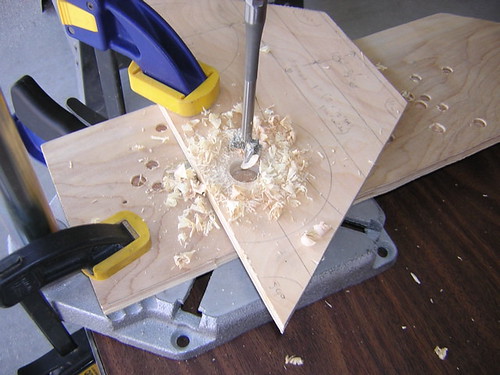
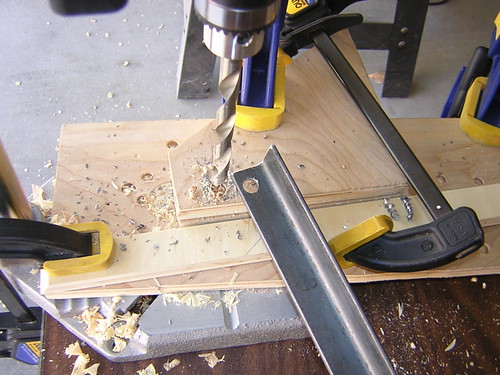
I drilled a hole in the vertical rail that will run from where the front bolt that secures the center leg passes through the leg rails, on up to the gas pipe that connects the legs.
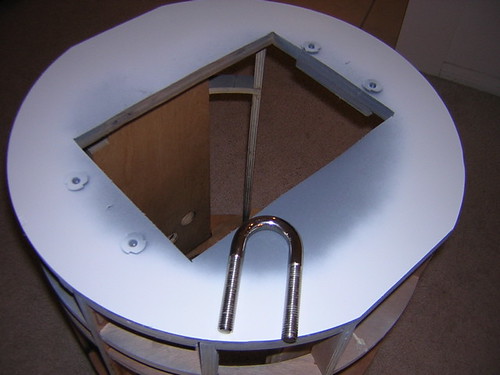
Speaking of the gas pipe, I started using a hacksaw to saw grooves into the U-bolt that will connect the top part of the vertical rail to the gas pipe. The grooves are to help get traction on the pipe. The purpose of all this is to allow R2 to tilt back 36 degrees and tighten the U-bolt around the gas pipe to hold the position.

Continuing on the gas pipe theme, I JB Welded the gas pipe into the pipe connectors, so they're in there for good.

Finally (actually, the first thing I did today), I painted the outer area of the bottom of the wooden frame white, so that the areas not covered by the skirt will match the rest of R2's body color.

No comments:
Post a Comment