Thursday, August 25, 2005

Started Drilling Shoulder Discs, Ordered More Resin Parts

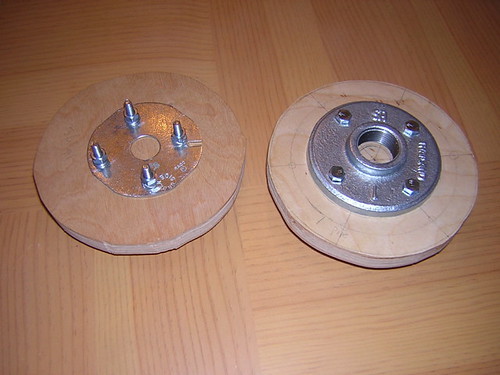
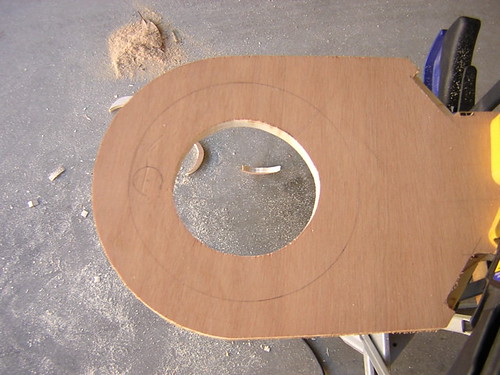
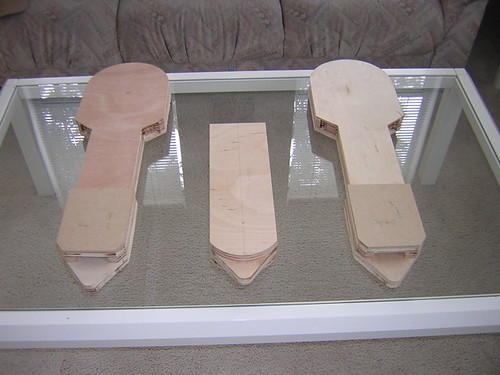
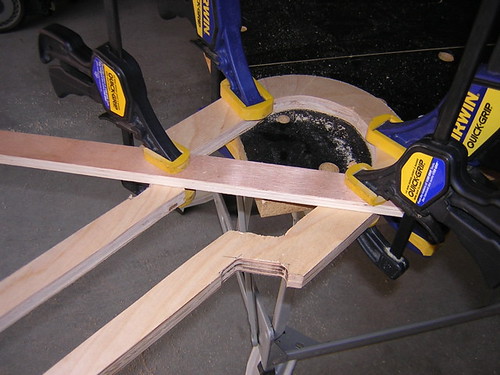
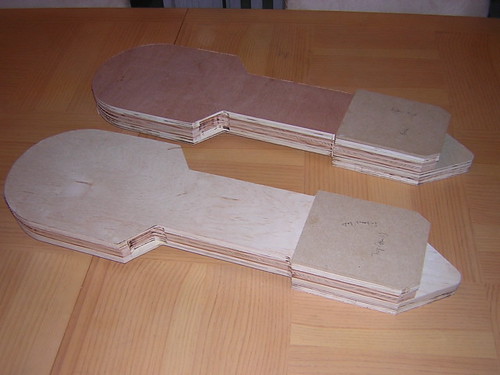
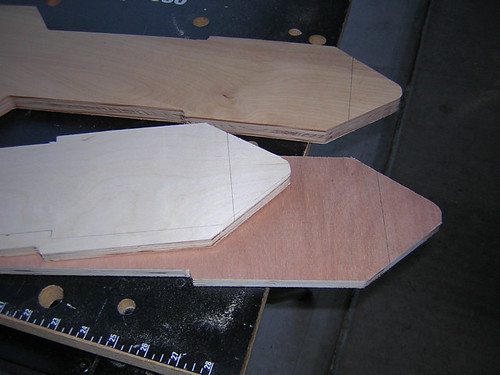
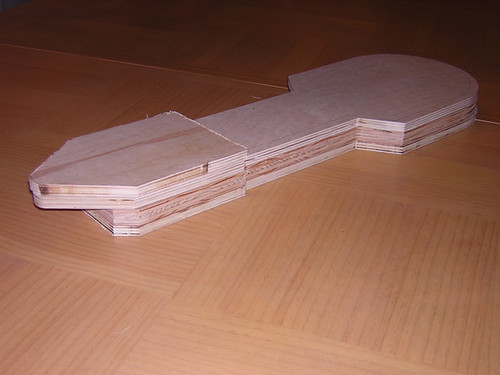
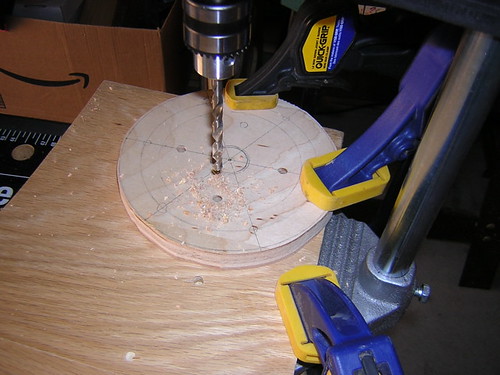
I started drilling 1/4" wide holes for the shoulder discs. Four holes in each of the two shoulder discs, plus four holes in each of the two electrical backing plates, using my poor-man's drill press. Remember, I still need to round down the edge of each disc with a router (hopefully Saturday). The backing plate on the left disc below is a bit off-centered, but don't worry, the pipe connector on the other side is centered, and that's what matters most. I can always drill new holes in the backing plate to re-center, if need be.

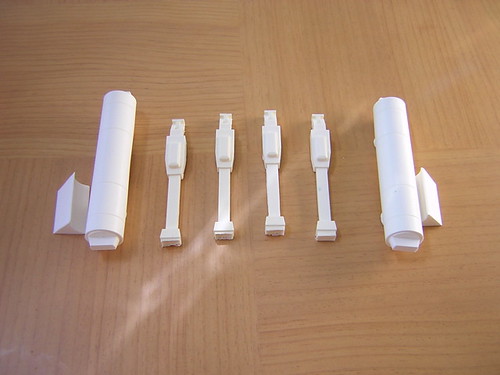
I also ordered several resin parts - front and rear logic display surrounds for the dome from Azman, and from Keith the radar eye, a pair of ankle cylinders and wedges, and a pair of ankle details (http://www.geocities.com/resinparts/main.html).


Wednesday, August 24, 2005

Scribed Shoulder Assembly Circles

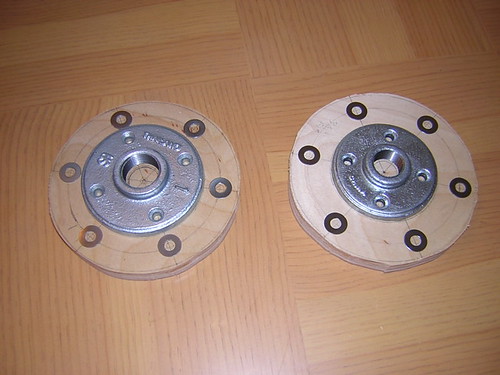
I marked up the shoulder assembly circles to indicate where to drill the holes. Inner four holes are planned to be 1/4", outer six holes planned to be 5/16". Note that I still need to smooth these disks with a router. Also assembled my poor-man's drill press.

Tuesday, August 23, 2005

Cylinder Arrives, Trim Shoulders, More Gluing

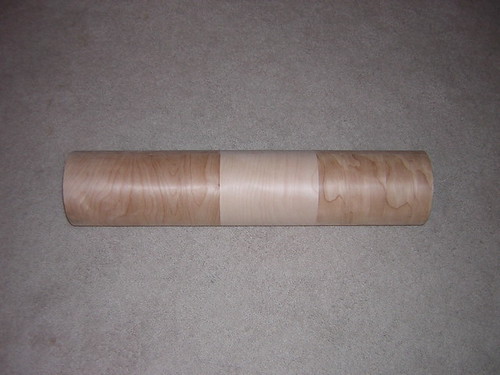
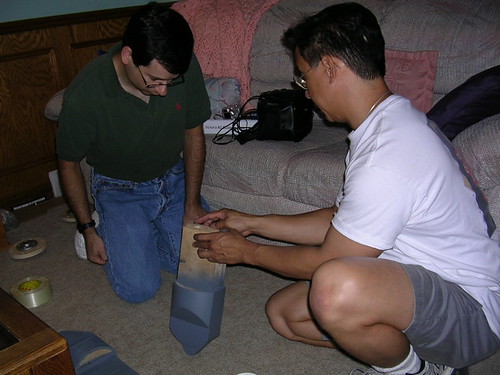
The Tape-Ease plywood cylinder arrived today. This is 27.5" long x 6" diameter x 5/16" thick wall:


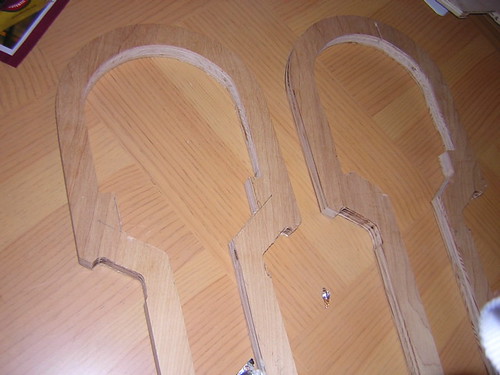
I trimmed the middle shoulder layer to better accommodate the t-nuts that will hold the bolts of the shoulder assembly on:


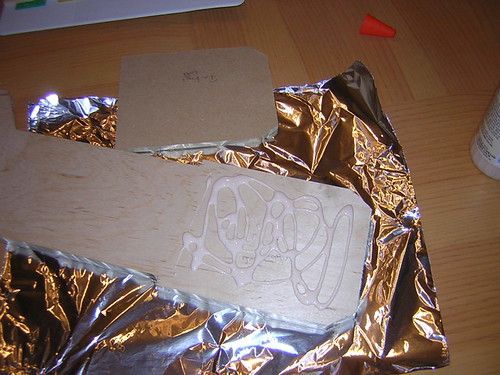
Finally, I glued up another leg layer, albeit the last small piece before I glue the larger pieces together. Photo taken before I smeared the glue more evenly:

Monday, August 22, 2005

Glued Right Leg End Pieces

I glued together the two inner-most and outer-most leg pieces for the right leg today. These are small layers attaching to larger layers. Not picture-worthy (like anything is...).

Sunday, August 21, 2005

Cut Shoulder Holes, Started Gluing Outer Legs

I cut the holes out of the shoulders that will support the shoulder assembly (gas pipe that attaches the two legs through the body). I also started gluing up the first two layers of the left leg.


Also bought assorted nuts, bolts, washers and a poor-man's drill press during visits to Lowe's & Home Depot.

Thursday, August 18, 2005

Sanded Middle Leg

Did a first-pass sanding of the glued-up middle leg with 100 grit sand paper. Fairly smooth, but will do another pass before filling in with wood putty and re-sanding.

Wednesday, August 17, 2005

Purchased More Parts

Bought lots of do-dads at Home Depot, Lowe's and Ace Hardware. Picked up the 1" and 3/4" gas pipe that will connect the arms/legs through the body, various screws, backing plates, pipe holders, etc. Some parts are duplicates and will need to be returned.

Tuesday, August 16, 2005

Finished Gluing Together Center Leg Layers

Today I glued together the two other layers to the two layers that were glued yesterday. Will let dry overnight,and it should be ready for sanding. Tape Ease called back today, so the cylinder has been ordered. That will be used to create the curved portions of all three legs.

Monday, August 15, 2005

Cut Out Center Leg

Managed to get the center leg completely cut out. All it needs is the Tape-Ease cylinder (called them twice, left a message, never heard back). As usual, my planning yesterday was for naught, the mark-ups weren't perfect. The center leg was about 10 times easier than the outer legs.

Glued one of the inner and outer layers of the center leg together.


Sunday, August 14, 2005

Marked Up Center Leg

Picked up yet more 1/2" plywood for the center leg. The center leg requires two 1/2" layers of plywood (inner layers), and two 3/4" layers of plywood (outer layers). Marked up the plywood to spec for cuts tomorrow.

Saturday, August 06, 2005

Finished Major Outer Leg Cuts

Well, I finally finished the major cuts of the outer legs. Eventually I'll need to cut out a circle on each inboard layer to accommodate the bracket that will support the pipes that connect the two legs through the body, but that will come later. For now it's gluing and sanding these layers. Up next, the center leg.


Friday, August 05, 2005

More Leg Cuts

Made a small template for those parts of the ankle section that need the tip chopped off. Cut four leg parts to size. Still much to do.


Saturday, July 30, 2005

Cut Legs Out

Another very long day. I cut out my uber-leg-template. Too bad I accidentally destroyed it with the router. Actually, it wasn't too bad, but it was rendered unusable. All was not lost, however, as I was able to use that template to create a new one and work around the damaged part, so things turned out okay.

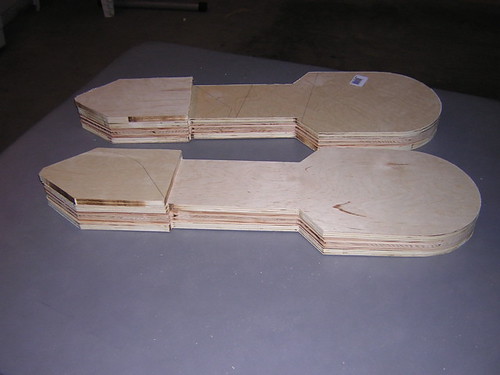
Cut out the legs based on these templates. Note that the small part sitting on top of each leg has not yet been routed, plus I still haven't done the 1/4" inch section that goes under all the layers, and some areas will be trimmed near the bottom:


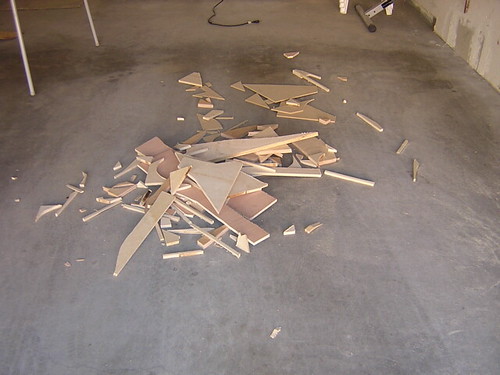
And here's just part of the mess I made:

Friday, July 29, 2005

Marked Up 3rd Leg Template

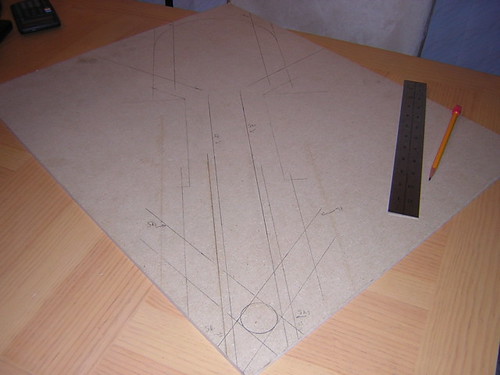
This makes my third attempt at getting the leg template right. I marked up the outline of the leg, followed by marking up where the skis of the jig-saw should ride to make the perfect cut. I sure hope it works this time...

Tuesday, July 26, 2005

Cut Leg Template (Twice)

This was kind of sad.

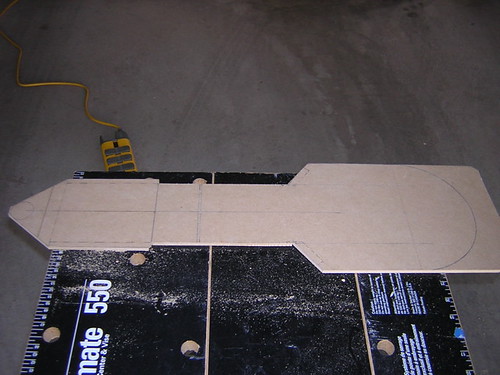
After spending so much time marking up the template yesterday for cutting today, it turns out that my markings were not 100% perfect. First I cut the template I marked up from yesterday:


I didn't really notice anything wrong with the template, so I decided to use it to cut a test leg piece from 1/2" plywood. Careful study showed some asymmetry. Since I need to use this template 10 times (5 for each leg), I decided to start over, by going straight to the blueprint. I cut out the outline of the leg from the blueprint using an Xacto knife and straightedge:


Ultimately I cut this template out too. Even this template is not 100% perfect, but it's a lot better. The only thing wrong with it is that the edges above where the ankle joins the leg are not of equal length. I haven't decided whether I will a) try to fix the template, b) live with it, or c) start over again for the third time.

Monday, July 25, 2005

Marked Up Leg Template & Rough Cut

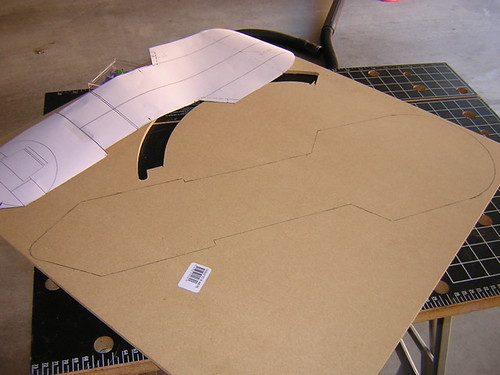
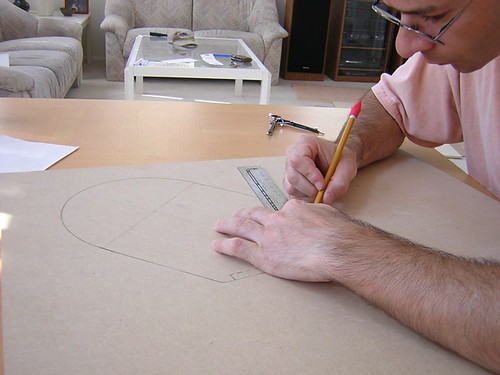
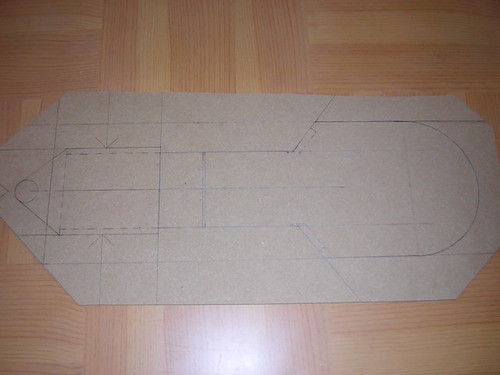
Meticulously drew up the leg outline on 1/4" Medium Density Fiberboard (MDF) from full-sized blueprints. First I went back to Reprodox, where I originally got the leg blueprints printed, to have copies made of them so I could trace on them ($14.00 for two sheets copied). Then I went to Jo-Ann's (for the first and last time in my life) to get some trace paper (used for sewing). Placed trace paper on MDF, and then the blueprint on top of that. With the blueprint copy being held down by thumbtacks, and using a straight-edge and compass as necessary, I traced with pencil over the blueprint copy. This resulted in an outline on the MDF. Went back over the outline on the MDF again with a pencil, straight-edge and compass, and solidified and extended the outline as needed. Finally did a rough-cut with a jig-saw in preparation for trimming down tomorrow.


Friday, July 22, 2005

T-Shirts & Saturn Motors Arrive

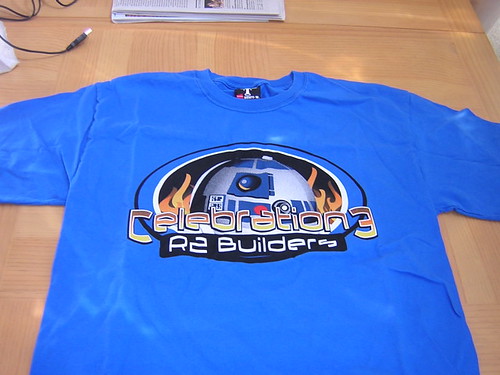
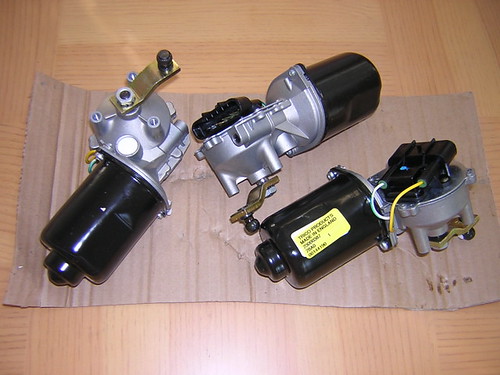
The Celebration III t-shirts and the six Saturn windshield wiper motors I ordered arrive (only need 3, but just in case...). The motors will be used to power R2's feet and dome rotation.


Thursday, July 21, 2005

Resin Ankle Details Arrive

Cory's resin ankle cylinders, wedges and battery harnesses arrived today.

Wednesday, July 20, 2005

Knurled Cable Fittings Arrive

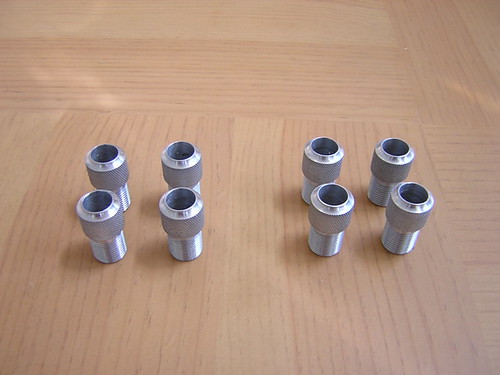
Michael Davis' knurled cable fittings arrived. Also picked up some brass hose at Lowe's for the feet (and a spray paint trigger attachment). $41.31 for those.

Monday, July 18, 2005

Frame Finished

I made the final cuts to the ribs to finish the frame.

I had to open up the B ring by cutting out the segment between ribs 5 and 6 for back-panel access.


An R2's-eye view.

Sunday, July 17, 2005

Full Frame Assembly!

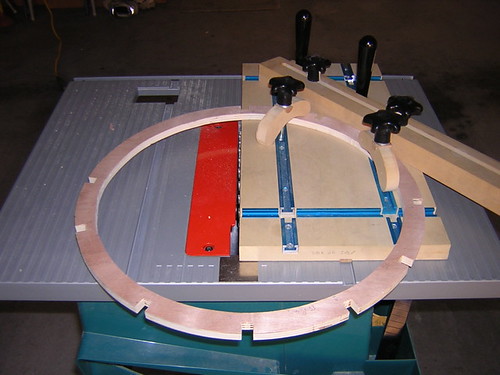
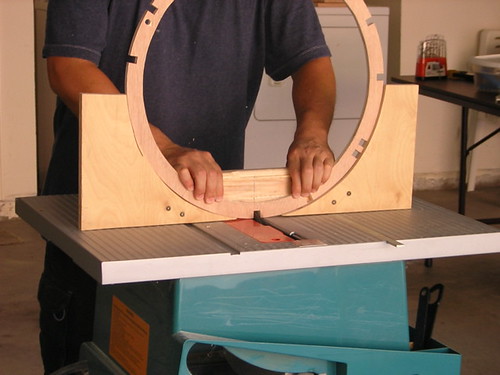
With big thanks to my buddy Kelvin, I was able to just about finish the wooden frame today. Began by making Mike S.'s sled to make dado cuts into the rings. The bulk of the rest of the day was spent making 1/2" deep dado cuts:


As the cuts were completed, I would do a test fitting. Note that the "B" ring is installed, but the back portion will be cut to allow back-panel access:


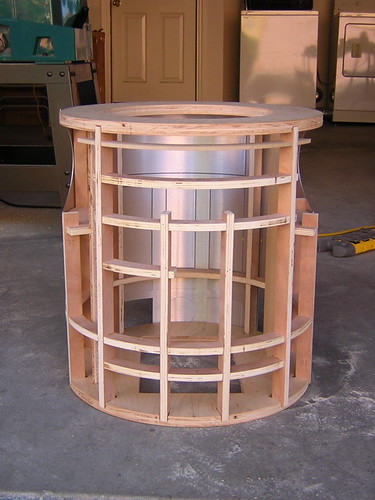
And here it is, the full assembly. The back skin is clumsily set behind it, so it's not aligned:


All that's left to do is cut the back of the B ring and trim some of the ribs to size. Then the frame will be DONE!

Saturday, July 16, 2005

Cut Horizontal Rib Rings, Pie Wedges & Marked Up Joints

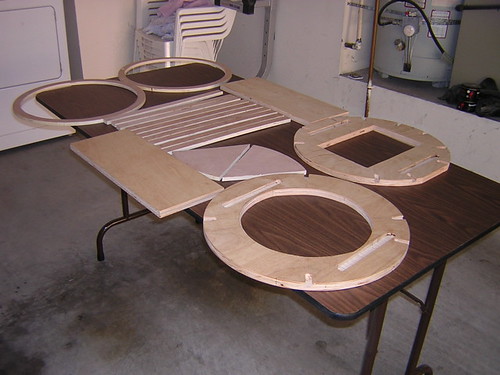
I cut the 1"-wide rings for the horizontal ribs by cutting a normal circle like those that form the top and bottom bases, and then cut an inner circle using a jig saw. Two of these were cut to supply all the horizontal ribs. Also cut the pie wedges that will support the shoulder planks that I cut yesterday. Most of the tip of the pie wedges will be cut to fit against the planks.

Also marked up where the dado cuts will go for both the horizontal and vertical ribs:


Getting close!

Friday, July 15, 2005

Shoulder Planks & Skirt Lines Cut

Cut out the planks that support the two bases, and that the pipe connecting the arm shoulders will run through. Also chopped out the 5" lines out of the left and right sides of the bottom base for where the skirt will attach one day.

Thursday, July 14, 2005

Cut and Routed Base Circles

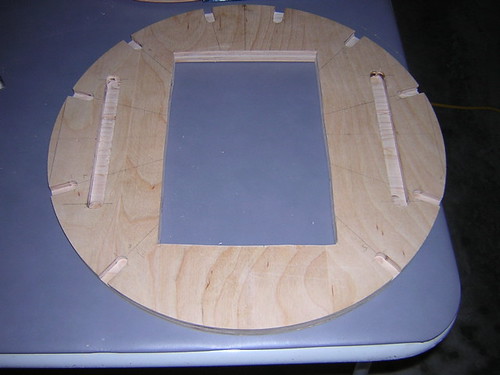
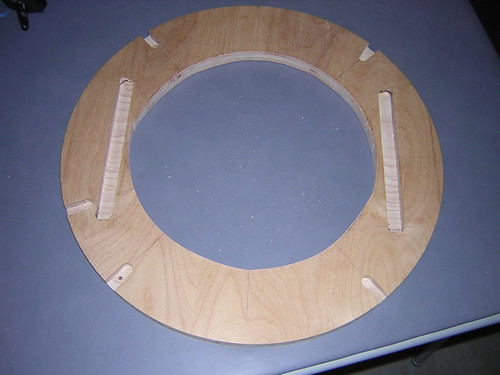
Cut the rectangular hole for the middle leg out of the bottom base circle, and the round hole out of the top base circle for accessibility. Routed out grooves for shoulder planks in both top and bottom bases. Top base is done, bottom base only needs to have the left and right edges flattened on the table saw to fit the skirt on correctly.


Wednesday, July 13, 2005

Marked Up Base Circles

Not much work today, just marked up the top and bottom base circles for routing out the slots for the planks, and the donut hole out of the top circle, and the rectangle for the middle leg out of the bottom circle. Also drew the lines for the small portions of the bottom of the circle that get chopped off on the left and right for the skirt.

Also picked up a compass (you know, for drawing circles) at Office Depot for $4.30.

Monday, July 11, 2005

Meet with Mike Again

Learning at the feet of the master once more, Mike was kind enough to invite me to tape a portion of the leg assembly that is not available on the existing tutorial. Explained in detail how the brackets are attached to the leg and bolted down.


Timing was also perfect as Mike's wooden frame was out and I was able to get all my remaining frame questions answered.

Radar Eye Lens Arrives

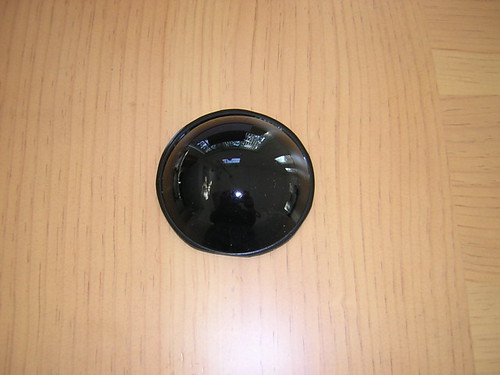
Another part arrives: Azman's black radar eye lens. Now Artoo can see (if only he had a head).

Sunday, July 10, 2005

Remade Top Base, Rough Assembly

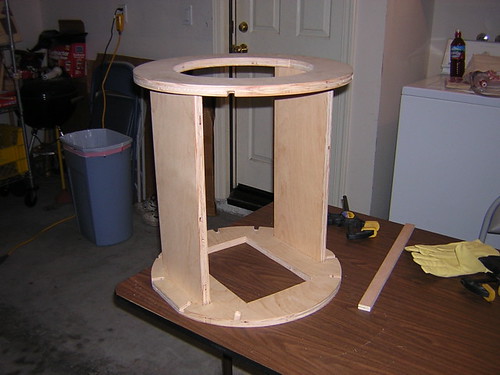
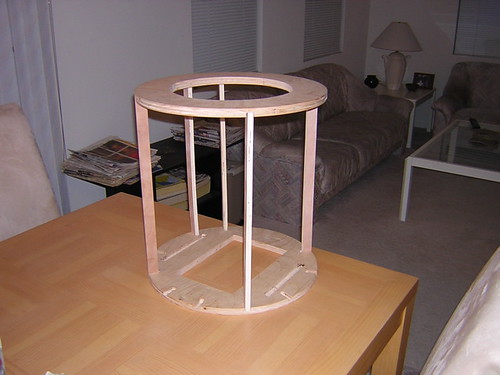
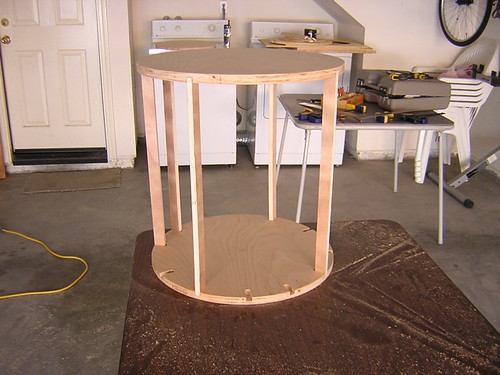
I realized that yesterday I accidentally routed the wrong side of the top base (um, the slots need to face down, not up), so I re-cut and re-routed the top base correctly. I couldn't resist stacking up the bases on the five verticals that go from top to bottom:


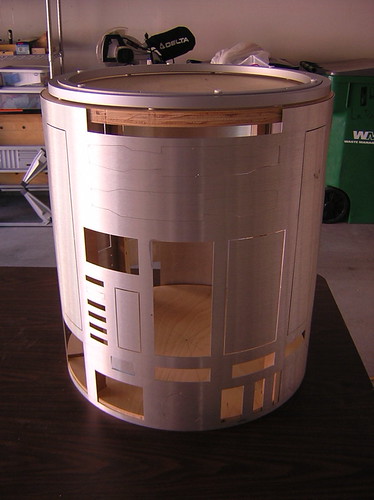
And why not wrap the skins around and put the Rockler bearing on top while I'm at it?

Saturday, July 09, 2005

Cut Out Bases (Top and Bottom)

Big day today. Cut out the bottom and top bases for the wooden R2 frame, plus a circle from which I will make horizontal ribs. All of the information I gathered for this comes from Mike Senna's wooden frame tutorial on the Celebration II DVD from the R2 Builders Club, and from the companion tutorial found at Wooden Frame Tutorial

First, I needed to cut a 4'x4'x3/4" section in half with the circular saw:
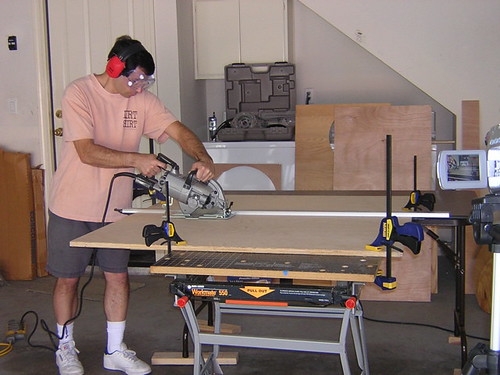


Next, I made a rough cut of the bottom base circle with a jigsaw, following a path just outside the penciled line that is 18" in diameter:
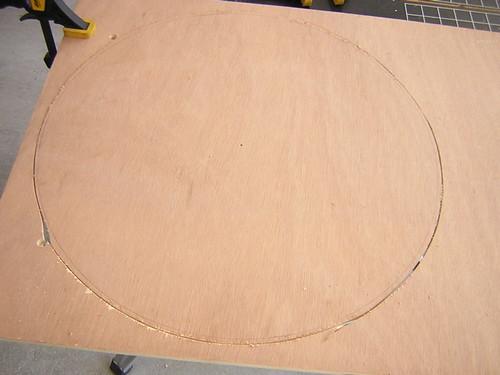


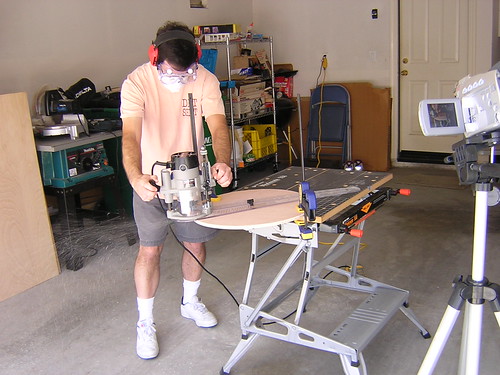
After that, I routed down the base circle using my circle cutter router attachment to bring the diameter down the exact diameter of the aluminum skins.


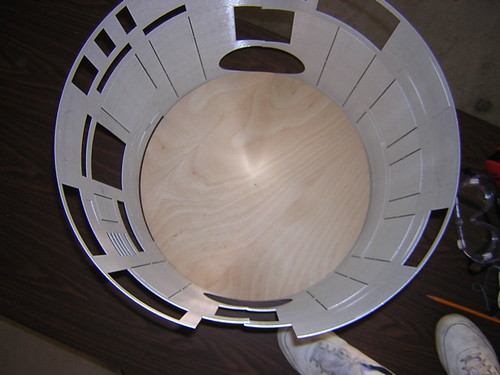
I did a test fitting of the skins to make sure the base circle was of the correct diameter. It was.


Next I worked on routing out the grooves for the vertical ribs. The location of the vertical ribs was determined by matching them up to the areas on the inside of the aluminum skins to see where a vertical could go. Only five of the ten vertical ribs go all the way from the bottom base to the top base.
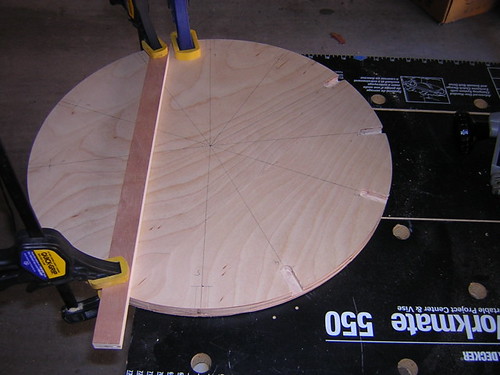
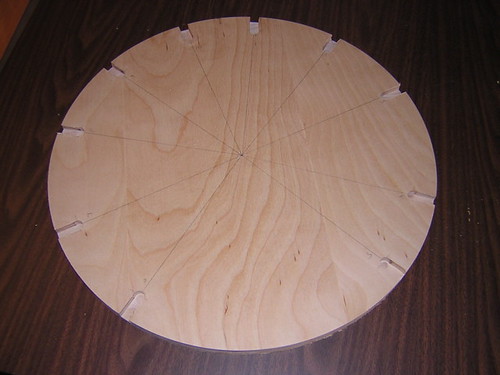


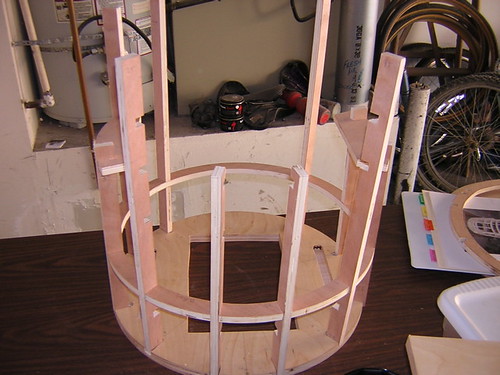
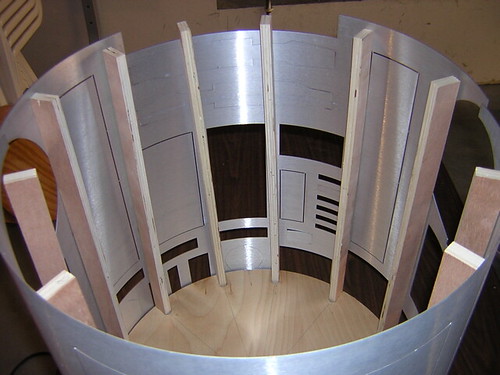
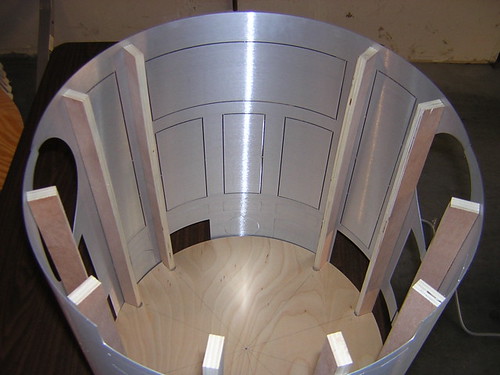
Then, I placed the ribs into the base for a test fitting. Pictures are of front and back. This took all day, my back is killing me.
Friday, July 08, 2005

Practice Cut of Base, Ordered Radar Eye Lens

Did a dry run of cutting out the ~18" diameter base circle for the R2 frame, and the skins seemed to align within a millimeter or so, so I'm ready to do the real cut tomorrow. Also ordered the black radar eye from Azman today ($15.00).

Sunday, July 03, 2005

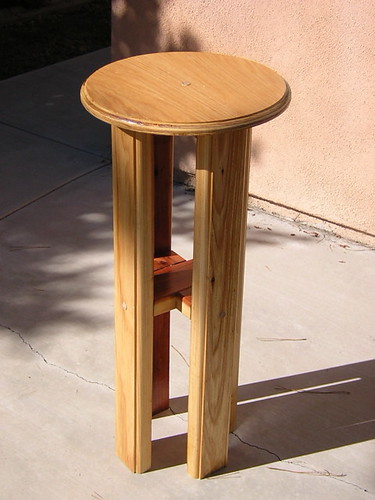
Finished Plant Stand

You'll be happy to hear that I'm done with the plant stand. Not because anyone cares about the plant stand, but because from now on, my posts should only relate to R2 building(!).

For better or worse, here's how it turned out:

Saturday, July 02, 2005

Cut Out Plant Stand Top

Used the circle cutter router attachement I bought (see entry for Tuesday, June 21, 2005) to cut out top of plant stand (where plant will sit). Routed decorative trim as well, drilled center hole for mounting. Need to shellac, mount and plug, and the plant stand will be done. (Like anyone cares about the plant stand...)
STARTED R2 CONSTRUCTION TODAY

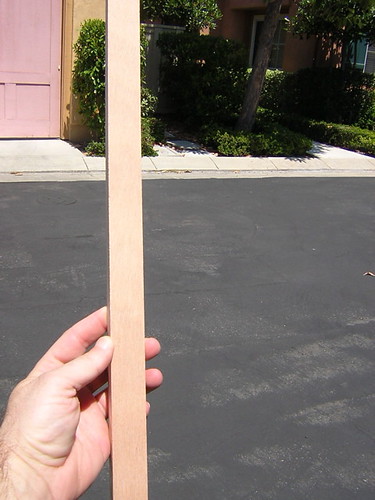
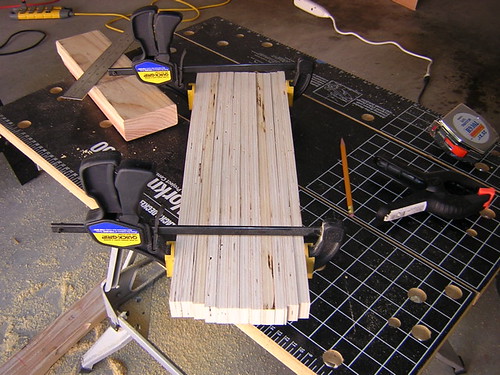
Yes, I've finally started on building my R2. It doesn't get any more modest than today. With Kelvin's help, I cut R2's first wooden vertical rib (1"x1/2"x18 5/8"). We cut 12 of these total. Only 10 are needed, and of those, only 5 span the entire height of the skins. Still need to do dado cuts on the vertical ribs, but that will come later. Construction has started!
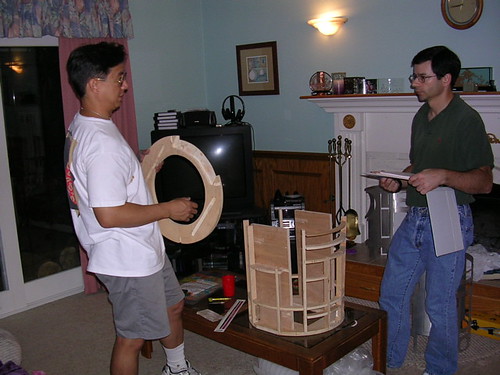
First piece cut:


Here's the group of them: