
The LM7805 has 3 pins: voltage in (12 volts in my case), ground, and 5 volts out. I detached the LM7805 (see red oval at the lower left in the photo below) from the wooden frame in preparation for desoldering, so I can reuse the 12 volt and ground wires coming from the droid's power bus bars.

Then, it was a simple matter of soldering the UBEC in its place.
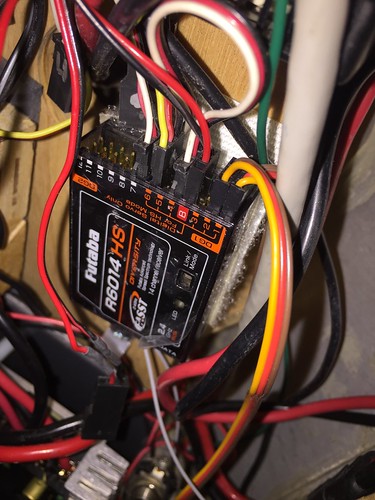
The UBEC plugs into the 5 volt battery supply on the receiver.
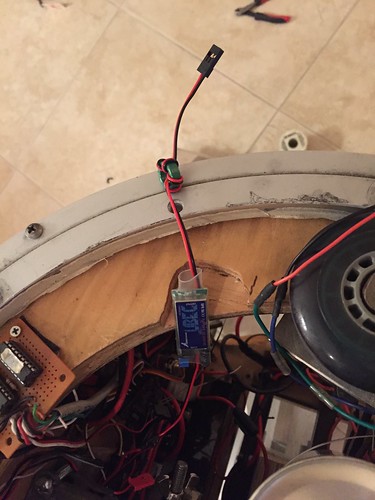
I mounted the UBEC itself with Velcro, a short distance away from the receiver, as the installation instructions recommend, to avoid electrical interference.

So far, so good in limited testing. This will get a more thorough workout at Wondercon in a few days.

No comments:
Post a Comment