I tackled the easy stuff first, adjusting the height of the dome. The dome ring rests on #10 nuts and screws. Each screw has a nut on the bottom to anchor it, and two more nuts lock together to adjust the height.
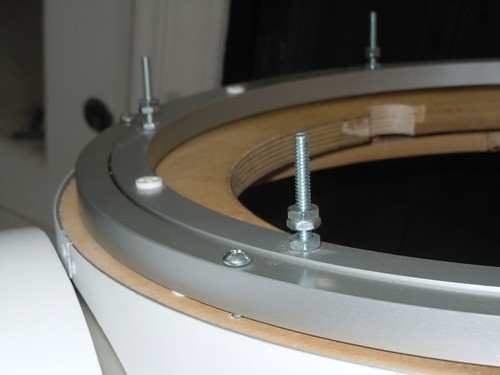
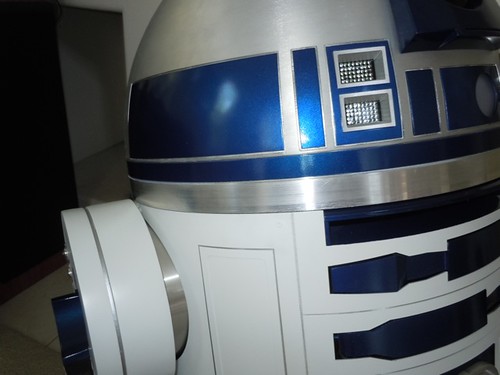
Facing the droid, the left side has almost no gap between the dome and the skins. The right side has just a very small gap.
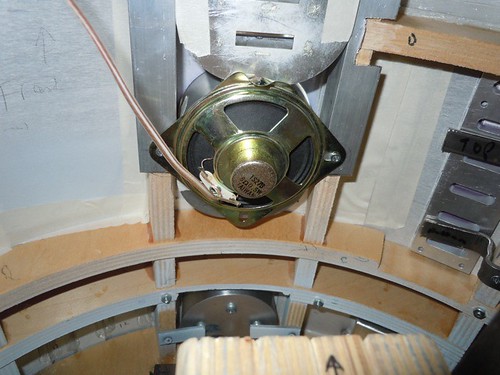
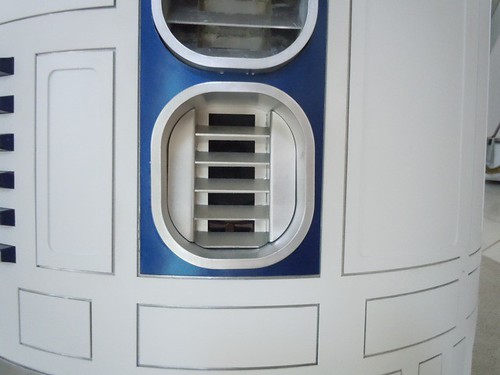
Next, I installed the speaker. I used the screws that secure the front vents to mount the speaker. The speaker lives just behind the lower vent, and is not easily seen from the front.
I also installed the tension spring for the dome drive, to keep the dome drive wheel pressed against the Rockler bearing.
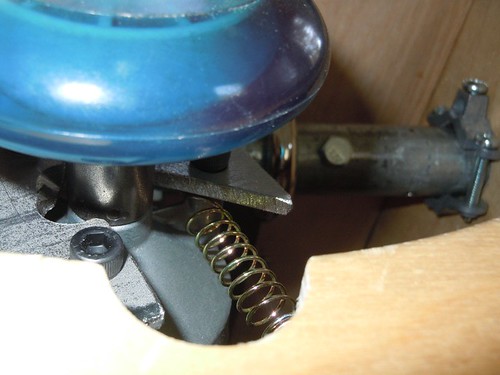
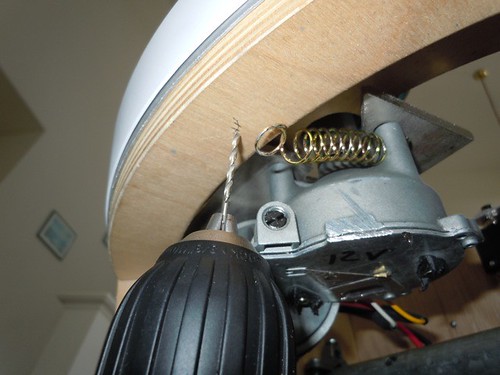
I needed to drill a hole underneath the top of the frame for the screw that the spring attaches to on the frame.
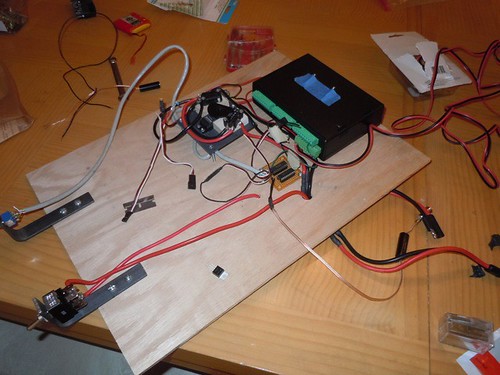
Finally, I slid the electronics panel into place and tried it out. Unfortunately, I didn't realize that I managed to reverse the polarity of the plugs on the batteries versus the power connector on the electronics panel. I was very lucky that only one component was damaged, the cheap LM7805 voltage regulator that I'm using to convert 12 volts to 5 volts for the dome and sound automation circuit.
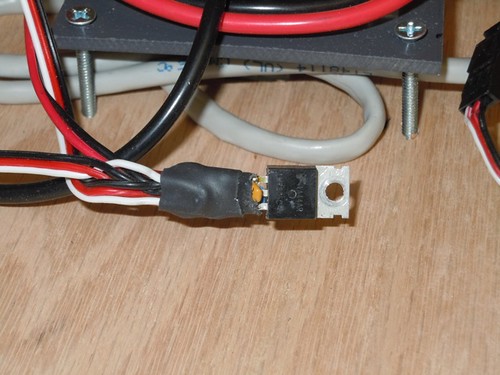
I need to pick up some decoupling capacitors, and then I should be able to replace this part of the circuit. Hopefully I can get to that soon, I want this mess off my table and in the droid.

1 comment:
Nice blog thanx for sharing, we At Capital Bolts Our primary focus is on providing high-quality products from many manufacturers.
Nuts Manufacturing
Anti Theft Nuts
Cage Nuts
Chuck Nuts
Clinch Nuts
Collar Nuts
Crimp Nuts
D Nuts
Dome Nuts
Flange Nuts
Post a Comment