
I was pleasantly surprised that it came out really well.

There was one corner that needed a little more Evercoat, but other than that, no gaps or voids needed to be filled.

I sanded that spot clean in preparation for applying Evercoat to the area.
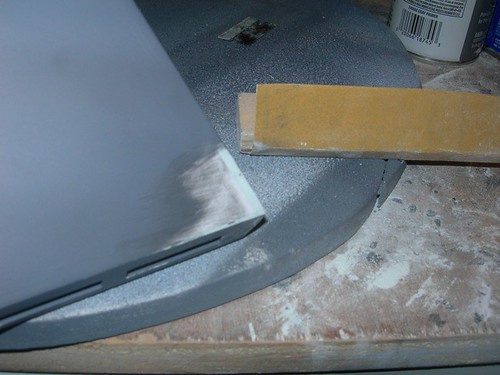
One last round of Evercoat for the center foot shell, and this should wrap it up.
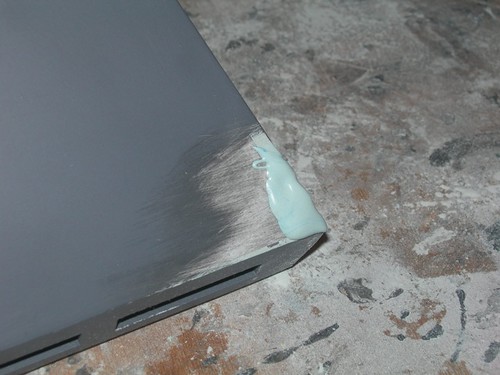
I also found a small blob of hardened Testors glue that needed to be scraped with a razor blade. This area doesn't really show when the door is on, but the bump could prevent the door from sitting flush against the door frame.

A little bit of scraping, and that's the end of that.

I'll sand down the Evercoat and apply another coat of primer on the center foot shell tomorrow, and hopefully it will be all done except for final painting.

No comments:
Post a Comment