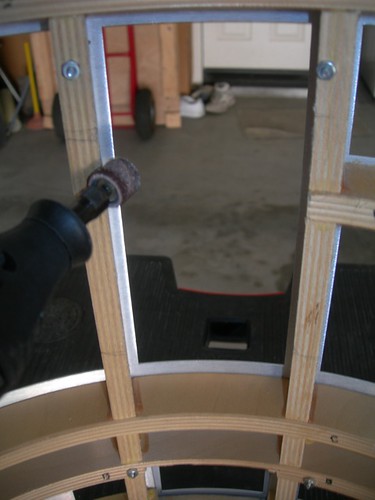
The fit was a bit too snug, so I needed to remove just a little material from the adjacent vertical ribs, using the Dremel drum sander.
There is a rib to the right of the assembly that interferes a bit with the right rail, so I marked where to cut a small portion of the rail, to make a slot for this rib, and then I did the cutting.


I reinstalled the harness on the frame, and determined where to drill the mounting holes.

Then, over to the drill press to drill the holes in the rails.

I used four #4x3//4" wood screws to mount the harness onto the frame.

Things are looking reasonably good. I may or may not make very minor adjustments in the future, but I think I could live with this.


No comments:
Post a Comment