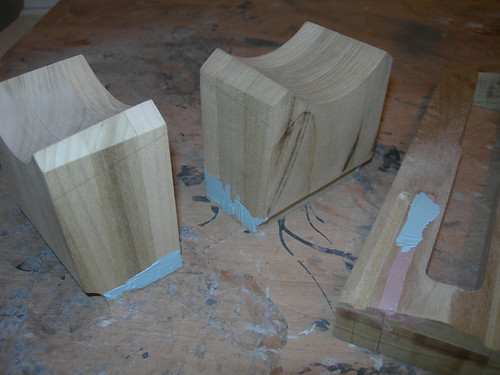
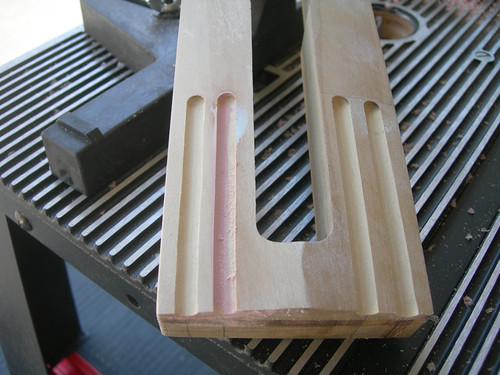
I started off by lightly applying some Evercoat here and there on the booster cover top pieces where the seams were, and I spot-filled a small area where I had applied Bondo last night on the messed up groove on one of the booster cover body pieces.

Followed, of course, by sanding.

With the groove filled in on the booster cover body, it was time to reroute it, correctly.

Finally, it is time to trim the bottoms off the booster cover body pieces. Yea!

A few seconds with the file straightens out the inner edges.


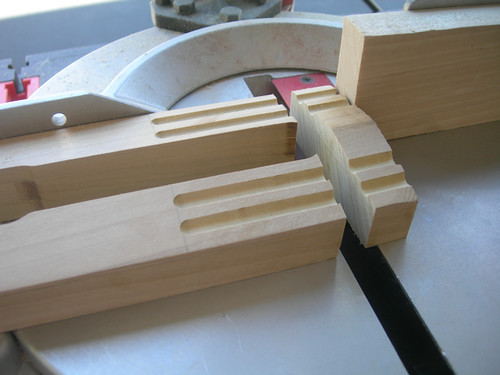
The last cuts are the grooves on the booster cover edges and front faces, that match those on the legs. I placed the booster cover on the leg and marked where the groove was on the leg.

I lined up my mark with the saw blade, for a 0.060"-deep cut, as per the blueprints. Note that I am not cutting underneath the bottom of the piece here, I am merely aligning the mark with the blade, so I can set the stop that determines where the cut will go once I turn the piece over.

Perfect! I used a small square file to straighten out the kerf that the blade left. It's like a small, inverted 'v', so I flattened that out.

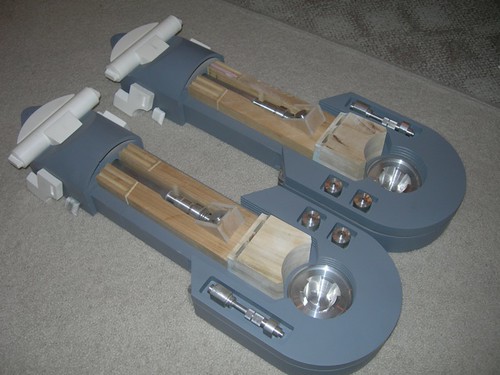
I was overdue for a "big picture" look, so I grabbed my aluminum and resin pieces and set them all up. About all that's missing is the ankle bracelet, and I just so happen to have rough-cut a couple of those back when I was working on droid #1, so I'm ahead of the game on those.

Not sure what I'm going to work on next.

2 comments:
Hey Victor, I hate to ask but did you put the ankle shim in place when you marked the booster cover for the table saw groove cut?
I did not see one in the picture.
Moose,
I didn't put the ankle shim in place, but I'm going to have the booster cover go through the ankle bracelet, and I did indeed cut the booster covers 1/8" longer than spec to account for it. :-)
Thanks,
Victor
Post a Comment