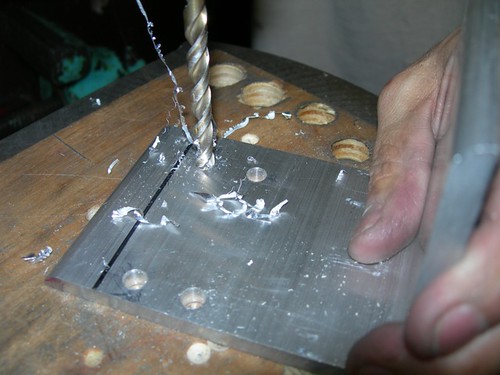
We started with marking and drilling the channel pieces that go on top of the drivetrain.
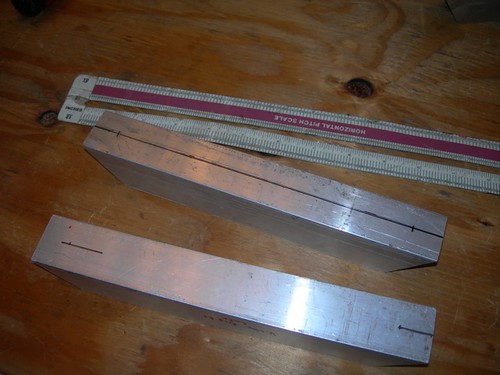
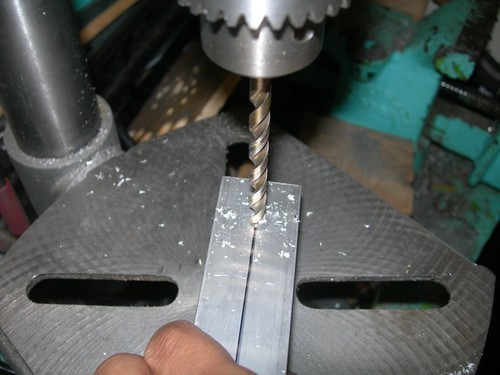
Once the channel pieces had their holes drilled, they were used as templates to drill the holes into the tops of the drivetrain body pieces.
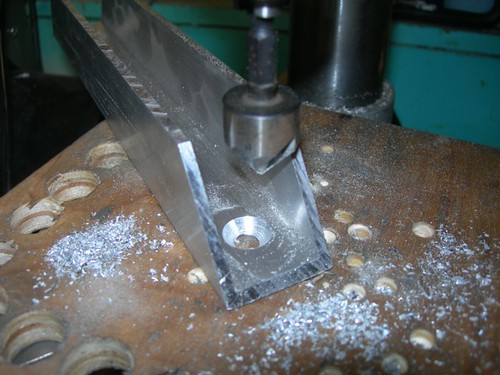
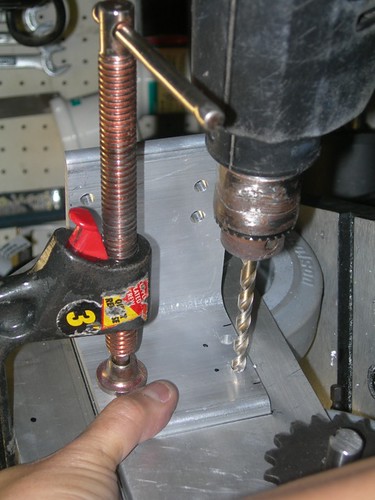
After those holes were drilled, we returned to the drill press to countersink the holes in the channels.
Next, it was time to move onto one of the trickiest parts of the build, the motor mounts. These segments of L bracket need to be located just right, both vertically and horizontally. We want to locate them as low as possible, to give the NPC motors as much room up top as possible in the battery boxes. In the horizontal direction, we must be mindful not to block access to the ankle bolts when the motor is installed, and yet leave as much distance as possible for the chain to span the gear on the motor and the corresponding gear on the drivetrain.
Mike spent quite a bit of time determining where best to locate the motor mount on the drivetrain.
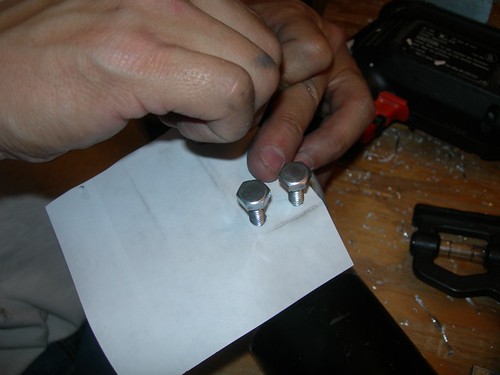
Once the location was determined, he used a piece of paper as a template to match the hole locations on the NPC motors.
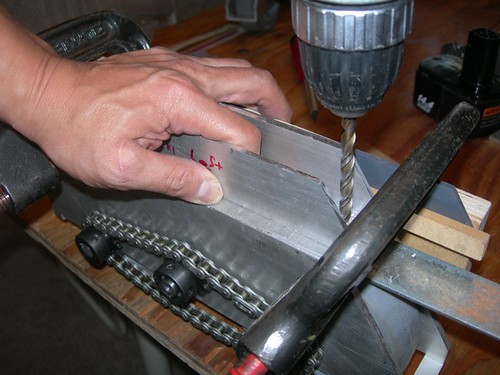
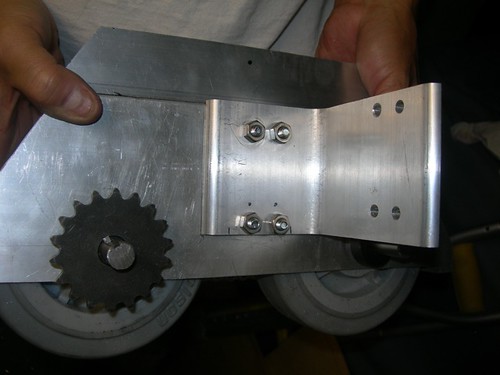
Mike transferred the paper template to the motor mount piece, and used it to mark up the piece for drilling.
Perfect on the first try, all four holes that were drilled lined up with the four holes on the NPC motors.
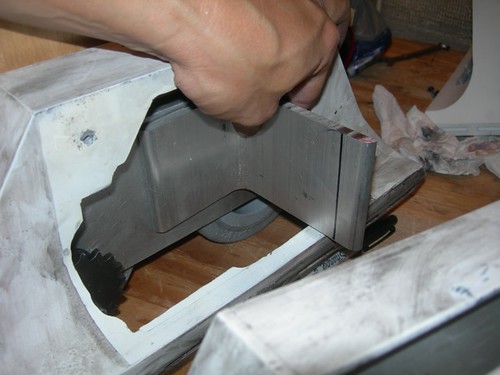
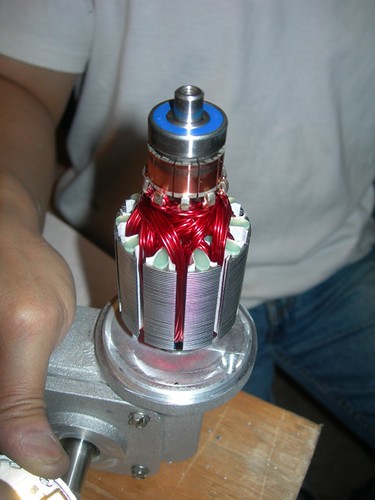
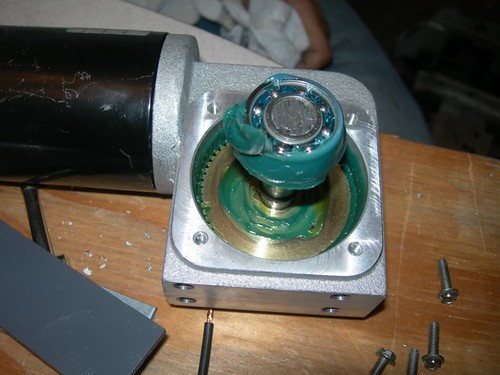
Speaking of the NPC motors, we came to the realization that the tops would need to be ground down somewhat, to accommodate the curve at the top of the battery boxes. Before grinding, we wanted to make sure we knew what we were grinding into, so Mike took the cover off the NPC motor. (By the way, don't do this yourself unless you want to struggle with getting springs and commutators back into position, which is quite a pain.)
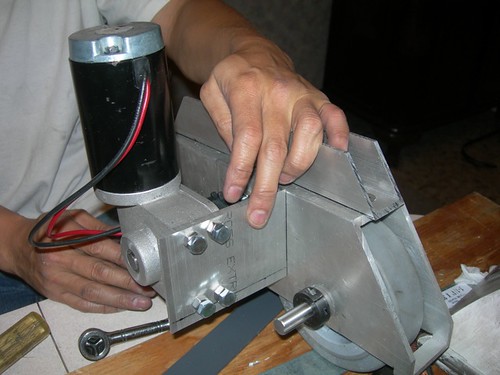
Next, the holes for mounting the motor mount onto the drivetrain were drilled.
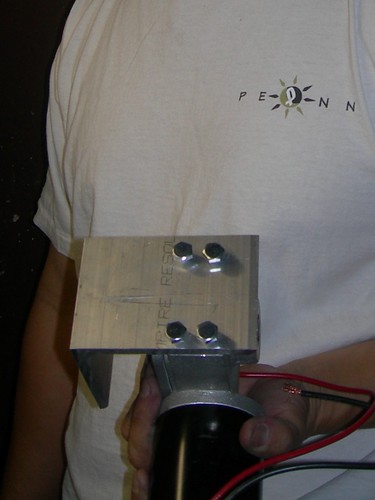
Now the motor mount is attached to the drivetrain.
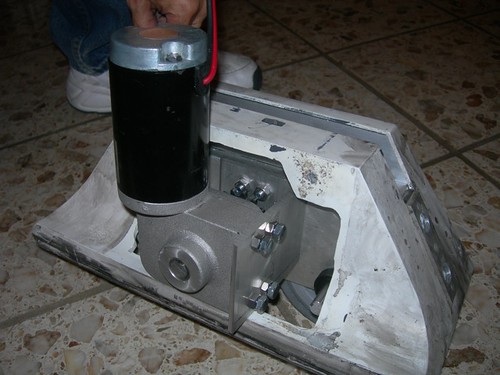
Here is the drivetrain in its current state, very close to being done.
It fits well in the foot shell, the battery boxes will need some (hopefully) light trimming.
Of the original six drivetrains, two of my four will be put on hold because I still need to build my A&A foot shells before proceeding. We went very slowly and carefully on today's drivetrain, we are hopeful the other three will go more quickly. Beside what we did today, we still need to build up the drive-side chain, mill out some space to tension the chain on the drive side, and drill the ankle bolt holes.

No comments:
Post a Comment