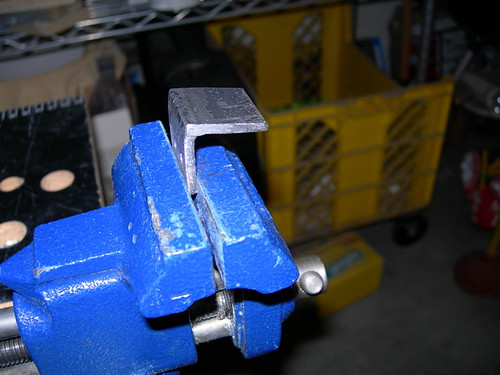
First, I took my L-bracket channel, tightened it in the vise, and then used a jigsaw to cut small 1" pieces.
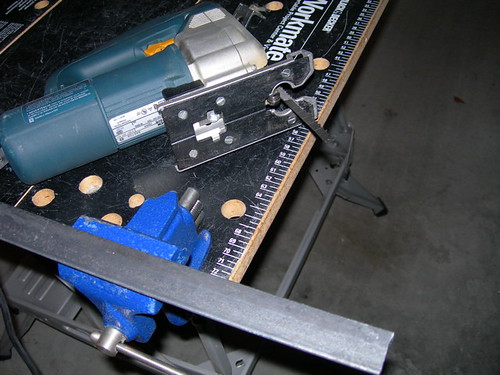
Once four pieces were cut, I filed them smooth.

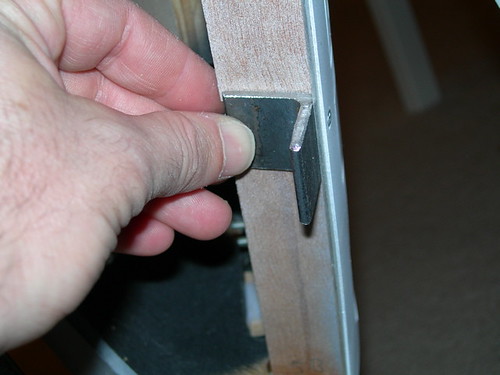
Next, I matched each bracket to the area on the frame that they will be installed. The brackets line up with an aesthetically pleasing area on the back door that will have a screw hole drilled into it at a later date.
I used a marker to mark two dots for two #4 screw holes that will be drilled into each piece.
I took the work over to the drill press, and drilled the holes for the #4 screws.
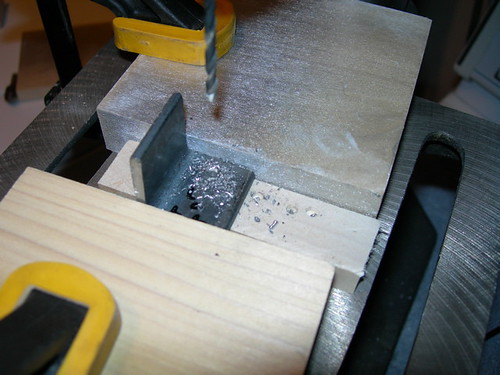
After drilling, I countersunk the holes.
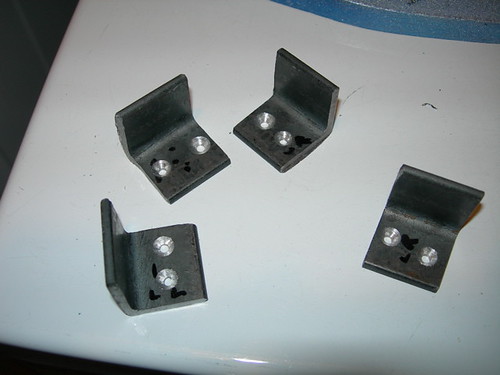
I used a hammer to put a slight bend in the L-bracket, so that the curve of the door won't bump into the bracket.
Finally, it was time to screw the brackets onto the frame. Here's the lower-right bracket. The #4 screws are 1/2" long.
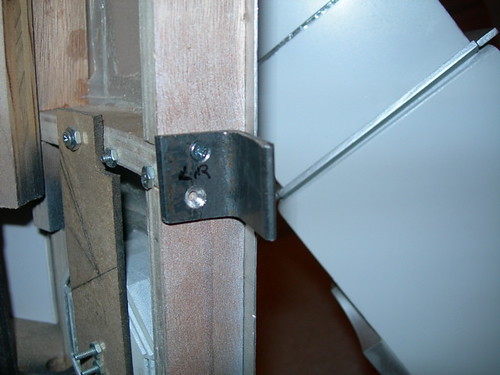
There are four brackets in all.
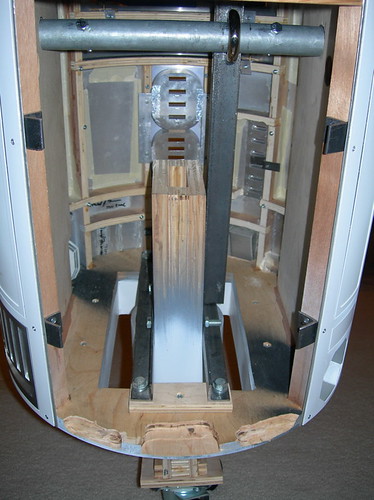
Soon I will mount the door to the brackets. This will involve holding/taping the door to the body, and drilling one hole per bracket, through both the door and bracket as a pair. This hole will be the proper size to tap a #4 machine screw. Then, each bracket will be tapped, while the hole in the door will be widened slightly and countersunk to accommodate the #4 screw.
There is a problem I must resolve first, however. The radius of the curve on the back door for my droid is slightly smaller than it should be (I'm not 100% sure why, I may have accidentally bent it). So I'll have to carefully bend the door to be "wider" before I can mount it. I'm obviously worried some harm may come to the door or the panels that are JB-Welded in, but I have to do it. Nothing's ever easy.

No comments:
Post a Comment