Wednesday, December 12, 2018

Star Wars Night with the Anaheim Ducks - 2018

Tonight was R2's 4th year in a row helping support Star Wars Night with the Anaheim Ducks, where he was joined by many members of the 501st and Rebel Legions. I was also joined by my former coworker and ardent Ducks fan, Rich Newman.


Once we arrived, we went downstairs near the ice, where characters were changing into costume, and R2 was invited to pose with the game puck near the ice.
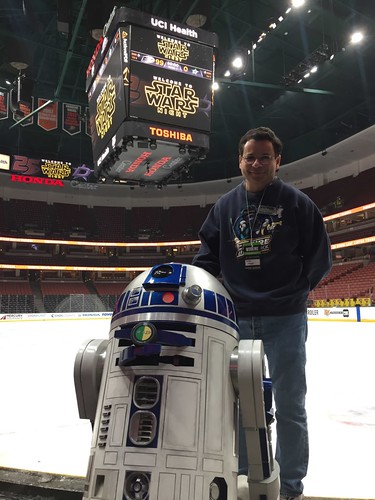


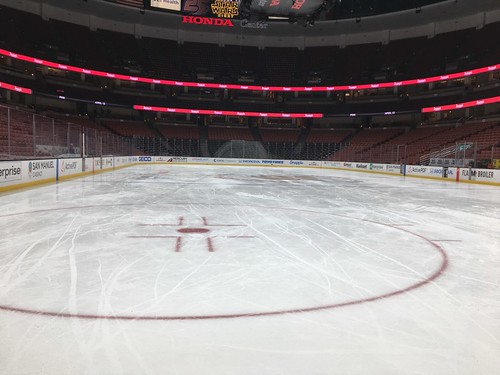
Soon this ice will be busy with hockey mayhem.


R2 found a friend (about) his own size.


Once the characters had finished changing into costume, it was on up to the concourse, where we greeted arriving fans.


R2 also visited with a few of the Power Players, who clean up the ice during the game.


At 6:45 we made an appearance on the pregame show. The director had me drive R2 back and forth across the stage, and then I parked R2.


Once we were done with that, R2 and several other characters went straight to interviews for a future episode of Ducks Weekly.
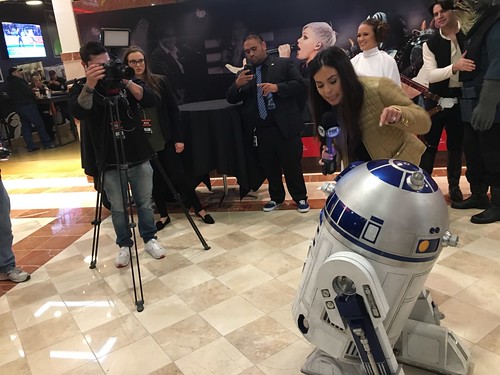


And of course, more pictures with the fans.
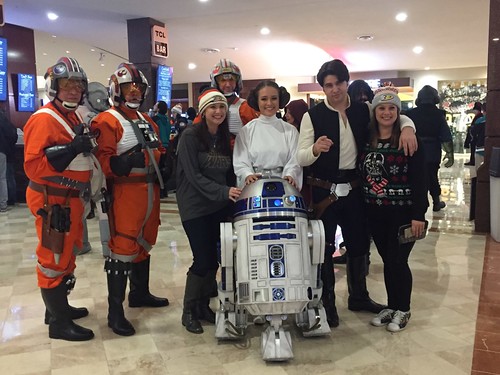


Once the game got started, it was time to stow R2 and take in some of the game. I parked him in his usual spot, along side the office Christmas tree for photo ops, while we watched the game.


We had outstanding seats, 5 rows from the glass!


As the second period ended, it was time to go fetch R2 for the 3rd period Dance Cam. While we were waiting to go on, Ducks forward Ondrej Kase scored his third goal to tie the game up 3-3, and achieve his first career hat trick. And there were plenty of hats to be gathered afterward.


A little while later, there was a break in the action, and the Dance Cam went live on the scoreboard. R2 and the other Star Wars characters were featured.


After that, one more quick trip down to the ice to collect my toolbox (and get another pic with the Power Players).


A last picture with the staff, and that's a wrap!


The Ducks poured it on in the third period, and won 6-3. R2's record with the Ducks is now 3-1.

I really enjoy doing the Ducks games, the fans are well behaved and the staff treats us very well. I look forward to coming back!

The full photoset is here.

Saturday, December 08, 2018

Cut New Gas Pipes

Tonight was a big step in the gas pipe transplant for R2, cutting the new pipes to the proper length.

"Put my legs back on!" Soon, droid.


I go through a detailed explanation on how to determine how long to cut the pipe, and explain why there is no single answer, here. In this blog entry, I'll be following those steps.

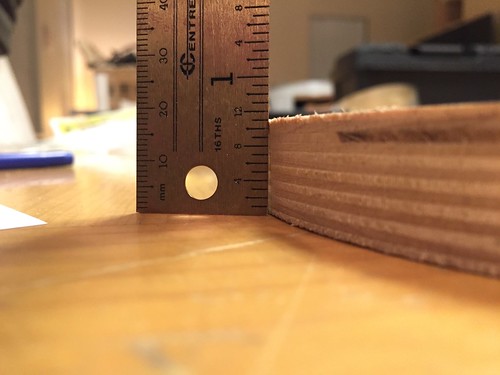
So the first step is to measure the width of the shoulder disc. It is nominally 3/4", but but actual plywood thickness is typically slightly smaller. In this case, 11/16", which is 1/16" thinner than its nominal width.


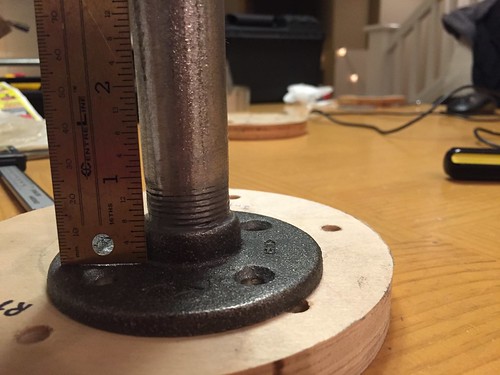
Next, I need to measure the thickness of the flange (both the base and the upper part). The base measures 3/16" tall, and the upper part measures 7/16" tall.


Thus, the thickness of the base and flange combined is 21/16". We'll use that number shortly.

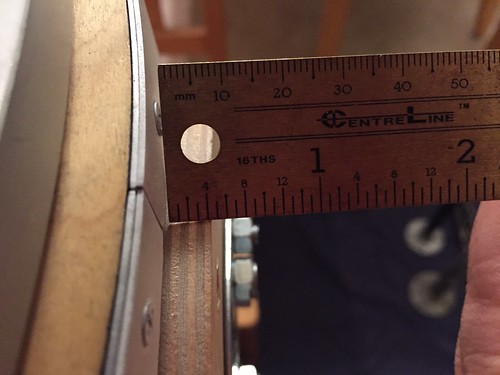
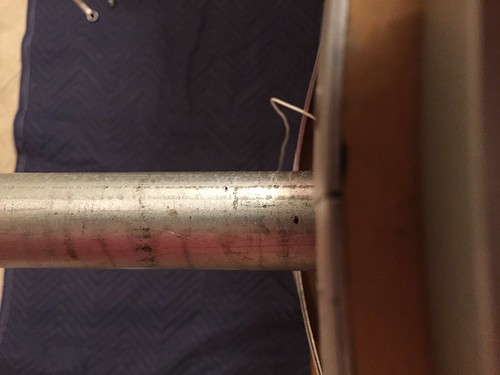
The next step is to insert the 1" pipe into the droid and through the body. The last time I checked the blueprints, they specified that the legs should be at least 1/2" away from the body. That is way too far in my opinion, I feel that 1/4" looks just right. So, I inserted the pipe so that only 1/4" of the shoulder disc to which the pipe was bolted was sticking out.


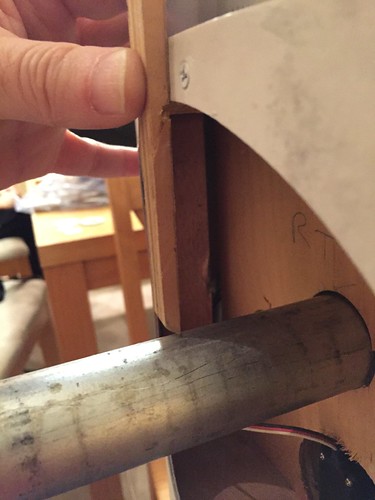
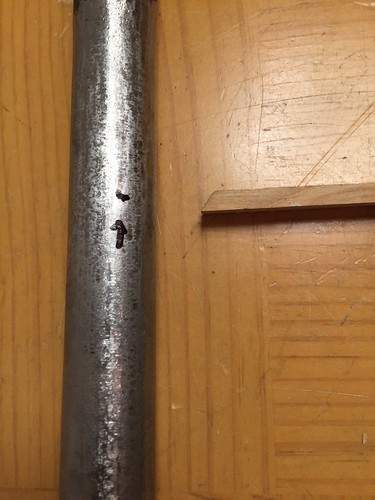
On the other side of the droid, I used a small piece of wood to align a mark on the pipe with where the skins line up with the pipe.


This is not the location at which to cut, however. If I were to cut there, the 3/4" pipe would only slide in until the flange hit the outer pipe, and then I'd have the entire disc/flange assembly hanging out of the droid. I need to cut more of the pipe. How much more? Well, 21/16" mentioned above is too much, because then the leg on the 3/4" pipe would be flush against the body. So I need to subtract 1/4" (4/16") from that to arrive at the final amount, 17/16" from the mark I made.

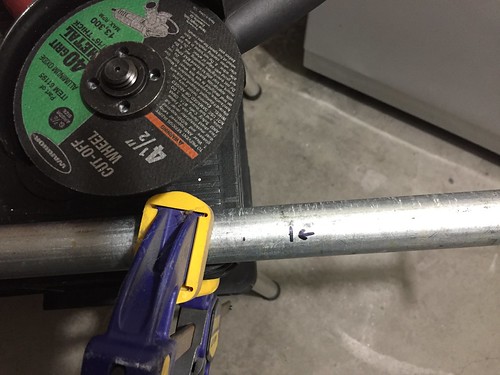
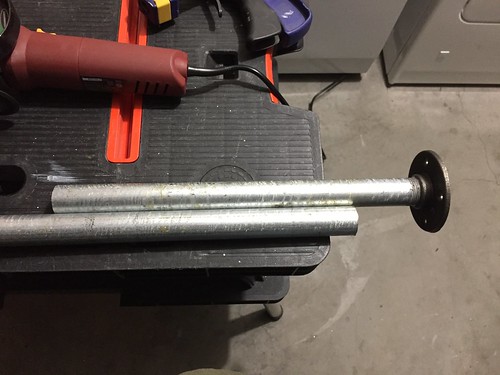
I made a "cut here" line on the pipe, as I prepared to use a cutoff wheel on my new angle grinder to cut the pipe. In the past I had used a borrowed jig saw, or cut the pipes manually with a hacksaw. I figured I'd give this a try.


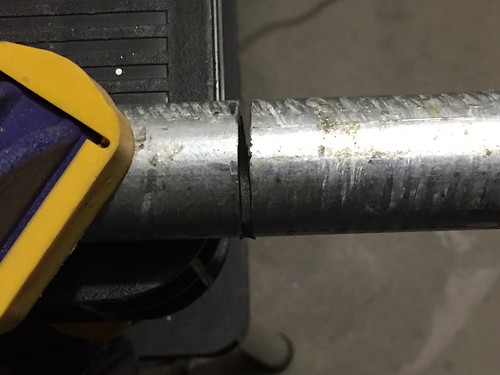
So far so good. I was very careful not to cut too much material, I can always file or cut more if needed.


And done.


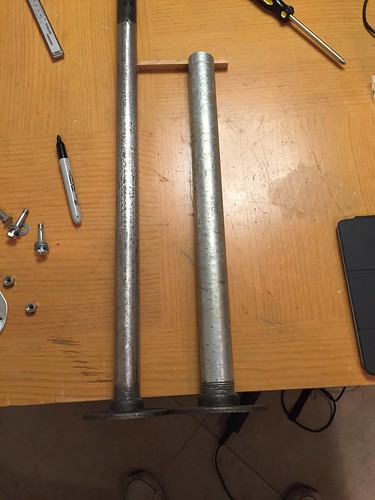
Now it's time to do the same for the other pipe. It needs to be cut to pretty much the same length, possibly a tiny bit shorter, since I don't want it to hit the pins on the 1" pipe/flange combo that I'm going to use to further secure the pipe to the flange. (This will be explained in an upcoming post.) I again used a small segment of wood to translate the length from one pipe to the other. (It's a good thing I don't like that table.)


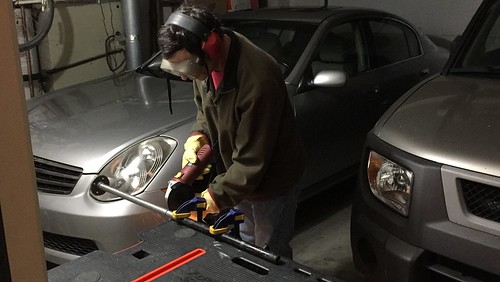
Time to angle grind. If you look super closely, you might see some sparks.


And now, the moment of truth, trying things on for size.


There's no good angle to show how much of the disc is sticking out of the body on each side, but I'm very happy to report that it is the 1/4" that I was shooting for. Phew! Glad that worked out.

I still need to pin the flanges and pipes together, and drill the holes that will lock the pipes together so that the legs are always pointed in the exact same direction. I also need to drill a hole in each shoulder disc to allow the wires to pass through the body and down to the motors in the feet, and I need to file a flat spot on the pipe once all that is done, in order to help enforce R2's lean at the proper 36° angle.

Friday, December 07, 2018

Drilled More Holes for Backing Plate, JB Welded Pipes to Flanges

Tonight I did a little more work on one of the electrical back plates, and JB Welded the new pipes for droid #1 to their flanges.

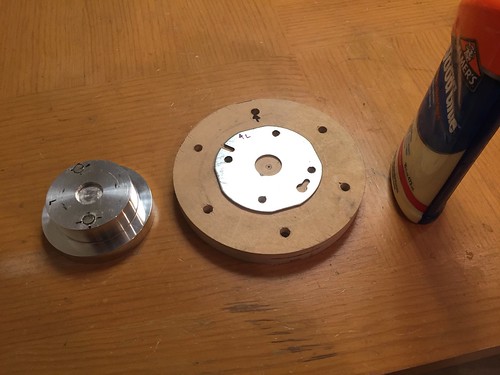
First up, the drilling. The holes on the 1" pipe flange for the outer pipe has its mounting holes a little too far apart to accommodate the magnets on the back of the shoulder hub. (The holes for the inner pipe's flange line up just fine with that shoulder hub's magnets.)


What's that glue for you ask? Oh, you didn't ask. Well, I'll tell you anyway. It's for my goofy method of determining where to drill holes in the backing plate.

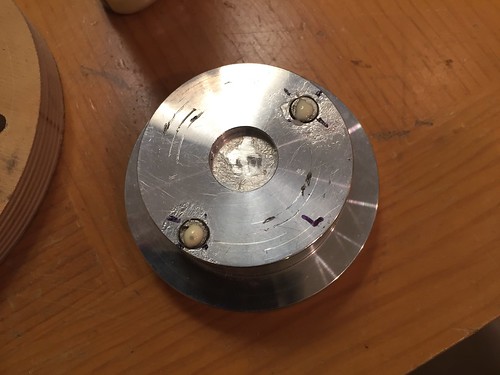
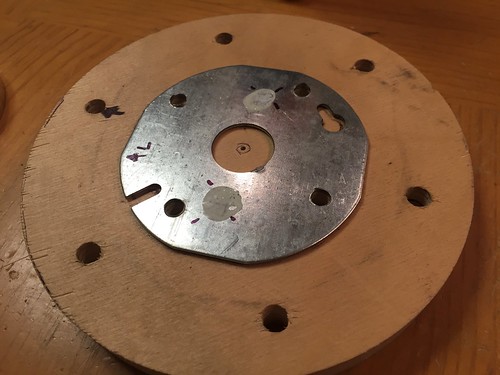
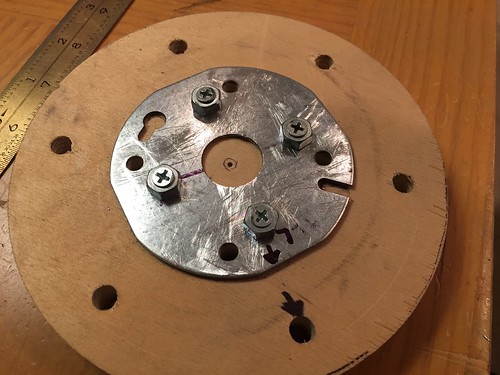
I put a drop of glue on each magnet, and then transfer that to the backing plate.


I told you it was goofy, but it does work.


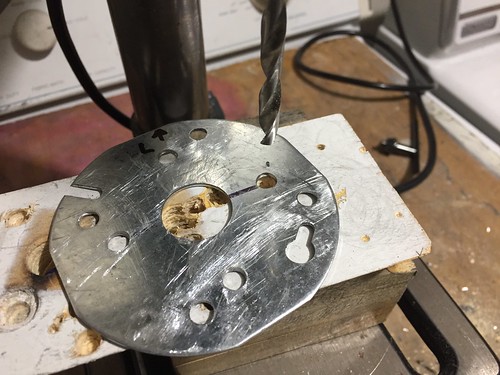
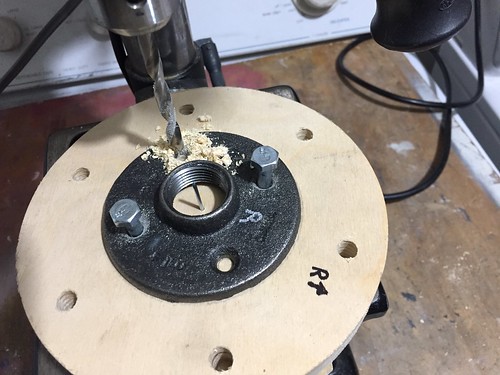
I then used a pen to mark cross hairs around the glue on the backing plate, and wiped the glue off. Then, over to the drill press for some drillin'.


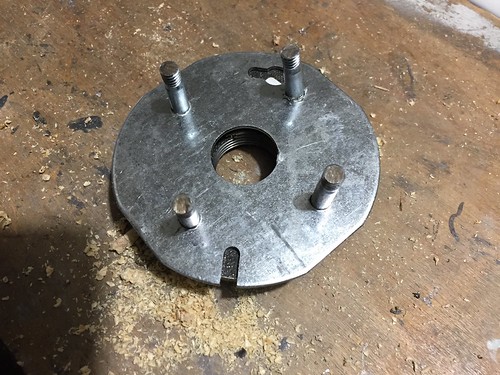
I drilled four holes in total, and then used some short wood screws to screw down some 1/4" nuts.


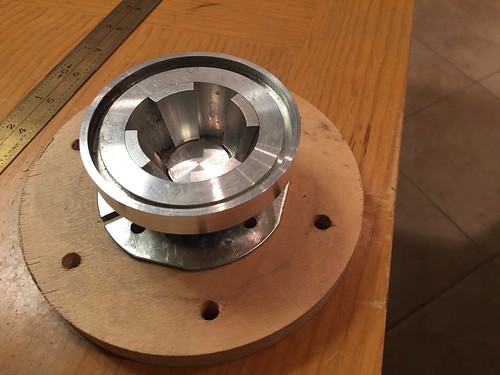
The magnets on the back of the shoulder hub stick nice and strongly to the nuts, so that part is out of the way.


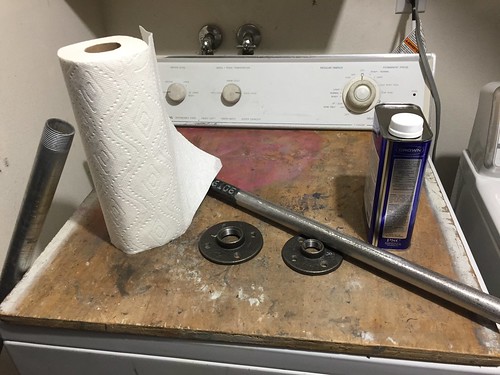
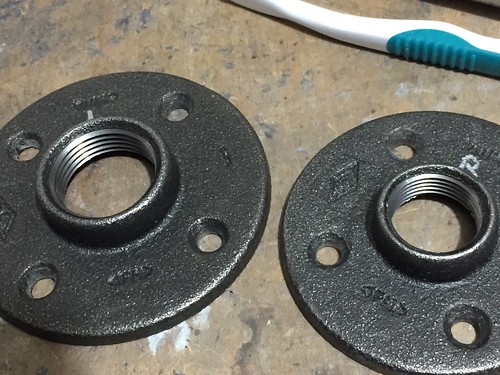
Next up, JB Welding the pipes into their flanges. First, I thoroughly cleaned the threads on the pipes and flanges with acetone and lots of paper towels and rubber gloves.


Shiny.


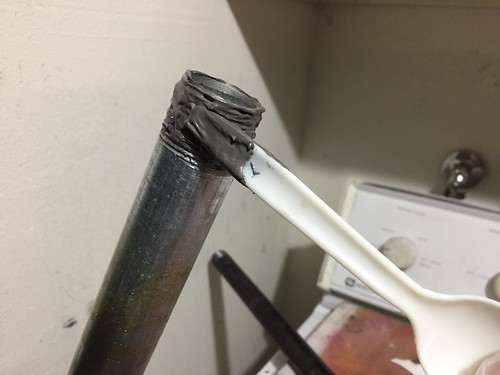
Next, I whipped up a batch of JB Weld epoxy, and applied it to the threads on the pipe. (With the back end of a plastic spoon, of course.)


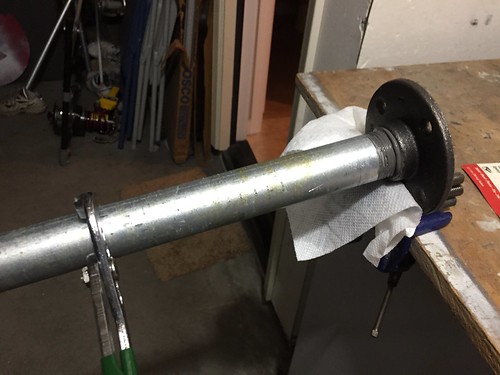
I clamped the flange in a vise, and tightened the pipe as much as possible using a pipe wrench.


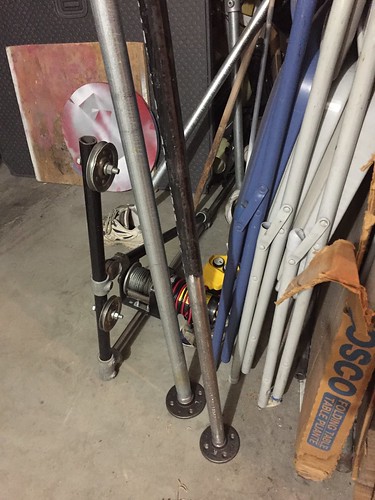
I repeated the process for the second leg, and I'll let these dry overnight (or however long it takes for me to get back to this.)


Thursday, December 06, 2018

Continued Drilling Shoulder Discs

Tonight I continued drilling holes in the new shoulder discs for droid #1, this time for the pipe flanges.

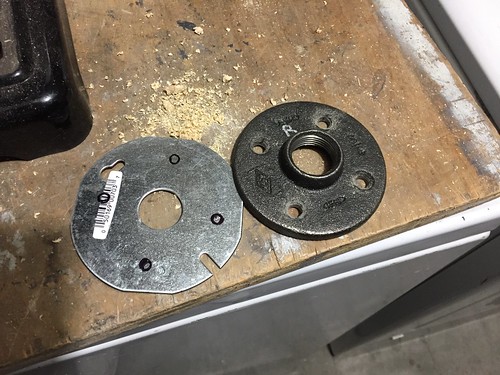
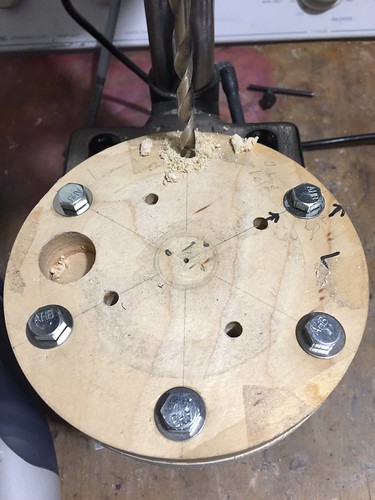
I used a nail to locate the center of the circle, and then centered the flange on the disc. Then I drilled 1/4" holes in the disc, using the flange as a template. I dropped 1/4 bolts in the holes as I went along, to maintain alignment with the holes.


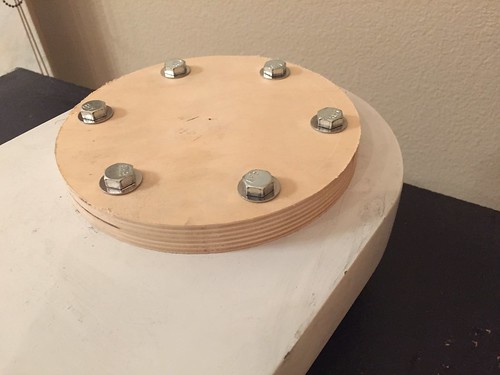
There's an electrical backing plate that helps distribute stress that goes on the other side of the disc, so I needed to drill matching holes into that as well.


Again, I used the flange as a template, and dropped bolts in the new holes for alignment. That also worked out fine.


Next up, drilling a few more holes into one of the plates. Why? Stay tuned...

Wednesday, December 05, 2018

Drilled New Shoulder Discs

Tonight I worked on drilling the replacement shoulder discs for droid #1's gap pipe shortening. This evening I worked on the six 5/16" outer holes that are used to bolt the discs to the legs. (For details on what I'm doing, click on Victor's Wooden Leg Building Tutorial to the right.)

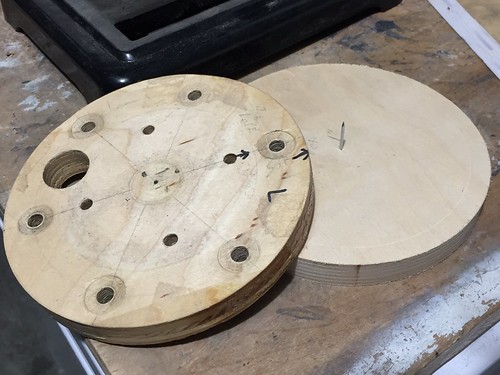
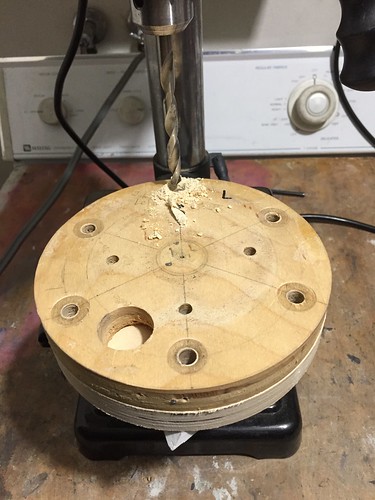
This part is easy, just use the old disc as a template for the new one. I used a nail to align the centers of the discs.


The first hole is done, five more outer holes to go for this disc.


After I drilled each hole, I dropped a 5/16" bolt in, to maintain perfect alignment.


Time for a sanity-fit on the leg, to make sure everything works.


Phew, it's sane.

I repeated the process for the other leg's disc. The next step is to work on drilling the holes for the new pipe flanges.

Tuesday, December 04, 2018

Temporary Leg Removal

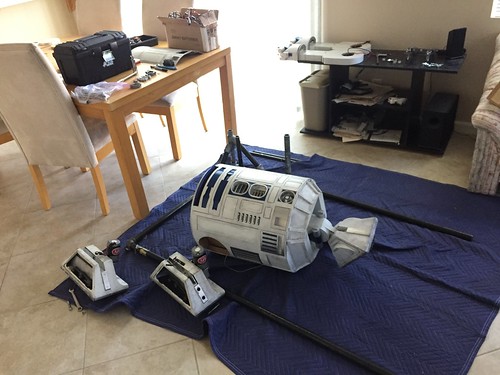
Tonight it was time to tear the legs off of droid #1, as I prepare to cut new pipes for the legs. Recall that I'm doing this because I want to move the legs closer to the body.

Kaboom.


Why don't I just cut the exiting pipe down a little bit? Here's why, Swiss cheese.


I have drilled so many holes to bolt the inner and outer pipes together that I've left no room for more (especially since I have 3 U-bolts that need to wrap around the pipes and they need clearance from the bolts). So, new pipe it is.

Another question I had: Would I be able to recycle the wooden shoulder discs that are used to mate the pipe flange on one side to the legs on the other? I figured the holes were unlikely to line up with the new flanges I purchased, and I was right. The holes are just a little off.


Why not just rotate the disc to clear those four old holes and drill four new ones? Note the six outer holes, that need to match up with the holes in the legs so I can bolt the discs to the legs. So... couldn't I just redrill new holes for those as well? Probably not, since at some point there might be overlap. As long as I'm drilling 20 new holes for two discs, I might as well drill them on the brand new discs I cut recently. Lastly, why not recycle the old flange? Because the old pipe is JB Welded in there, and I don't want to try to get it back out and spend years cleaning the threads.

Next up, drilling the new discs.

Saturday, December 01, 2018

Combat Radio's Breakfast with Santa - 2018

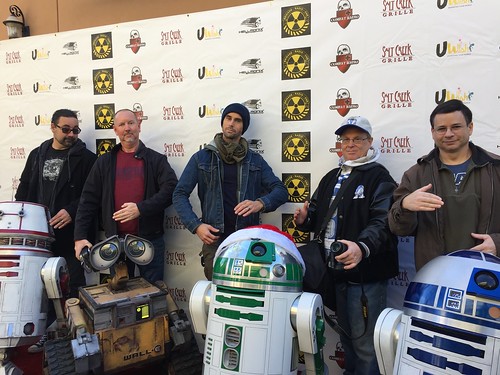
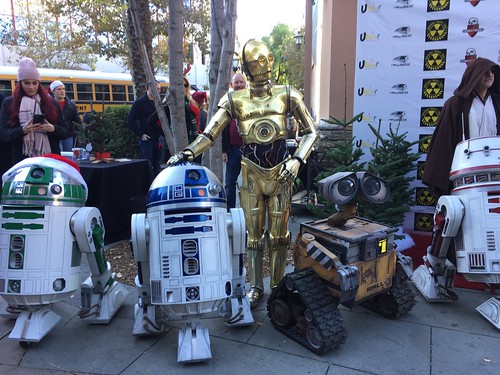
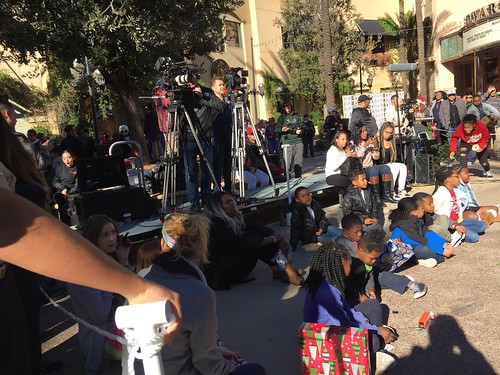
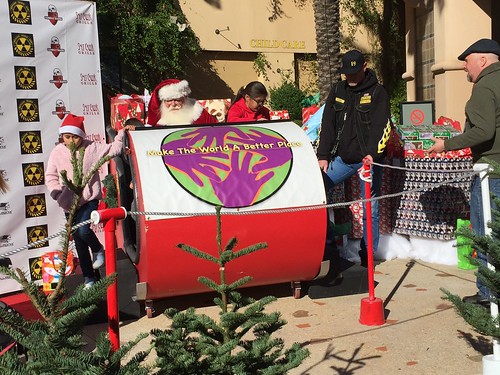
Today R2 and I participated in our 8th straight Combat Radio Breakfast with Santa charitable event, along with fellow R2 Builders Paul Thompson and Gene Arena, and WALL•E builder Michal McMaster. Gordon Tarpley joined us as C-3PO, and there were dozens of costumers from just about every genre out there. This all event benefits homeless children and families, and gives them an opportunity to have an excellent meal, meet tons of characters, and get a present from Santa himself! Dawn, Kyle and Kathryn McMaster also joined us, as did Natalie Tarpley.


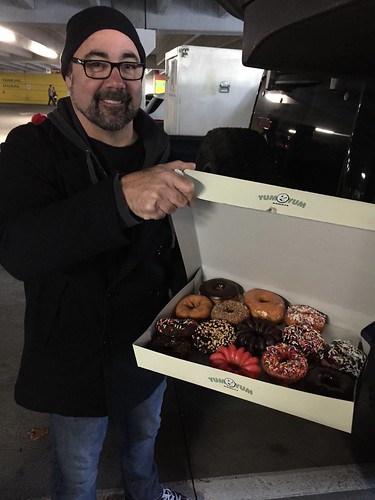
We all arrived between 6:00am and 6:30am to set up. Paul was this year's hero with the donuts.


It's pretty chilly at that hour, so R2-D2 and WALL•E came inside to warm up.


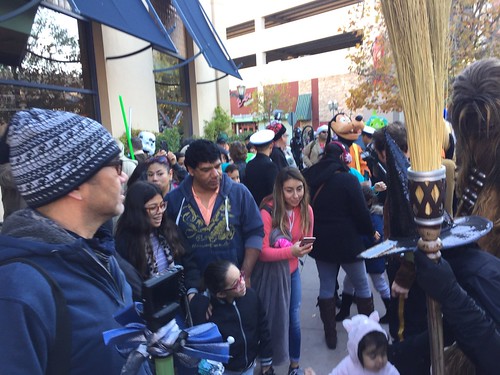
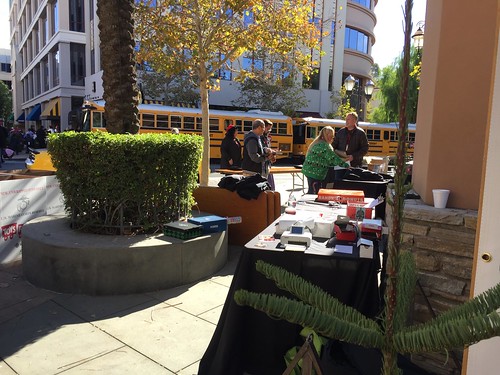
The first of several busloads of guests arrived.


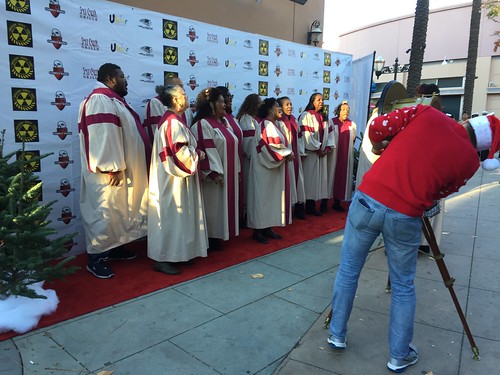
A choir started off the festivities with a song, as the guests started lining up.


The droids lined up to greet people outside.
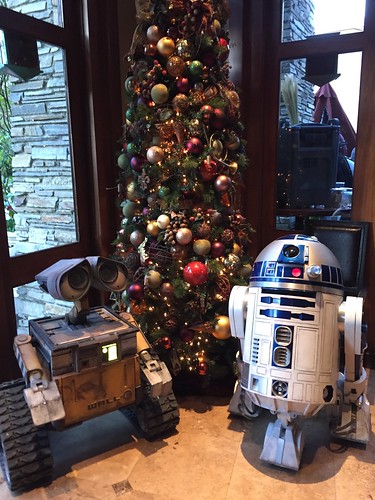


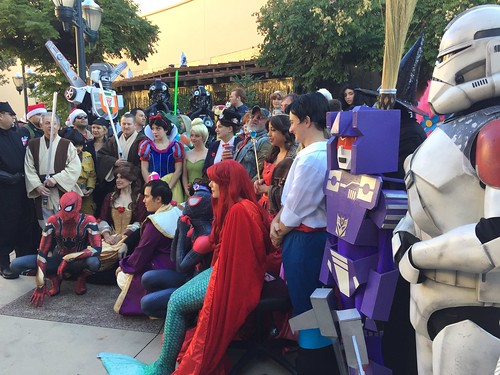
As I mentioned, there are a lot of characters. It's almost a mini-Comicon.
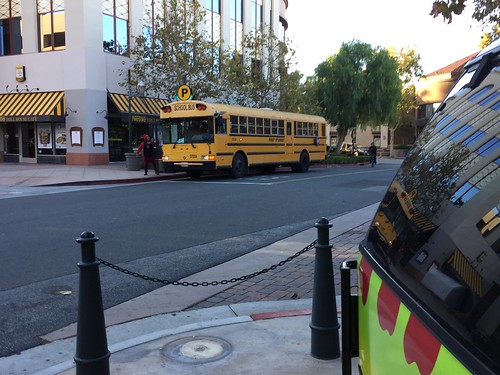


The event is also broadcast on cable (which station, I don't know.)


In addition to a good meal, every kid gets a gift from Santa.


Funds are raised by auctioning dozens of autographed posters, artwork, and other memorabilia. By the time I got around to taking a picture, everything was pretty much gone.


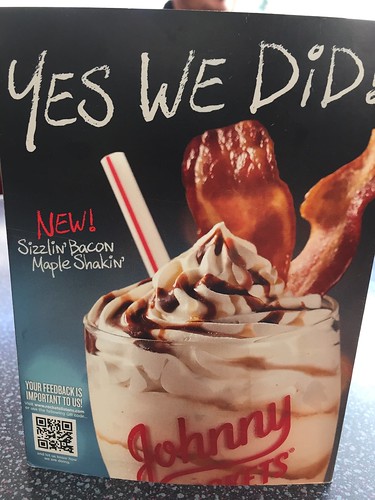
Afterwords, we grabbed lunch at the adjacent Johnny Rockets, where they were advertising this nutritional supplement.


Everyone had a great time, and I'm sure we'll be invited back next year.