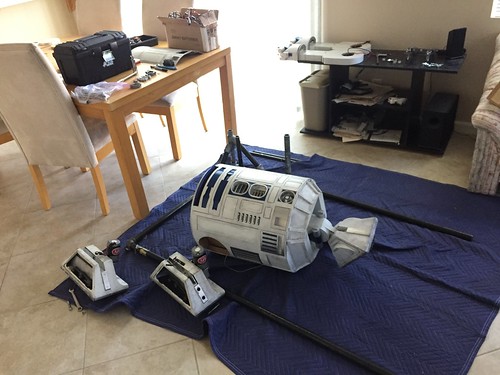
"Put my legs back on!" Soon, droid.
I go through a detailed explanation on how to determine how long to cut the pipe, and explain why there is no single answer, here. In this blog entry, I'll be following those steps.
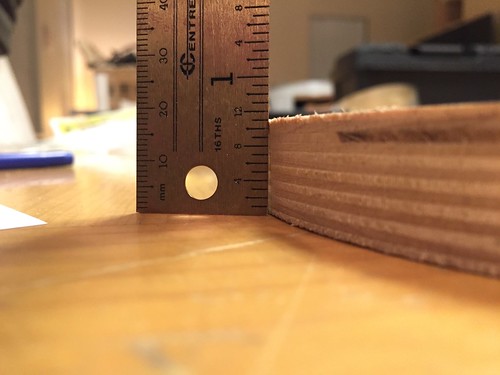
So the first step is to measure the width of the shoulder disc. It is nominally 3/4", but but actual plywood thickness is typically slightly smaller. In this case, 11/16", which is 1/16" thinner than its nominal width.
Next, I need to measure the thickness of the flange (both the base and the upper part). The base measures 3/16" tall, and the upper part measures 7/16" tall.
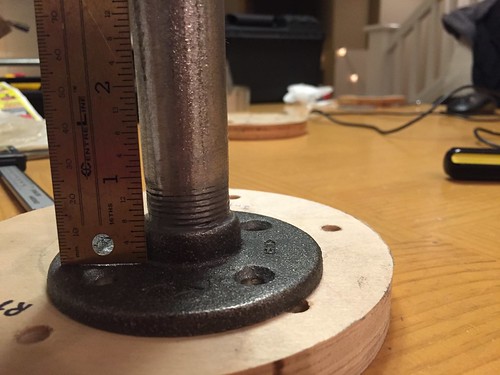
Thus, the thickness of the base and flange combined is 21/16". We'll use that number shortly.
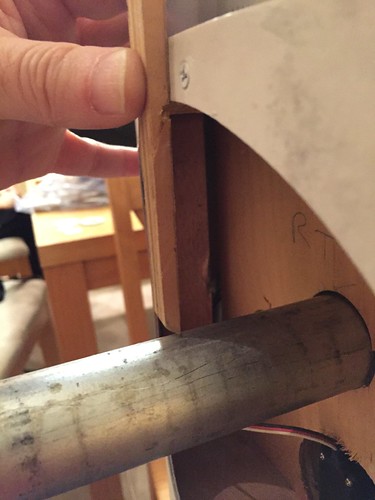
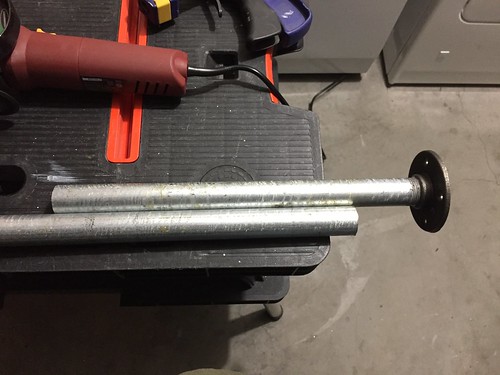
The next step is to insert the 1" pipe into the droid and through the body. The last time I checked the blueprints, they specified that the legs should be at least 1/2" away from the body. That is way too far in my opinion, I feel that 1/4" looks just right. So, I inserted the pipe so that only 1/4" of the shoulder disc to which the pipe was bolted was sticking out.
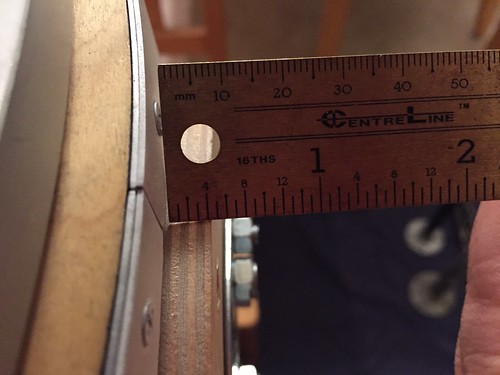
On the other side of the droid, I used a small piece of wood to align a mark on the pipe with where the skins line up with the pipe.
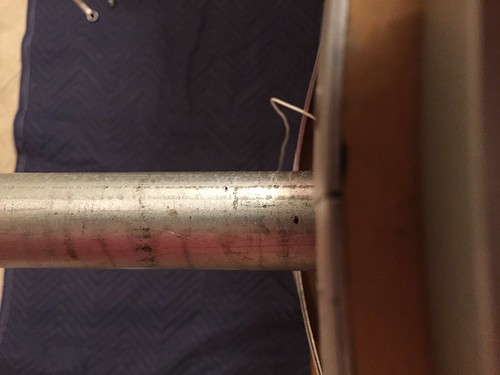
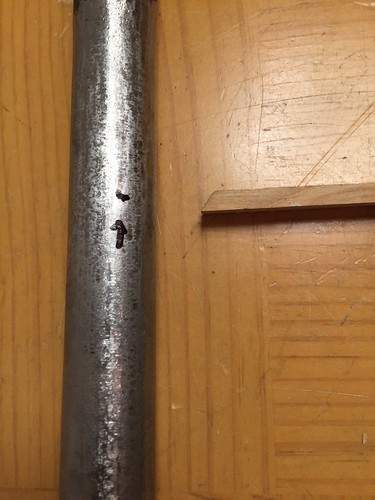
This is not the location at which to cut, however. If I were to cut there, the 3/4" pipe would only slide in until the flange hit the outer pipe, and then I'd have the entire disc/flange assembly hanging out of the droid. I need to cut more of the pipe. How much more? Well, 21/16" mentioned above is too much, because then the leg on the 3/4" pipe would be flush against the body. So I need to subtract 1/4" (4/16") from that to arrive at the final amount, 17/16" from the mark I made.
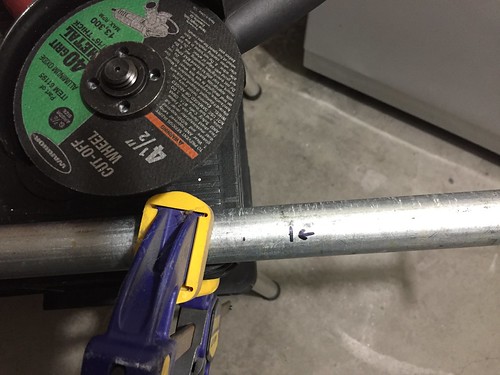
I made a "cut here" line on the pipe, as I prepared to use a cutoff wheel on my new angle grinder to cut the pipe. In the past I had used a borrowed jig saw, or cut the pipes manually with a hacksaw. I figured I'd give this a try.
So far so good. I was very careful not to cut too much material, I can always file or cut more if needed.
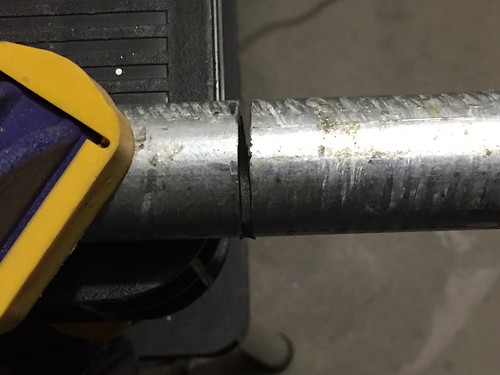
And done.
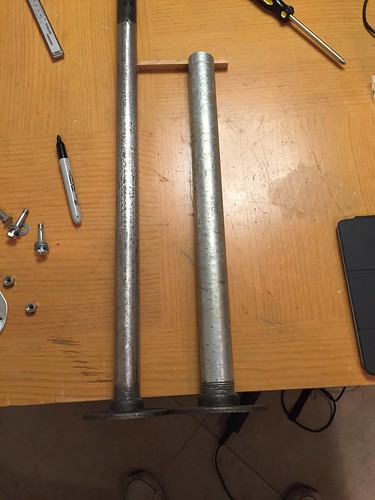
Now it's time to do the same for the other pipe. It needs to be cut to pretty much the same length, possibly a tiny bit shorter, since I don't want it to hit the pins on the 1" pipe/flange combo that I'm going to use to further secure the pipe to the flange. (This will be explained in an upcoming post.) I again used a small segment of wood to translate the length from one pipe to the other. (It's a good thing I don't like that table.)
Time to angle grind. If you look super closely, you might see some sparks.

And now, the moment of truth, trying things on for size.

There's no good angle to show how much of the disc is sticking out of the body on each side, but I'm very happy to report that it is the 1/4" that I was shooting for. Phew! Glad that worked out.
I still need to pin the flanges and pipes together, and drill the holes that will lock the pipes together so that the legs are always pointed in the exact same direction. I also need to drill a hole in each shoulder disc to allow the wires to pass through the body and down to the motors in the feet, and I need to file a flat spot on the pipe once all that is done, in order to help enforce R2's lean at the proper 36° angle.


No comments:
Post a Comment